Tandem bikes are a fun way for friends, couples, and families to get around. They are easy to ride, exciting, and they help people bond. These bikes are designed to be ridden by two or (rarely) more people. A tandem is a bike made of two bikes; so it features:
- Two sets of handlebars
- Two sets of crank
- Two Seats
- Two sets of pedals
- Two sets of brakes
These bikes transform an individual activity into a mutual, fun activity. But, tandems can be pricey, and if you don’t want to spend an arm and a leg for a tandem bike, you can make your own. Continue reading to learn more about these bikes and how you can surprise your friend or your significant other by making one from scratch.
What Makes Tandem Bikes Worth It?
Tandem bikes have many benefits: fast, good for the environment, great for bonding, and pleasant for riding as a team. Yes, it is true: These bikes can be faster than solo bikes, and that is because of the pedaling power and the input doubles. Because of the equal weight distribution, there is an aerodynamic advantage, too, making it much easier to overcome the wind.
Next, tandem bikes are great for helping people bond. You need coordination with your riding partner if you want to ride efficiently and avoid the unpleasant experience of an embarrassing fall. So, to ride effectively, you need to communicate and work together as a team.
You can take whoever you want with you, and they don’t need to be a skilled cyclist; just put them behind of you, and they can help with pedaling, while you, as a captain, will have to deal with steering, controlling the bike, and guiding the stoker (your partner) or warning them.
No one is left behind with a tandem bike, which means you won’t get frustrated waiting for your friend or partner to catch up. In short, everyone is happy.
Tandem Bike: Buy or Build?
Tandem bikes can, unfortunately, be quite expensive. A decent tandem bike can cost over a thousand dollars. These bikes are designed to be reliable, efficient, and comfortable for two riders. But, we are aware that not everyone can afford to buy a good tandem bike, so, for those on a tight budget, worry not; we will help you make a tandem bike for yourself. But, you have to be handy with tools to build a working DIY tandem bike. It might not be as good as a high-quality tandem that you can buy at a bike shop, but it is still better than no bike at all.
How To Build a Tandem Bike
Okay, so we already mentioned that you need to be a tinkerer who is good with tools and can fix bikes. But that is, of course, not enough. You are going to need the right tools and materials, as well as the components required to build your tandem bike. Let’s discuss how to make a tandem bike yourself.
Tools and materials
To build a tandem bike, you will need two bicycles, some basic metal-working and bike tools, and some creativity. You will also need a hacksaw, a half-round file, string, locking pliers, a ruler, time, and dedication. It would help if you had some paint to paint your bike in the end.
Geometry
Try to find two identical or at least similar bicycles. If you can’t, then find two with matching frames. Since the captain has more responsibilities than the stoker, put the bigger or higher frame in the front and the smaller ones in the back. It would be best if the rear head tube angle and the front seat tube angle are the same, and the frames have horizontal top tubes, with the rear one being 1 ½ smaller than the front, so that the process of ‘jigging up the frame‘ becomes much easier. Also, the rear head tube should securely connect with the front seat tube.
Cutting and fitting
Now you will need a hacksaw to remove the front half of the rear head tube. Then, cut the front seat stay from the seat tube and cut the seat stays off the rear dropouts. After that, clean and prepare the frames.
You might need to rub off or shape them so they can fit. The head tube of the back should fit the seat tube of the front frame; use locking pliers, preferably Vise-Grip, to hold the joint in place while you fix the bike.
Next, bend the front chain stays in and up, and smooth or shape them until they fit the lower part of the rear down tube in the back; remember it is essential to smooth the surface of the drop out so that they make close contact with the down tube. The two dropouts should press lightly against the down tube (you can check the alignments using a string).
Now it is time to install the wheels. You must check how high the bottom brackets will be (ideally 11-11 ½ inches or 280-290 mm); none of them should be much lower than the other because that can cause you to strike a pedal, or it can make starting and stopping difficult, both of them quite dangerous.
Alignment
Alignment is vital. You can see if the parts align well with your eyes. You can also do that using a string. Tie the end of the string to one rear drop out, then pull the string along with the bicycle and around the head tube, and back to the other drop out; remember to use a ruler for measuring the distance between the string and the seat tube on both sides (the measurements should be the same).
Forks
Solo bikes usually have weaker forks, so it would be best to find a mountain bike fork for your DIY tandem bike since they are stronger. Plus, mountain bike forks are often relatively cheap.
Wheels
Road bikes are less reliable for your DIY tandem bike because they have thinner and narrower wheels. So ideally, look for more robust, bulkier, high-quality mountain bike wheels.
Brakes
Tandem bikes are heavy and fast, so you need to use good quality brakes such as cantilever brakes; you can also use brake shoes for better performance.
Drive train
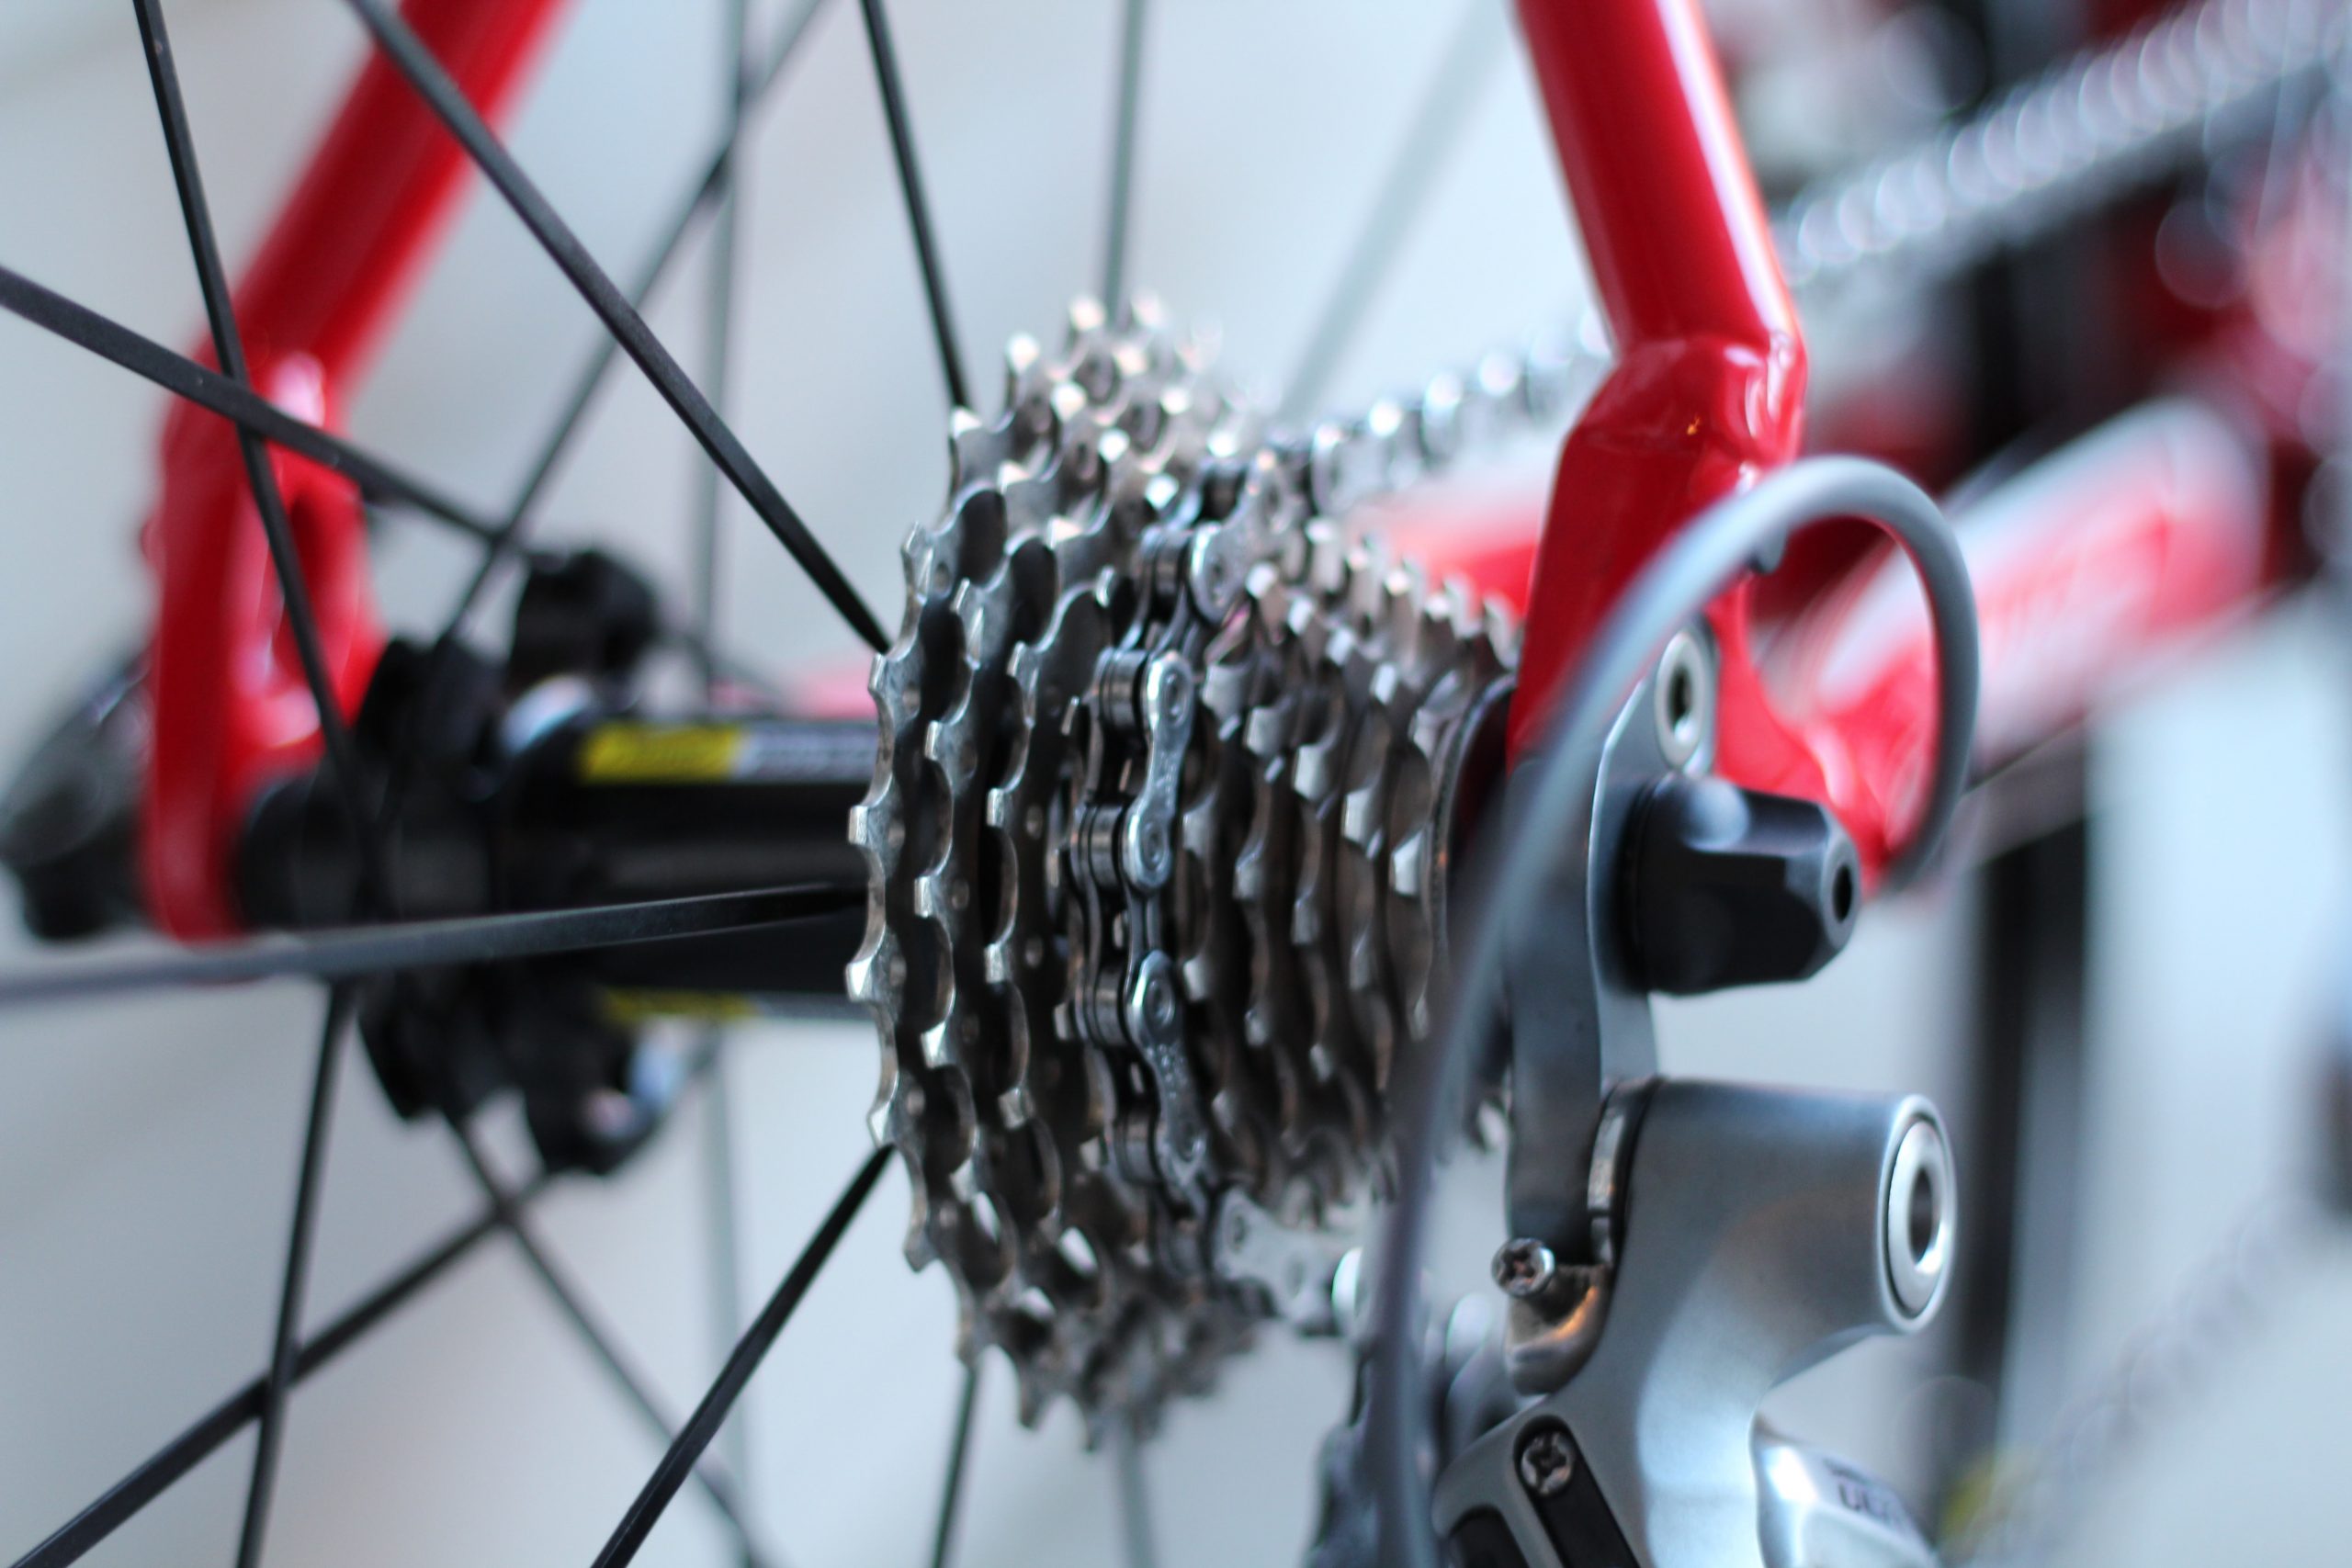
A single chain does not work for a tandem bike. A tandem should have two chains: a primary one (like the usual chain) and the “synch chain” that connects the two bottom brackets. There are also drive trains designed explicitly for tandem bikes; they are the best option if you can get them.
Crossover drive
Tandem bikes typically use a crossover drive: the synch chain is on the left side of the bike, and its drive crosses through one of the bottom brackets to the primary chain. A crossover drive crankset needs a plain crank with right threads and two cranks with chain wheels and left threads; the fourth crank is used for the primary chain and is the same as on a regular bike.
The typical setup is the ‘rear-drive setup .’ The primary chain runs from the back crankset back to the rear hub.
Synch chainwheels
Synch chain wheels must be of the same size, but we’d recommend choosing a larger size, though. They should be 40 teeth or larger than that.
Chain tensioners
Chain tensioners’ role is to adjust the tension of the synch chain. You can use some adjustable pulley on the un-tensioned part of the chain; old rear derailleurs are great for this purpose.
Stoker stems
You can buy stoker stems, or you can do them yourself from 1″ seatposts, or you can make an adjustable stem out of a discarded frame by cutting the seat cluster away from an old bike.
