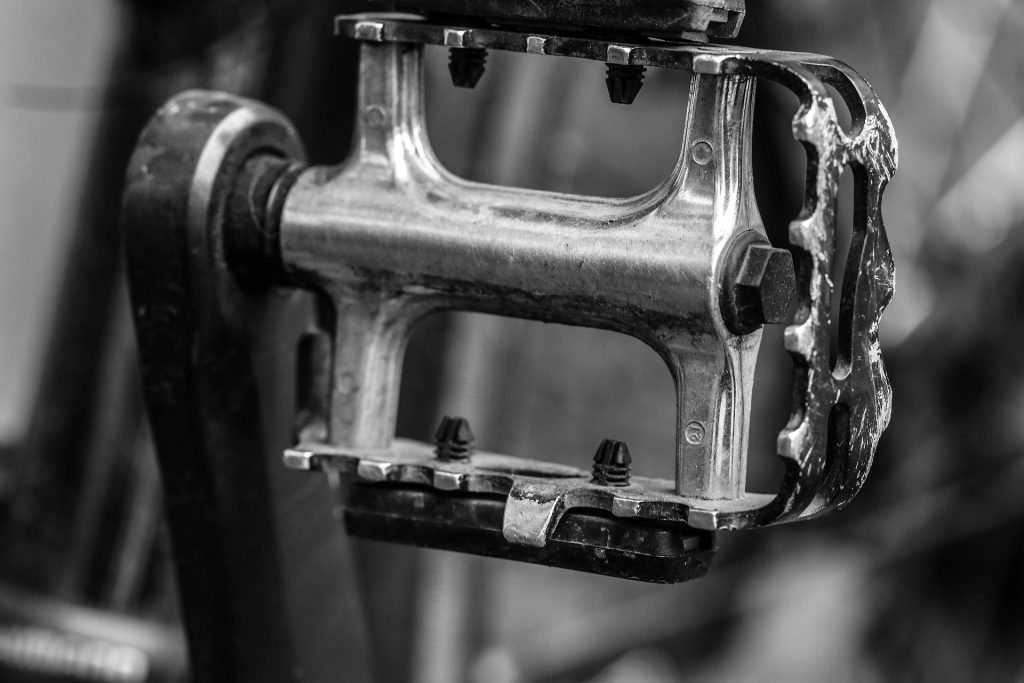
Only when pedals start to give you trouble you realize that they indeed are an integral part of the bike. Otherwise, you wouldn’t give them any serious thought.
Pedals get in the way; they’re so awkward. They get stumbled on, dragged through dirt and sand, crashed against rocks, banged into walls and all those sorts of things. So, it’s always important to be careful with them if you don’t want to run into the trouble of replacing them more frequently than is necessary.
This otherwise straightforward and basic chore is not as easy as it seems at first glance. Taking off and installing bike pedals can be complicated and annoying if you’ve never done it before. What makes pedals so stubborn to be removed is that they aren’t threaded the way you expect. The old axiom “left-loose, right-tight” simply won’t work here. If you don’t know what you’re doing, you risk stripping the threads and destroying your newly-bought pedals.
Before you have your new bike pedals destroyed, here are some surefire tricks and tips to easily remove and install your bike pedals and prevent them from jamming. Following these steps will ensure that they stay on tight and get you up and riding in no time.
The Basics of Bike Pedals
Whether you’ve broken your bike pedal, you’re simply upgrading them to a new set, or you need to take them off for travel or maintenance, learning about the methods and tools needed to remove and install them correctly is a task that every cyclist needs to be familiar with.
Flat vs Clipless Pedals
If you’re in the market for a pair of new pedals and you’re confused about their different types and need to figure out which ones are the right pair for you, there are two basic types: clipless and flat pedals. The main difference between the two is whether you want your cleat to firmly attach with the pedals or leave your feet free.
Flat pedals work with almost any type of shoe you find in your closet (even with flip-flops). Clipless pedals, on the other hand, require a special set of shoes that have recessed cleats and grip in the sole. While flat pedals are more comfortable and better just to hop on and go, clipless pedals have more power output and reduce the chance of your foot slipping off during harsh weather or while fatigued.
Ultimately, choosing between the two depends on the way you want your shoe to interact with the pedal and the kind of riding you’ll be going for.
Lefty-Loosey, Righty-Tighty
Pedals come in many different shapes and sizes, but the method for removing and installing them is virtually the same. The most important thing to keep in mind is that the left and the right pedal are not the same. If you get a closer look, you’ll notice that the pedals are labelled “L” and “R” for left and right. However, it is vital to remember that to loosen the left pedal; you need to rotate it clockwise. Since the direction of the threads is opposite, it means that the direction of rotation is also opposite. You’ll probably get this wrong a lot, but you will get used to and eventually, it comes as an instinct.
Now that you have this essential background information in mind, you can start changing the bike pedals. But first, let’s look at the tools and equipment you will need to perform this simple but often annoying task.
Tools Needed To Remove Bike Pedals
You don’t need anything fancy to change the bike pedals. While you can reinstall bike pedals with just any equipment, the tools listed below will help you to use a mechanical advantage to your benefit. Using these tools saves you a lot of time and a lot of sore wrists.
Based on what type of pedals you have, you will need the following:
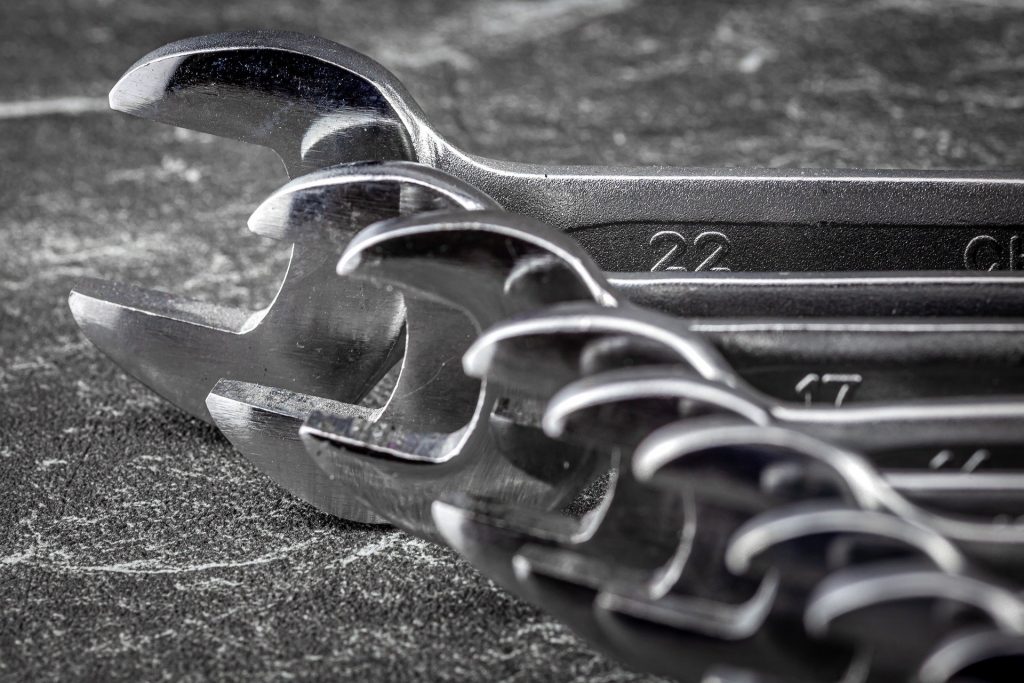
Pedal wrench or Allen key
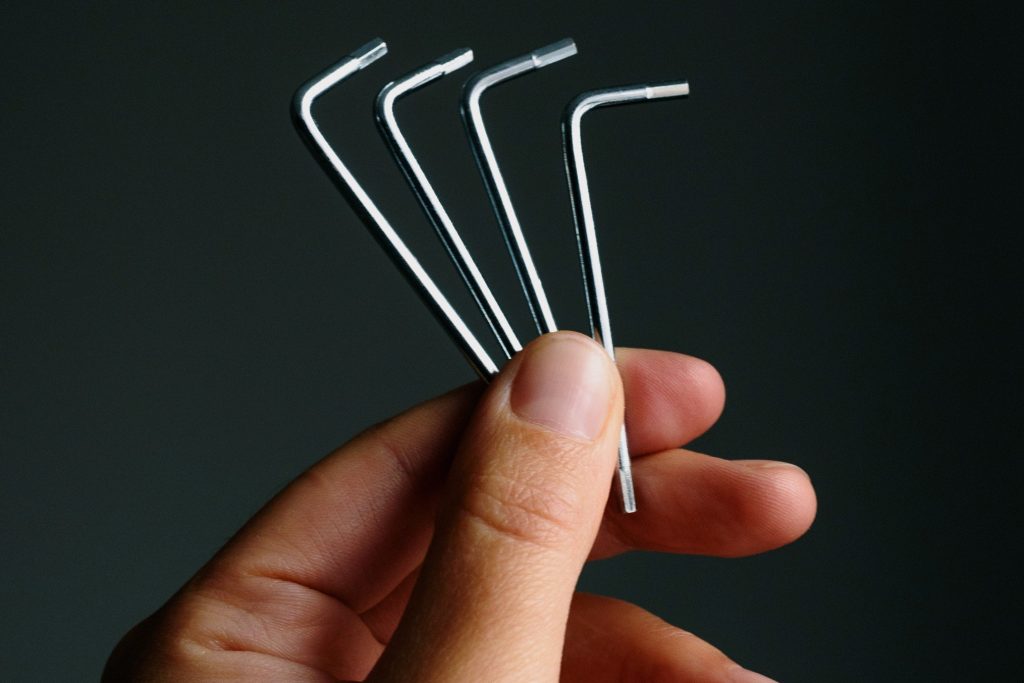
Take a look at your pedals and see if they have an Allen head or wrench flats. If you see flats for a wrench to clench on, then you’re going to need a pedal wrench or a low-profile 15 or 17mm standard wrench. If you don’t see any flats, then the Allen-key (hex key) is the right one for you. Most pedals these days use a 6mm or 8mm Allen-key.
Alternatively, although not recommended, you can use a thin crescent wrench but it can easily come loose and you risk damaging your pedals.
Grease
When setting up your new bike pedals, you will need to apply grease or lubricant to the threads. This will reduce rust and corrosion and prevent the pedal threads from creaking due to excessive wear.
Rag
Optional bonus tools are a paper towel or an old rag to clean the pedal threads.
Now that you have all the required equipment ready, you can remove the old pedals and install the new ones.
How to Remove Bike Pedals
Removing bike pedals is as easy as it gets. Follow the steps below:
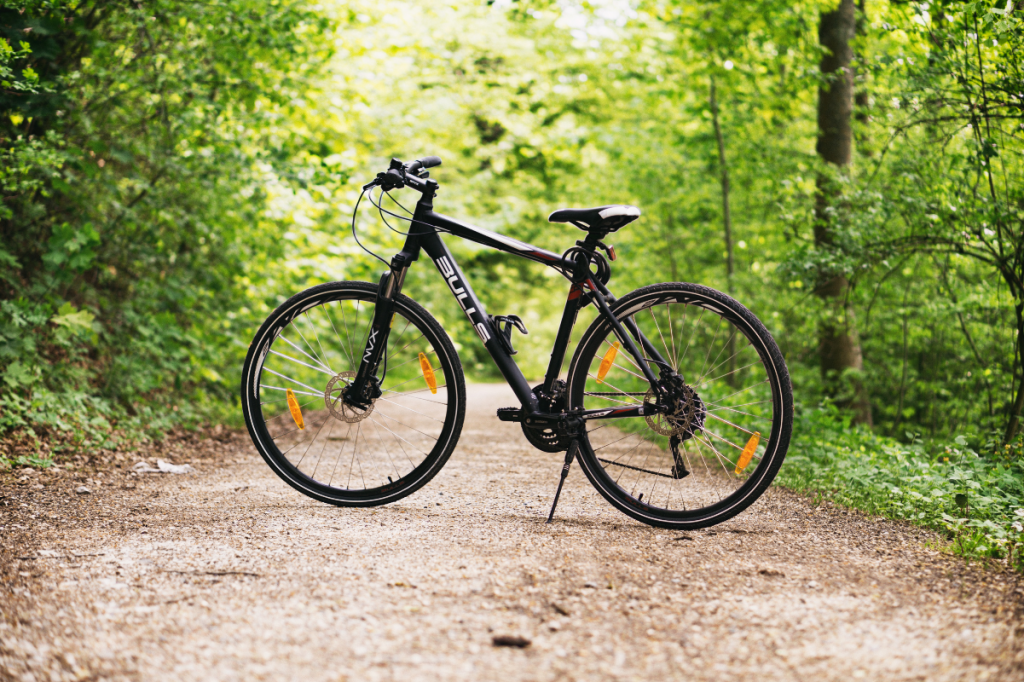
- Step 1: Mount the bike in a kickstand, put it on a repair stand or lean it against a wall or for easy access and leverage.
- Step 2: Rotate the crank arm into the forward position.
- Step 3: Hold the opposite crank arm steady for better equilibrium.
- Step 4: Depending on what type of wrench applies to your pedals (Allen-key or pedal wrench), put the wrench on the right pedal in a position that firmly grips the sockets. Then, with a reasonable force, rotate the wrench anticlockwise to release the pedal. Keep rotating the spindle and finish unscrewing the pedal by hand.
- Step 5: Follow the same procedure on the left pedal only this time rotate the wrench clockwise.
How to Install Bike Pedals

Now that you have removed the old pedals, you can start installing the new ones by following these simple, straightforward steps:
- Step 1: Check for the “R” and “L” stamped on the pedal’s spindle and put them on the appropriate side of the bike. If they’re not labelled with any symbols, check the pedal’s thread. You’ll notice that the threads for the right and left pedal are cut in the opposite direction and match the pedals they belong to.
- Step 2: If you’re installing pedals onto a used crank, a good idea is to get that old rag that we mentioned earlier and clean up the old grease and dirt on both surfaces of the threads.
- Step 3: Apply some fresh grease before putting in the new pedals. It can help them from getting stuck and makes it easier to screw them in.
- Step 4: Place the pedals into the crank at a 90-degree angle, so you don’t cross-thread them.
- Step 5: Install the pedals using the short end of the Allen key (or the pedal wrench) and turn it clockwise to tighten the right pedal and anticlockwise the left pedal.
Safety tip: If you have multiple chainrings, make sure to shift to the largest one before you start removing or installing the pedals. This is an extra measure of protection and will help you protect the knuckles and prevent injuring your hands in case of a slip or poor hand positioning.
Removing and installing pedals is trickier than it looks. Unless you want to spend your time getting a lot of hassle, it’s critical you understand the correct removal and installation process. Gather the appropriate tools, follow the steps, and as the Aussies say, “Bob’s your uncle”- keep those wheels moving!


