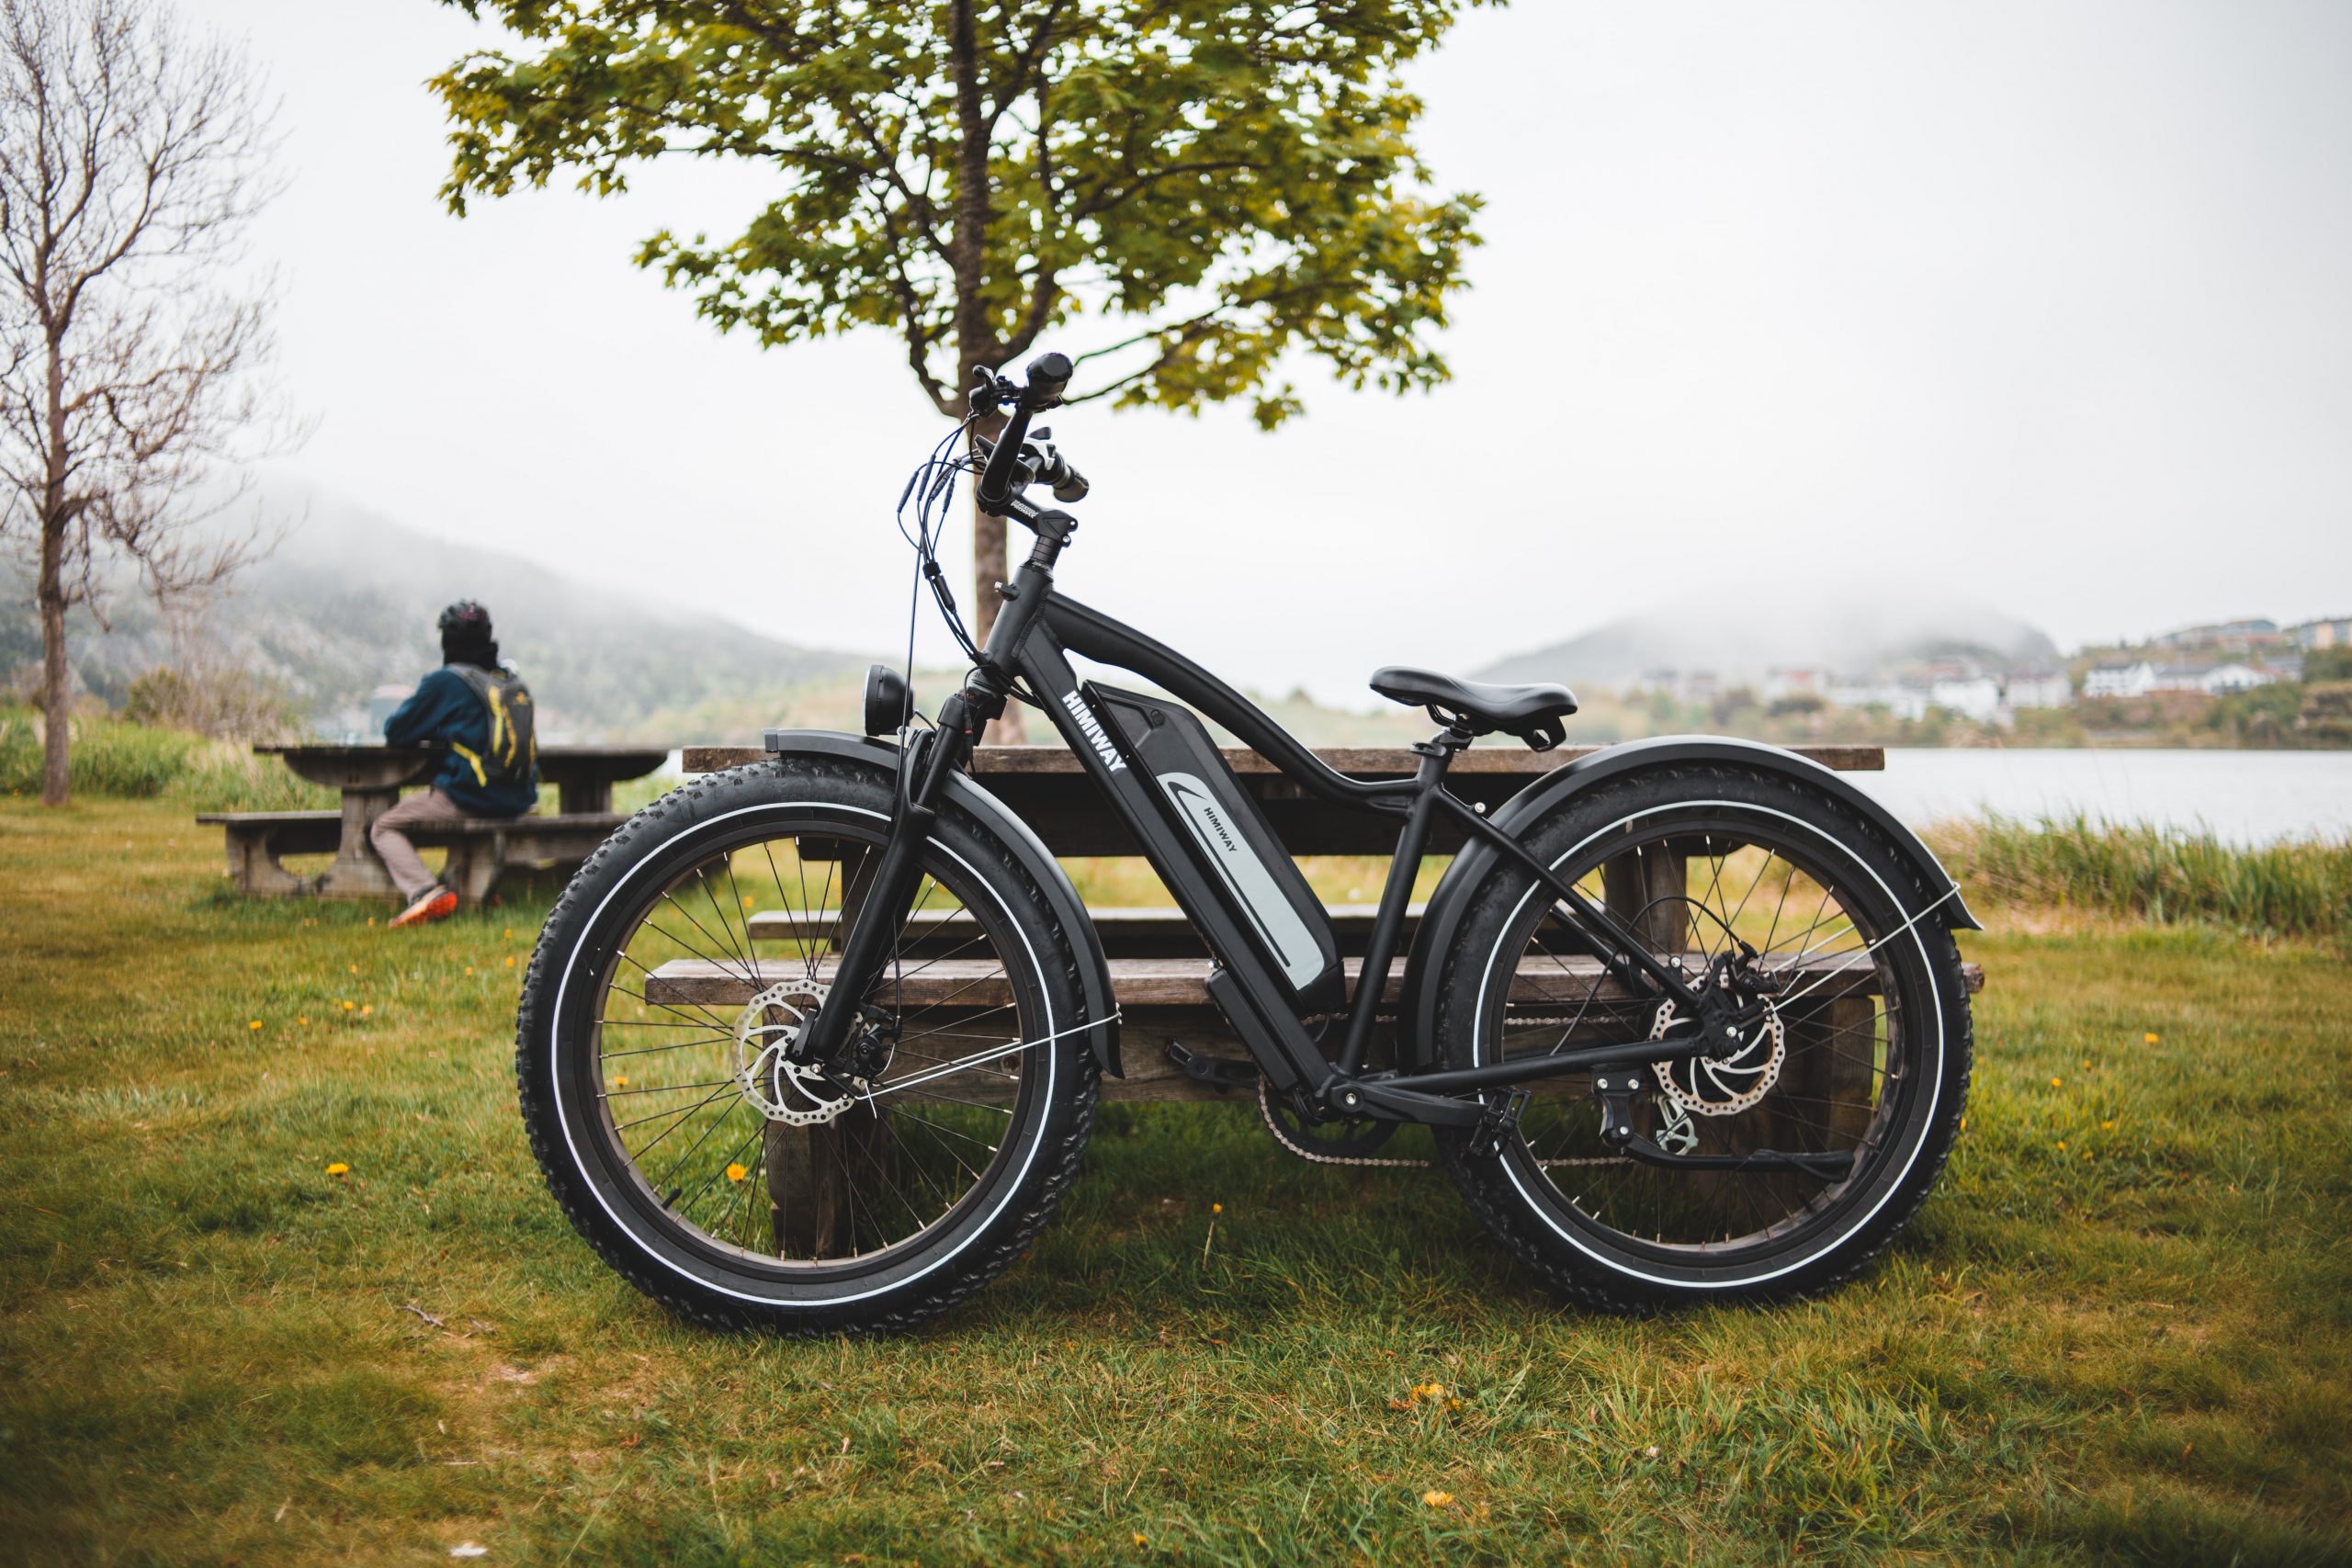
Is your bike starting to show signs of wear and tear? Are you looking for a way to keep it from rusting? Or are you just trying to make it look better? In all of those cases, there is nothing a little recoloring cannot fix.
A fresh coat of paint can make your BMX bike look like new again. And, if you have the tools and time, you can paint it without paying a professional. If you are wondering how to paint a BMX bike, you have come to the right place. We will walk you through all the steps so that you are happy with the final product.
How to Paint a BMX Bike?
One of the ways to rekindle your love for your BMX is to transform it, and the best way to do that is by adding a fresh coat of paint. Think of all the colors and designs you can put on your bike and how much fun you will be having.
You might even already have an idea of what you want your bike to look like, and that is a great place to start. However, putting these designs into your BMX can be a disaster if not done right. But how do you spray paint BMX parts? Well, before you actually paint your BMX bike, there are a few steps you need to go through first.
Step 1: Decide on the color
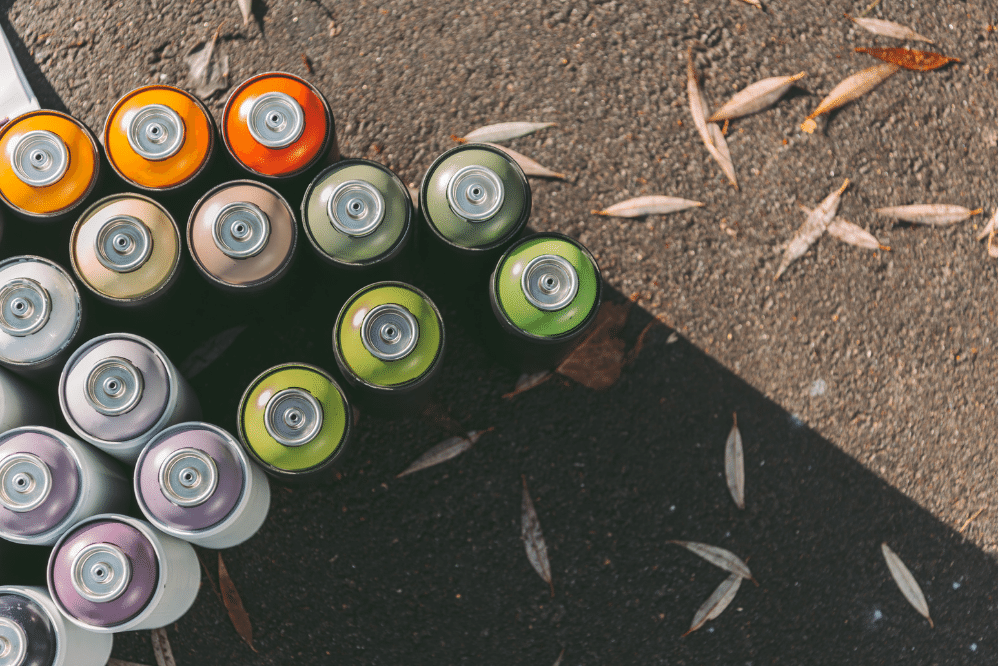
When choosing a color, you can let your imagination run wild. Choose any shade from the tens of millions available, or at least from the selections available at your local store. Nevertheless, you should keep in mind that it is critical to select a high-quality spray paint that you can apply to metal. Once you have your color picked out, you need to consider other necessary materials.
Step 2: Ensure you have the necessary tools and materials
Having all the necessary tools and materials close to you can save you from having to look around for things that can be time-consuming. As a result, for this process to go smoothly, you will need the following:
- A bike (Obviously!)
- A screwdriver (To disassemble your bike)
- A cloth (To clean the bike)
- Sandpaper (For sanding)
- Colored spray paint cans (As many as you feel are necessary)
Step 3: Take your bike apart
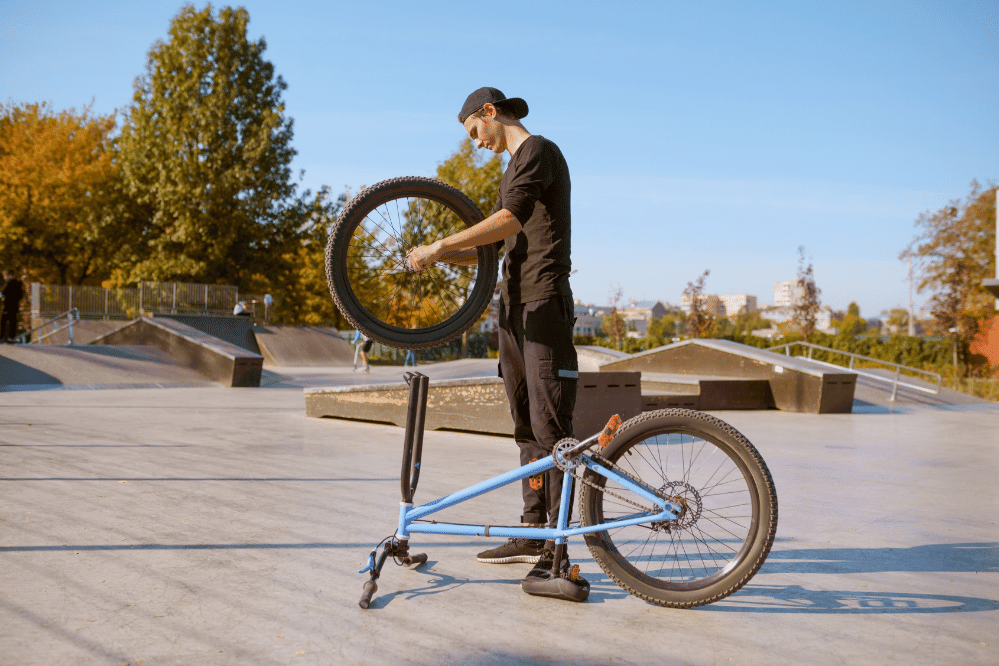
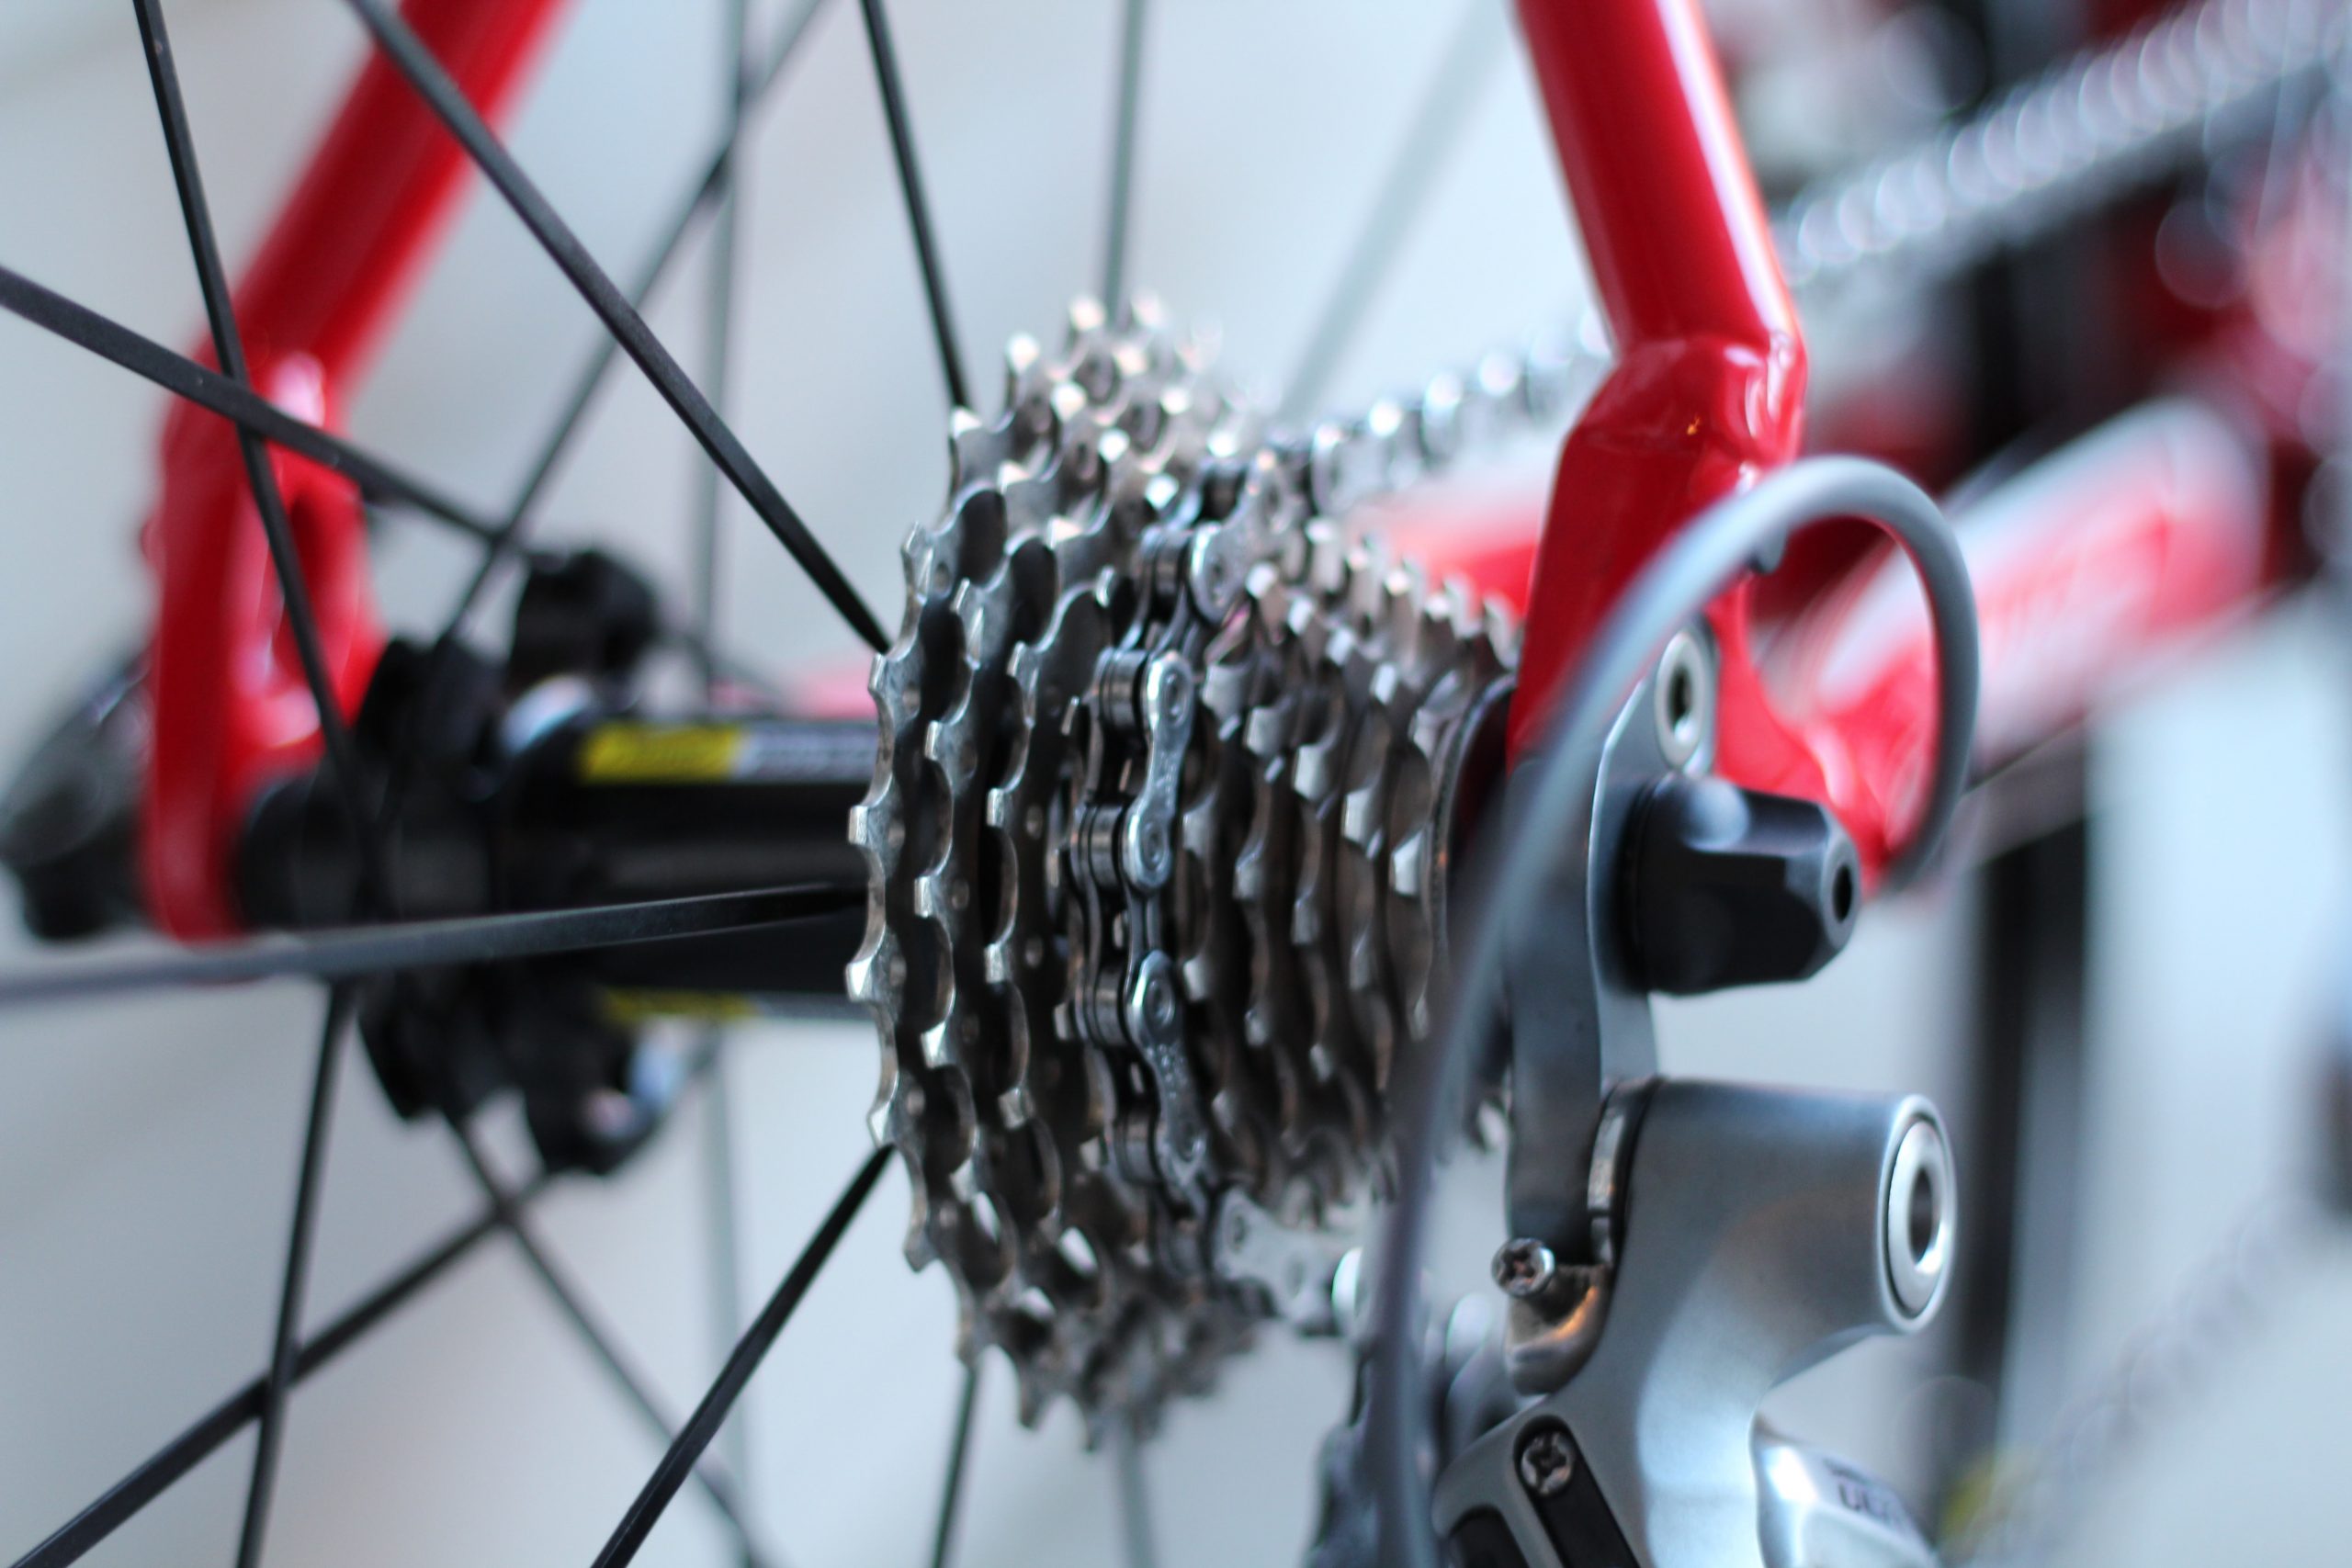
You will need to strip your bike until you are left with only the frame. So, remove the front forks, both wheels, the left and right cranks, the bottom bracket, the front and rear derailleurs, the chain, the brakes, the handlebars, and the seat. Tip: put the bike’s screws and small parts in a safe place to make reassembling it easier afterward.
Step 4: Sand the existing paint
Sanding is the process of removing unwanted paint from your bike using sandpaper. It is done so that the new color can be better applied. Sanding is an essential step, but it is also very slow and draining, so brace yourself. If you are not a patient person, ask someone to do it for you.
Another important step before you begin sanding is removing stickers and labels from the bike and cleaning it using a cloth. Doing so will make sanding the bike easier.
Step 5: Apply the new paint
After cleaning and sanding your BMX bike, it is show time. You should be very careful when applying the paint. Keep the spray paint can about a foot ( approximately 30cm) away from the frame while spraying it. Avoid spraying in one spot for an extended period because you will get drip marks. Continue until the entire surface is covered in paint. Allow 15-30 minutes for the first coat to dry before applying the second. You can repeat this step until you achieve the desired result.
Tips
Since you have made it this far and we are feeling generous, here are some tips that will make painting your BMX bike easier and more enjoyable.
Use painter’s tape to avoid over-spraying
Masking tape, also known as painter’s tape, comprises a pressure-sensitive adhesive and a thin paper backing that is simple to peel. It is generally used to produce straight lines and protect regions you should not paint. You may also use tape to block bike portions while painting your design. However, your base coat should be dry before applying the tape, or the paint will peel off.
Use primer for added protection
After securing all the parts you do not want to be painted, you should consider priming your BMX bike. Priming makes your job easier by hiding flaws and creating a smooth ground for the color to adhere to while preserving it from wear over time. As a base coat, paint primer establishes the foundation for a flawless paint finish.
Wear a filter mask while painting
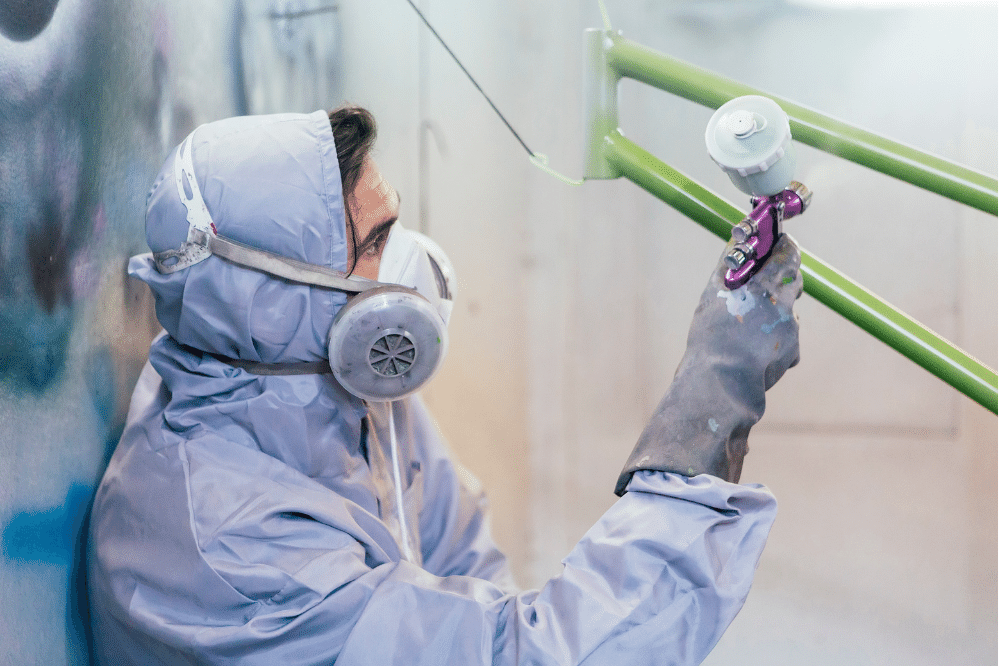
Wearing a filter mask while painting is crucial to protect your health. Working with spray paints, in particular, exposes you to potentially dangerous chemicals. If you work with these substances for an extended period, you will be putting your lungs at risk. Wearing a filter mask while spray painting your bike will prevent such exposure.
FAQ
Here are our answers to some of the most frequently asked questions on BMX bike painting
What kind of paint do you use to paint a bike?
You can paint your bike with a brush, spray, or airbrush paint. The latter two are more popular because they are easier to work with.
Can you spray paint a BMX bike?
Yes, you can recolor your BMX bike with spray paint. It may take two or three cans to cover the entire surface, but it is easy to work with and lasts longer.
What is the best way to paint a bike?
Two of the best ways to paint your bike are spray paint and airbrush paint. One of the disadvantages of airbrushing is that it can be costly, which is why most choose spray paint instead.
