Cycling, besides being a popular leisure activity, is also one of the most practical means of transportation. In 2019, the number of people who cycled in the United States increased up to 48.88 million. Bicycles are practical, economical, and environmentally friendly. However, they are still a machine and need our attention, especially when it comes to their brakes.
Why Do You Need to Adjust Bike Brakes?
Riding a bike, no matter how fun and practical it is, may sometimes be very dangerous. In 2019, 1,089 cyclists lost their lives in a biking accident. While these accidents happened for numerous reasons and brake malfunction was not the primary cause, knowing how to adjust bike brakes is a plus for every biker. As the brakes keep being used throughout time, they tend to get less effective. This may lead to several risks, such as having it hard to brake.
Even though it may seem complicated, bike brake adjustment is a relatively easy process. For every biker who wants to have a safer experience while riding their bicycle, here is a guide that will inform you about the types of bike brakes, tools needed, and the procedure to adjust them.
Types of Bike Brakes
We’re all familiar with the fact that there are numerous types of bikes, but did you know that there are also numerous types of brakes? Well, there are, and some of the most popular ones include, caliper brakes, disc brakes, and rim brakes.
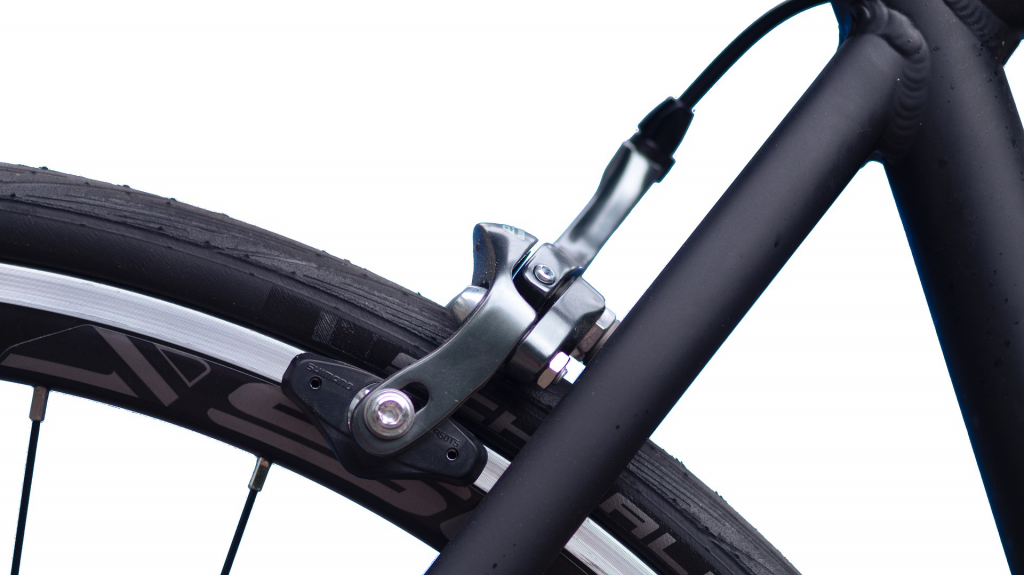
Caliper brakes

The caliper brakes consist of a cable-operated brake, where the brake goes up to one point above the wheel and allows arms to auto-center on the rim. Then, arms expand around the tire, ending in brake shoes that press against the rim. Even though some designs may integrate dual pivot points, eventually, the whole assembly ascends to a single point.
Caliper brakes are some of the most known bike brakes. They can be mainly found on road bikes and mountain bikes (though these are rare cases). Even though they are solid and simple, they tend to lose their effectiveness as the tire gets deeper or wider; that is why they need some attention from time to time to check if they need adjustment. We previously mentioned that there are several types of brakes, but let us also tell you that there are two types of caliper brakes:
Side-pull caliper brakes
This type of caliper brake contains two curved arms which hold the brake pads on opposite sides of the rim. The arms consist of extensions on one side; one is attached to the cable, while the other is attached to the other cable housing. When the lever gets squeezed, the arms move together, causing the brake pads to squeeze the rim.
Center-pull caliper brakes
Center-pull caliper brakes have symmetrical brakes, so they center more effectively. The tension on the cable of such brakes is distributed in an even manner, so it averts the brake from being set on one side or the other.
Disc brakes
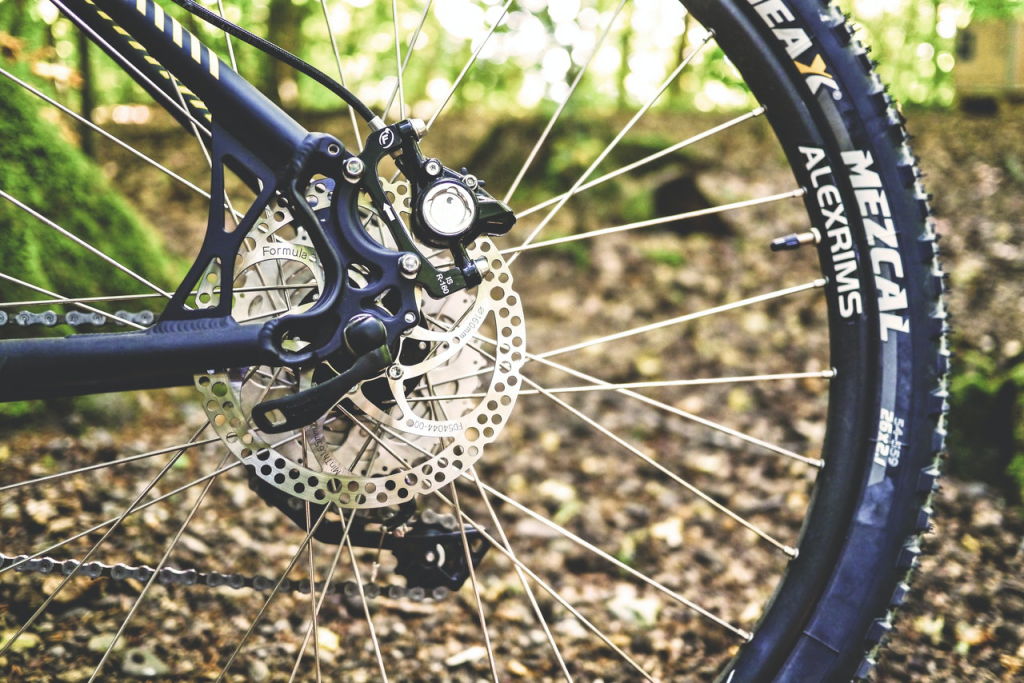
This kind of brake got the name disc brakes because they consist of a metal disc that is attached to the wheel hub that rotates with it. They may operate by cable (mechanically) or hydraulically. Disc brakes are mostly used in mountain bikes; however, we may also notice them in hybrid or touring bicycles.
There are numerous advantages of disc brakes since they can be used in several weather conditions, including rain, mud, or snow. Similar to other types of brakes, disc brakes eventually wear out and need replacement. Yet, disc brakes are cheaper and easier to be replaced in contrast to other types.
Rim brakes
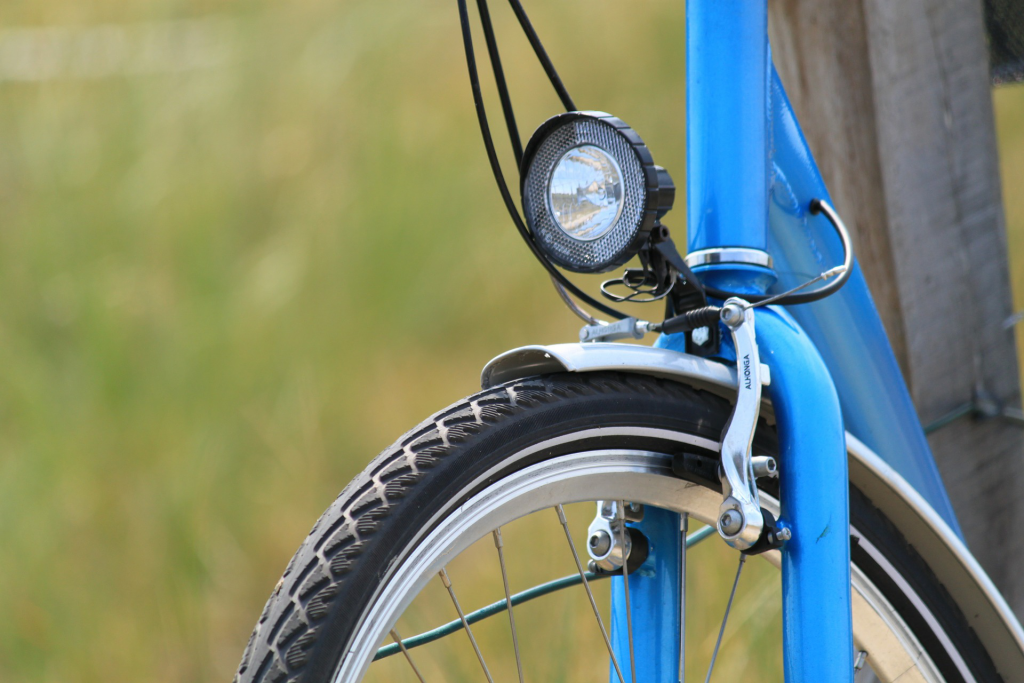
Rim brakes are some of the most popular brakes because they are not expensive and are easy to use and maintain. They take their name from the fact that force is applied from friction pads to the wheel’s rim; therefore, it slows down the bicycle. Rim brakes operate with a lever that is mounted on the handlebar and can be made of different materials such as rubber, leather, and cork.
Rims may obtain debris from the ground and then transfer it to the brake pads, so rim brakes usually tend to be clogged with mud or snow. However, that is not a deal-breaker because they have easy maintenance and are relatively inexpensive when you need to buy new ones.
Tools Needed for Bike Brakes Adjustment
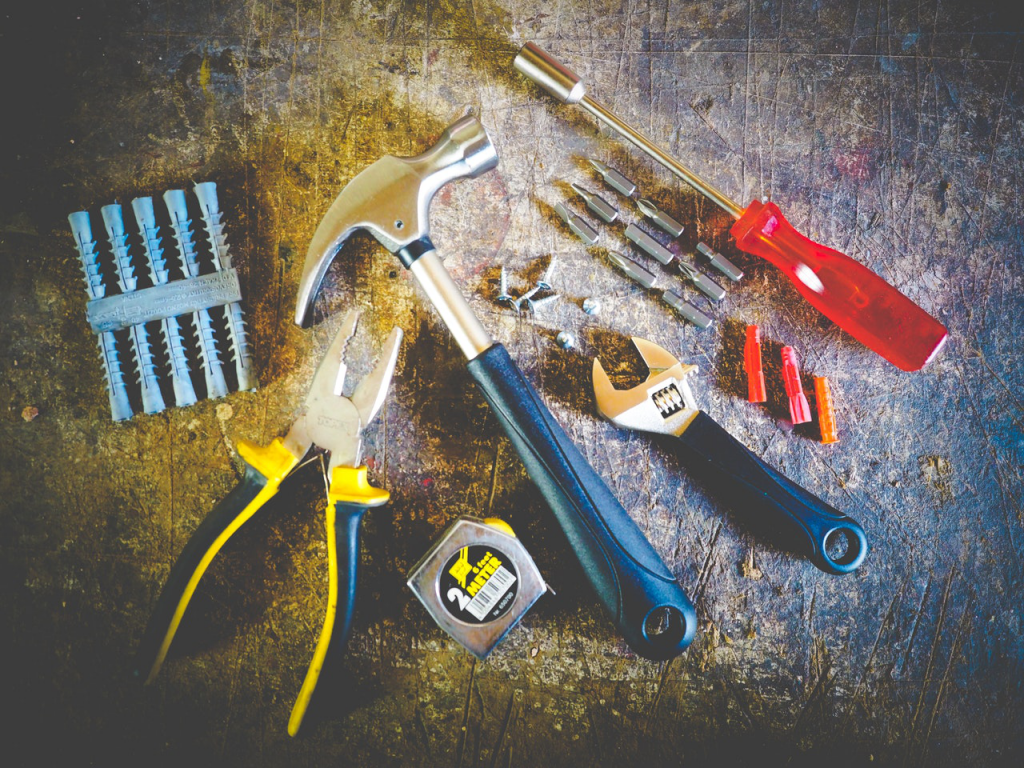
Adjusting bike brakes isn’t a complicated process. All you need is a couple of tools and some time. The majority of the tools are easy to find, and probably the majority of bicyclists already have them in their garage; however, even if you don’t, they are not very expensive. To adjust your bike’s brakes, you will need the following tools:
- Bike wrenches set
- Needle nose pliers
- Bleed kit and oil
- Rotor truing tool
- Latex gloves
- Clean rags
- Denatured alcohol (or some other type of cleaner)
How to Adjust Bike Brakes?
Before deciding to adjust bike brakes, you first need to find out whether they need to be adjusted in the first place. This procedure is very simple, and it only takes a few seconds. When you squeeze the brake, there has to be at least a two-finger length space between the brake and the handlebar. In case the brake goes all the way to the handlebar, that means that it needs adjustment.
Another way to find out if your bike brakes need adjustment is by checking the space between each pad and the rim. If there is unequal space between them, that means that your brakes need to be aligned. There are two main ways to adjust bike brakes: you can either adjust the brake pads or tighten the brake cables.
#Method nr. 1: Adjusting the brake pads
If your brake pads are unadjusted, there can be two scenarios: either there exists more space between the pad and the rim, or there is less space. In both cases, you need to adjust the tension on the brake arm springs using the set screw.
To put more space between the rim and the pad, you need to:
- Move the screw clockwise.
- Stop, then squeeze the lever to check if the pads are aligned.
- Continue with these steps until the pads are adjusted.
To put less space between the rim and the pad, you need to:
- Move the screw counter-clockwise.
- Stop, then squeeze the lever to check if the pads are aligned.
- Continue with these steps until the pads are adjusted.
#Method nr.2: Tightening the brake cables

In order to tighten the brake cables, you need to follow these steps:
- Slide the boot off of the housing and place the brake noodle on the edge of its housing.
- Grasp the end of the cable and loosen the anchor bolt that holds the cable.
- Pull the cable until pads are just touching the rim.
- Tighten the anchor bolt.
- Move the brake noodle, so it is fully engaged in its housing.
- Reinstall the boot onto the noodle.
If you follow these procedures, when you squeeze the brake lever, it will not move more than halfway towards the grip, and there will be a two-finger length space.
To conclude, adjusting bike brakes is a key process in a bike riding experience, and every biker should know its importance. Even though there are numerous types of bikes and brakes, the procedure of adjusting them is relatively similar, does not take a lot of time, and can be done with tools that are easy to find and affordable to buy. When done regularly and adequately, bike brake adjustment is a task that leads to a better cycling experience.


