Maybe you have a vision of a bike you want in your mind. Or perhaps you are just curious about the process of building a bike from scratch. Either way, building a bike can be the ultimate rewarding experience for a rider. It can be challenging but it is worth it. We are here to show you how to build a BMX bike, including the steps you need to go through, the parts you need, and the process of putting them together. You can do it!
Why Build Your Own BMX Bike
By building your own BMX bike, you are in control of everything — from the frame down to each component you use. It is not necessarily as easy or as affordable as buying a complete bike, but it allows you to be in charge of every part that goes on your bike. You can choose where to spend money and where to save it (considering bike components). You will understand how your bike works. Putting every part together with your own hands will make you more confident and connected to it. When you pick the pieces, everything about your bike will be exactly like you want to. So what’s stopping you from bringing the bike of your dreams to life?
How to Build a BMX Bike
There are three main steps to go through when building a BMX bike. First, you need to select the bike parts. Next, you need to buy those parts. And finally, you can start building it. Read on to go through each of these steps.
1. Select the parts
Selecting the parts for your bike can be overwhelming, but it is a crucial step that will determine the quality of the bike. Being patient and taking your time to choose the right parts for your riding style and preference is an essential step towards building the bike of your dreams. When selecting your bike parts, color, weight, and specs are to be considered. In addition, we present further down a list of all the essential bike parts you need.
Color
Bike appearance plays a significant role in building a dream bike. You may have a specific vision in mind, or you can decide as you select your parts. You can find many websites that allow you to digitally customize the color of your bike. That way, you can try different colors and see how your bike would look. However, color is not a priority when it comes to building a bike. Specs and weight are more important as they actually affect your riding. Even if you don’t find parts in the color you like, you can paint them by hand or using a spray.
Weight
Another factor to consider when selecting your bike parts is their weight. Your overall bike weight affects your speed to a great extent. The average BMX weight is somewhere around 25 pounds. Lighter and more expensive bikes weigh about 20 pounds. In general, lightweight bikes are considered better since it’s easier to carry them. They speed up faster and move more easily. However, weight alone isn’t essential when it comes to BMX bikes. Instead, it’s more about the quality of the BMX bike parts. Sometimes lighter might make a BMX more fragile, but you can reduce the weight of your bike by choosing more lightweight components.
Specs
Considering bike specs is a crucial part when wanting to build a bike yourself. A BMX bike has many various parts that you need to put together. You need to take your time and do your “research” for each one of them. By doing that, you try and build the best bike for you, always taking into account what fits you and your preferences.
Parts
As mentioned above, choosing the right parts for your bike is crucial. Below you can find a BMX parts list containing information about each to help you on your journey to BMX part selection and building your bike.
Frame
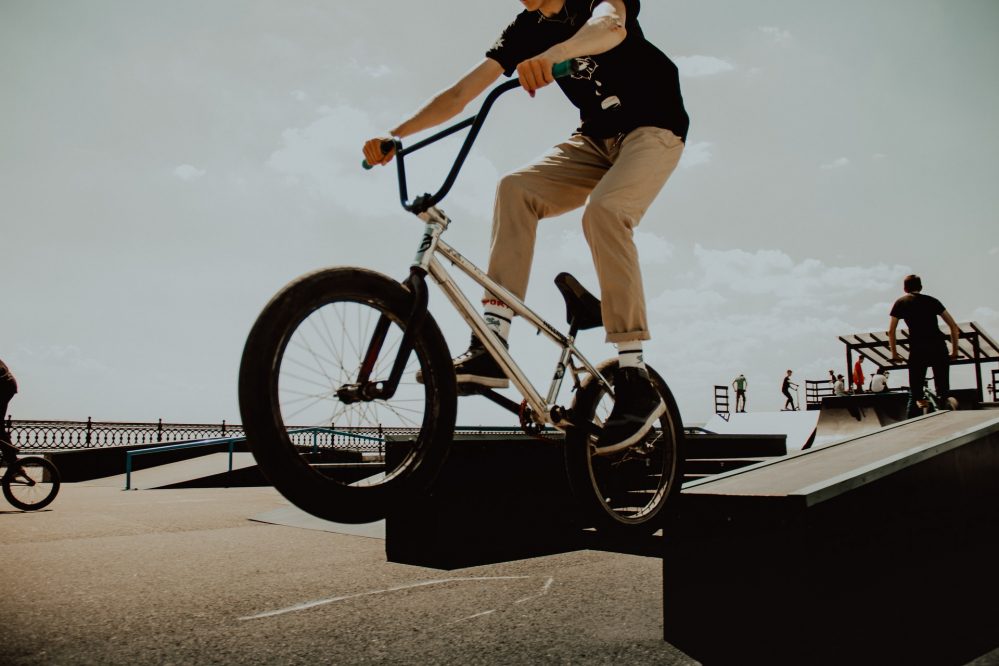
Apart from being the biggest part, the frame is an essential part of the bike, often referred to as the bike skeleton. When choosing a frame for your BMX bike, you need to consider its size and geometry (based on the type of riding you want to do). There are three main types of frames: race, freestyle/street, and cruiser. Race frames are mainly made for racing. They are lighter to enhance speed, and they’re not suitable for tricks. On the other hand, freestyle or street frames are suited for skatepark riding, ramp riding, and dirt jumping. Cruiser frames are bigger than standard BMX frames and fit bigger wheels (24″).
Material
When it comes to the frame material, you can choose between aluminum, Chromoly, hi-ten steel, and carbon fiber. Lightweight options are more appropriate for a race BMX bike since you need to go faster. Consider aluminum, if you want a cheaper option, or carbon fiber, which is more expensive but strong and is known to reduce vibration more than aluminum. However, if you are not a racer, the frame material to go to is usually steel. It is light, so you can perform tricks, and tough to take crash landings on concrete. You can choose between two types of steel: Hi-ten, which is cheaper, or Chromoly, light and strong, but more expensive.
Size
BMX frames come in different length sizes. The most popular frame size for street, ramp, and dirt jumping is a 21″ top tube. On the other hand, flatland BMX bikes usually have shorter frames, 20″ or less (for balance and precision control). Regardless, you may choose longer or shorter frames based on your personal preference. If you don’t know what size to choose, we suggest you try out a few different sizes from a bike shop, or friends, to see which one suits you best.
Geometry
Apart from the top tube length, you need to consider the head tube angle, seat tube angle, and chainstay length. The head tube angle affects steering: a steeper head tube angle will put you further over the bike’s front end, enabling sharper steering and making it easier to do technical tricks. Meanwhile, a slacker head angle positions you farther back on the bike, improving stability and speed. The seat tube angles range from 69 to 71.5 degrees. When it comes to chainstays, shorter ones will make it easier to do tricks, while longer chainstays offer stability at speed.
Front end (bars, stem, forks)
The front end of the bike affects your steering and weight distribution. Depending on whether you’re doing BMX racing or BMX freestyling, you need to choose between a top load, front load, or drop-down stem. You can go for stable and strong or lighter so that you can pick up speed. Usually, people go for a top-load stem with a taller set of bars. The handlebars come in a two-piece or a four-piece. When choosing them, you need to have in mind the width, rise, and different angles that will affect your riding. Furthermore, it is also crucial that you choose the right angle when it comes to your fork, the offset. These will determine how the bike feels to you and how you control it.
Headset
When choosing your headset, you need to start with the style of headset system you want to use. BMX bikes use either an integrated or a push-in system. The integrated system holds the bearing ring in an integrated bearing holder built into the frame. A push-in system locks the headset bearings having the bearing sat over the frame and not integrated into it. Usually, people opt for the integrated system since it offers a high-quality system for a fair price, and the design looks more attractive.
Grips
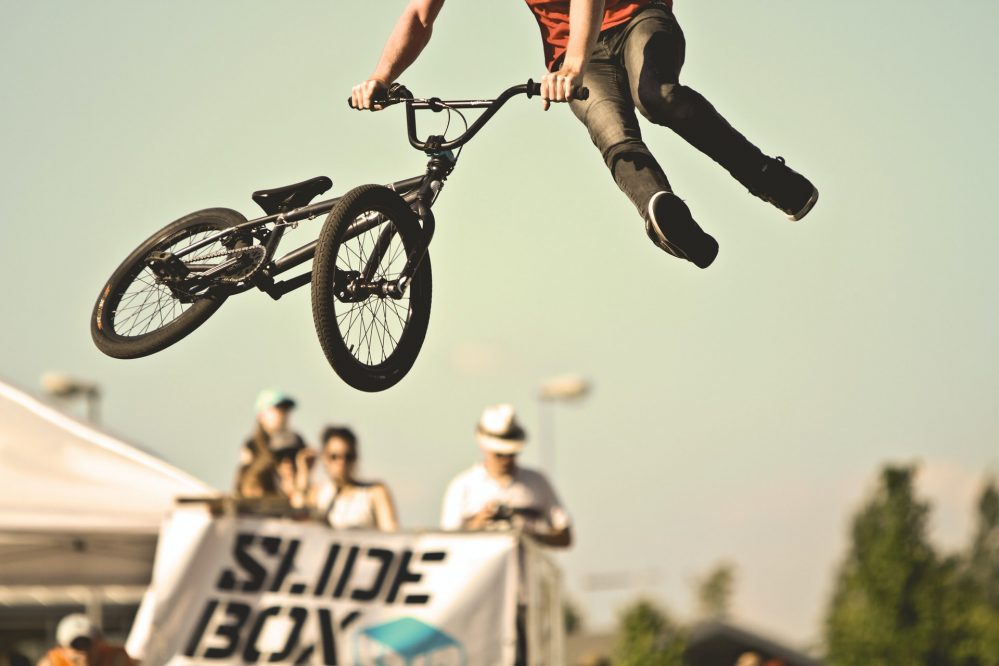
BMX grips come in different styles, designs, sizes, materials, and colors. However, the crucial part is choosing between regular or lock-on grips. Regular grips are the most common for street or freestyle bikes. They can include a flange, or they can be flangeless. On the other hand, lock-on grips are more common for racers. They look like a regular grip but feature aluminum collars by the ends of the grips. Tightening those collars ensures that the grips won’t twist and keeps them from slipping off.
Cranks, spindle, pedals, bottom bracket
BMX cranks come in numerous lengths and various spindle sizes; 19 mm, 22 mm, and 24 mm. There are four types of BMX cranksets you can choose from: the 3-piece, 2-piece, 1-piece, and race cranks. While considering the crank arm length, riders usually choose a 170 mm or 175 mm size since it is suitable for street, park, and dirt riding. However, you can decide on a shorter or longer one. A shorter crank arm is more appropriate for street and flatland riding, while a longer one is used more for jumping and racing. Next, regarding the spindle sizes, choose the 19 mm one if you are a smoother rider; 22 mm for street, park, and dirt riding; and 24 mm if you are a wilder rider and put more abuse on your bike. And finally, based on the spindle size you choose, you need a bottom bracket to match your spindle size.
In addition, there are two main types of pedals you can choose from: pedals consisting of a metal body and those made of plastic. Plastic pedals are cheaper, but metal pedals are more durable. If you don’t want to spend too much money on your pedals, you can choose plastic pedals with replaceable metal pins to get them to last longer. You can also get sealed or loose-bearing pedals.
Seat and post
Usually, a BMX seat is made of a molded plastic hull with foam padding and leather or synthetic cover. The cover material depends on your personal choice – natural leather is comfortable and durable but expensive. On the other hand, synthetics are harsh and cheap. High-end seat cover materials like Kevlar offer the ultimate durability.
There are three usual widths used for BMX seats – slim, fat, and mid-width. Slim seats are popular among race riders, while jump riders prefer fat saddles. Mid-width saddles are used by street and park riders.
When choosing a seat post to which you will attach your seat, you can pick between these five main types – integrated, standard, railed, pivotal, and tripod.
Tires and rim sets
BMX rims come in a standard 20″ diameter. However, smaller or bigger sizes are available, depending on your riding. Furthermore, multiple sizes are available regarding the rim width, with a standard size of 32 mm. They can be pinned or welded. In addition, regarding their internal structure, you can choose between single-walled rims or multiple-walled ones.
Tire size can differ depending on the type of riding you intend. Choose 1.75″ tires for racing and 2.15″ for street riding. If you are a jumping rider, choose 1.6″ or 1.9″ wide tires (depending on your level of jump riding). For dirt-track racing, choose 1.5″.
Furthermore, pick tires with raised knobs for dirt jumping, as they have a more aggressive tread and provide a good grip on dirt and rough surfaces. However, they are not suitable for park or street riding. Street and park tires need to have smooth treads and tiny knobs (or none at all).
Pegs
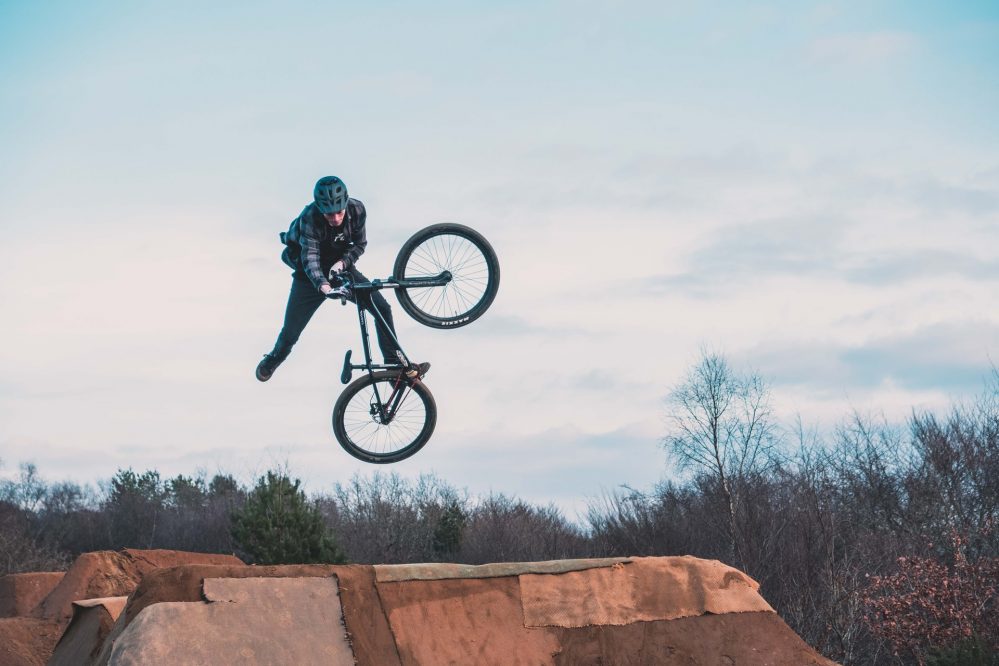
BMX bike pegs are designed for performing tricks. In general, they are an optional bike feature in the sense that not all BMX bikes are made for performing tricks. If you are into racing, they will actually slow you down. However, if you’re interested in performing tricks with your BMX bike, you need to choose your pegs based on your riding style and level.
If you are a beginner, you should choose one pair of metal pegs. Moreover, for street riding, you can choose plastic or Chromoly pegs, in addition to metal ones. However, stay away from metal pegs if you enjoy park riding. Choose plastic ones instead. For flatland riding, the most suitable ones are aluminum pegs.
Hubs
When choosing hubs, you usually need to choose between two rear hubs (Freecoaster or Cassette) and decide on a matching front hub. Cassette hubs are the “classic” BMX hub. They provide minimal weight because of their simple construction. Freecoaster hubs weigh more than cassette hubs and are slightly larger in diameter than cassette wheels. They allow the rider to move back without needing to pedal backward.
Sprockets
The sprocket is a crucial bike component. It reflects a biker’s riding style. There are two basic types of sprockets you can choose from: bolt drive and spline drive. Bolt drive sprockets usually have a bolt that goes through the sprocket and threads into the crank. Meanwhile, spline drive sprockets attach to the crank arm through a crankset’s splined spindle. Additionally, you can choose guard sprockets that protect the sprocket’s teeth and the chain.
Choosing the size of the sprocket depends on your riding. For your BMX bike, the most common size sprockets are those with 25 teeth (25t) sprockets and those with 28 (28t) sprockets. A sprocket with more teeth enables you to ride faster but needs more energy to get to and maintain that maximum speed.
Brakes
Depending on your riding style, you can choose to have two brakes, one brake, or even build your bike without brakes. However, if you do decide to have brakes on your newly built BMX, there are three main types you can go for U-brakes, V-brakes, and coaster brakes.
U-brakes are the standard brakes used on dirt, park, or street bikes. They are the most durable brakes. Meanwhile, v-brakes are usually used on race bikes. They are lighter and offer powerful braking. A coaster, on the other hand, is a pedal brake integrated into the rear hub. It activates when you pedal backward. These pedals need less care as there are no cables, but they are being used less due to not being able to move back without stopping.
2. Buy the parts
Selecting all the pieces for your new bike can be pretty challenging. Now comes the easy part—buying them. Since you picked everything, ordering everything online would be the easiest way to buy them. If you buy all the parts from one shop, you can ask for discounts. Or, you can check for sale coupons. Remember to check more than one shop so that you can find the best prices for your bike parts. With all the effort you put into selecting everything, being patient enough to try and find better prices brings you one step closer to your newly built bike.
3. Build the BMX bike
Below we present seven steps you can follow to build your BMX bike. Having this guide, the bike parts, and the tools in front of you is all you need.
Preparing your tools
The first step to building your bike is preparing all the tools you are going to need throughout the entire process:
- A 5 mm Allen key
- A 6 mm Allen key
- A 15 mm spanner
- A 17 mm or 19 mm spanner
- A bike air pump
- Scissors
- Lubricant grease
- A rag
After you have everything ready, proceed to the next step, and start putting all the bike parts together.
Attaching the fork to the frame– First, install the crown race onto the fork. Next, lubricate it and slide a bottom bearing on top of it. Proceed to attach the fork to the frame. Add a top bearing and a top race. Tighten them up.
Installing the handlebars– Move on to installing the handlebars. Start by attaching the stem to the frame. Next, insert the handlebars into the stem. Tighten them appropriately.
Installing the crankset and the pedals– To install the crankset, use a bike stand. Or simply flip the bike over if you don’t have one. You can pre-install the pedals into the crank arms. Proceed to install the bottom bracket bearings and the crankset. Remember that the bigger bearing goes on the non-drive side. When attaching the crank arms (with the pedals attached), make sure they are balanced.
Attaching the seat– Move on to attaching your seat post to the frame. Next, put your seat on the post, adjusting it to your preferred height and angle.
Attaching the wheels and the chain– Lastly, attach your wheels and chain to the bike. First, put the tires into the rims and get your wheels ready. Move on to attach the front wheel first. Install your pegs before putting on the axle nuts. Make sure it is centered on the fork and that it spins freely. Put on the back wheel as well. Install the chain on the sprockets and tighten it.
Installing brakes– This last step is optional, depending on whether you decided to add brakes to your bike or not. To install the brakes to your BMX bike, start by sliding the levers to your handlebars. After tightening them, proceed to install the front brake arms. Next, run the cable over the top of the crossbar, around the fork, and into the brake arm. Using scissors, cut the cable and connect it to the brake arm. Lastly, adjust the spring tension on both sides and adjust the brake pads.
Conclusion
Building your own bike is an experience that you will likely never forget. Since now you know all about the parts you need and the process of putting them together, all that’s left to do is start your journey of building your fully customized BMX bike. You may encounter a few challenges along the way, but the amount of satisfaction you will feel when you first ride the bike makes it all worth it.
