If you clicked on this article, it might be because you have just found out that the reason for your back pain every time you ride your bike is the position of the low handlebars, and you want to change that. So before we dive into how to raise handlebars on a bike, let us first mention why some bikes originally come with low handlebars.
Why Do Some Bicycles Have Low Handlebars?
Bicycles that come with low handlebars are considered aerodynamic and are more commonly used by bike racing enthusiasts. As you lean over the low handlebars, they give you the advantage to go faster in a bike race. If you do not belong to this group of bikers, do not worry, we’ve got all the tips and tricks to help your handlebars level up.
Why Is Handlebar Height Important?
The importance of handlebar height lies not only in the racing advantages but also in your comfort. As we mentioned before, raising the handlebars on a bike with low ones should be your first step if you want a more comfortable ride. The reason is that if you lean over your low handlebars, you put all of the pressure on your joints and back, which could cause back pain. However, if you have higher handlebars, your position will be much more comfortable, and your posture will be improved, which is always a good thing.
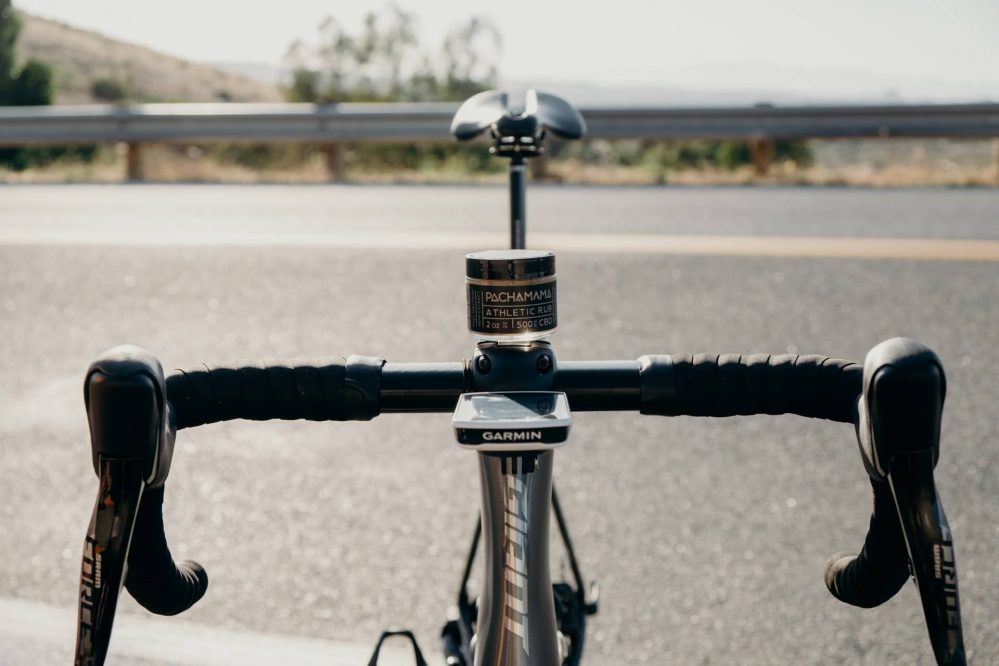
How to Raise Handlebars on a Bike
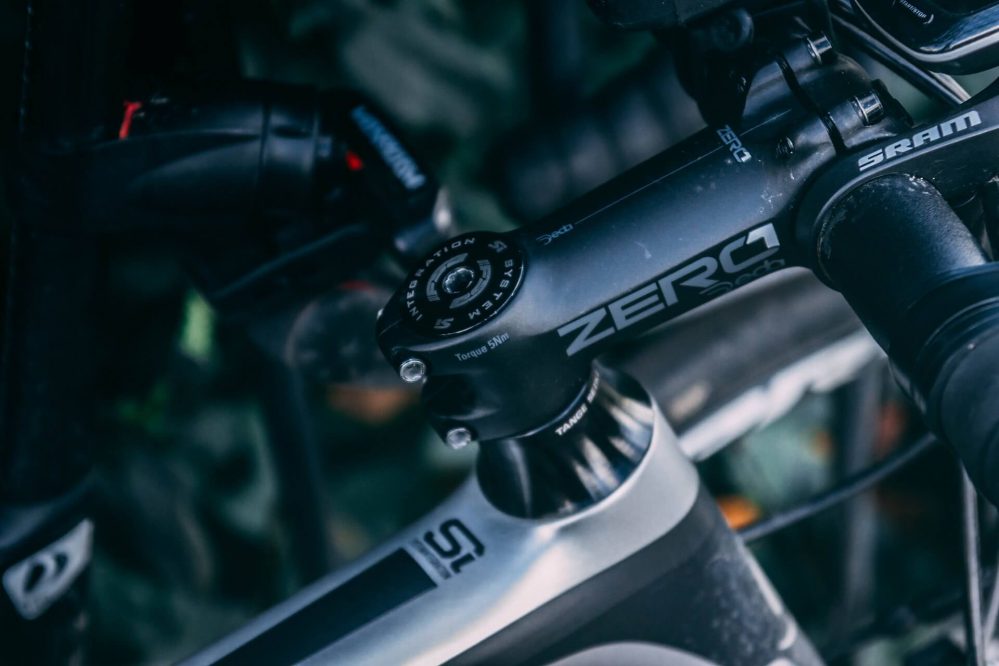
Raising your bike’s handlebars is something that you can quickly do in your garage or backyard without needing help from anyone, only your tools. These tools consist of two forks used to raise or lower your bike’s handlebars: quill or threadless. The difference between quill and threadless stems lies in the type of bicycle you have; quill stems are more standard and common, whereas threadless stems are seen more in modern bikes or bikes used in racing. However, this does not mean that one is better than the other, so let’s take a look at how to use both quill and threadless forks.
Quill stems
The quill stem system uses a simple quill fork that can easily slide into the stem, and while twisting the bolt, this can raise your bicycle’s handlebars. Keep in mind that with quill stems, you can only raise your handlebars so much because they come with measurements engraved on the stem indicating how much you can raise the handlebars. If you raise them above the engraved measurements, your bike stem will eventually fall off, which is very dangerous, especially if you’re riding your bike when it happens.
Threadless stems
The threadless stem system is a bit different from the quill one in that it doesn’t consist of a simple fork and twist technique to raise the handlebars. If you want to raise a bike’s handlebars with a threadless stem, you have to install a new tube and attach it to the threadless stem adapter that tightens the handlebars to the tube. The threadless system might seem more complicated than the quill one, but it is pretty simple.
You use the threadless fork to loosen the handlebars’ bolts to slowly remove the handlebars, giving you space to switch the stem for a longer one. After you install it, put the cap back on and re-insert the handlebars carefully, making sure it is straight with the bicycle tires.
Are There Disadvantages to Raising Bicycle Handlebars?
There is a yin and yang situation even in something as simple as a bike’s handlebars height. While raising handlebars on a bike does offer a more comfortable ride, it comes with its disadvantages. The first one is that your brake cables might be too stretched out since they’re connected to your handlebars, so you might have a limitation as to how much you can raise them. Second, if you’re riding a steeper track, you will, unfortunately, have less friction, making it a bit more challenging to ride the bike. The third disadvantage is that the lack of pressure on the front wheel will cause the bike to go slower than if you have lower handlebars where all the pressure is on the front wheel.
What Is the Right Handlebar Height?
We have come to the final question: What is the right handlebar height? Given that you now have an idea of what you might prefer for your handlebars in light of all our instructions, there still might be some doubt as to how high your handlebars should be. The right handlebar height is positioned on the level of the bike saddle or higher; however, if you prefer a faster ride, 4-5 centimeters below the saddle is the right handlebar height for you.
Conclusion
We believe that this guide will have given you the exact knowledge you need to proceed with raising your bike’s handlebars to your preferred height. Of course, finding the right and most comfortable height for you may take some trial and error. The good news is that no matter how many times you change your mind and want to adjust the height of your handlebars, you can easily do so with our thorough yet simple instructions.


