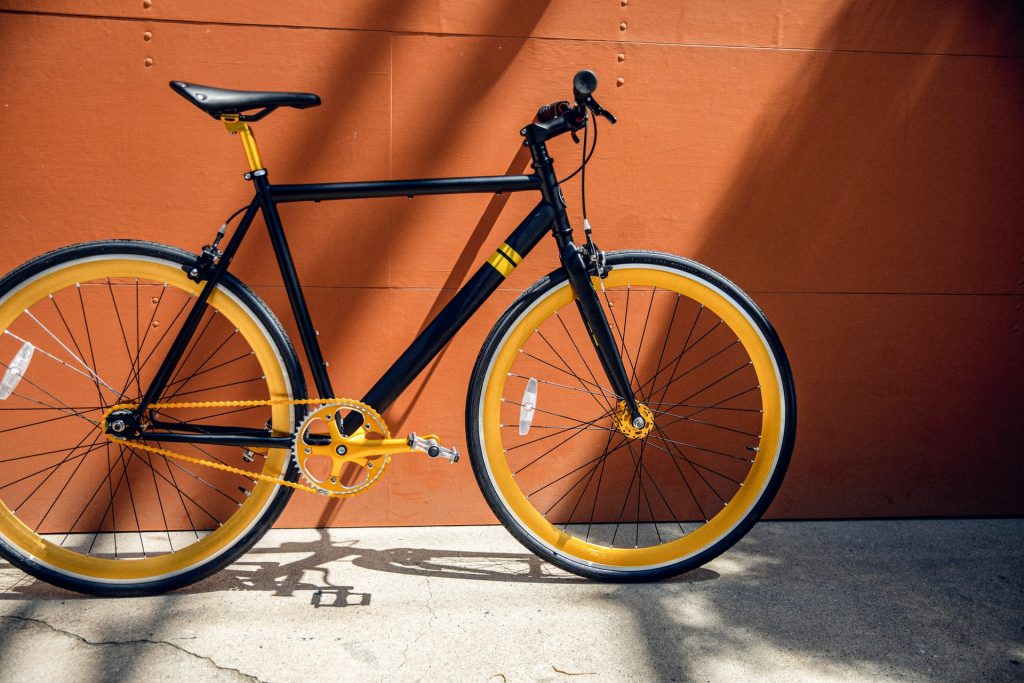
After some time and probably many painful falls, your bike can start to look worn down. The paint scratches that serve as proof of its use might make it look older than it actually is. Or, maybe although it still looks good, you are tired of its current color. It can be tempting to go and buy a shiny new bike. But, if there are no other problems with the vehicle, there are some more budget-friendly ways to solve the exterior problem. Follow our guide and learn how to paint a bike frame to make it look brand new again. In a few simple steps with some simple tools, you can customize your bike frame to whatever your heart desires.
Practice Practice Practice
As we have all heard many times, practice makes perfect. Especially when it comes to art and painting, practice enables you to overcome problems in technique. You might wonder what technique is needed when painting over a bike frame? Well, it does all depend on how you want your bike to look. If you plan to use two or more colors, you should practice blending colors. Or, if you want to draw a design on top of the frame, you should practice it on paper first. Get acquainted with your spray paints or paints and brushes before you start putting them on the real thing.
Choose the Setting
Before you can go all Bob Ross on your bike, first you need to prepare the space where you will work. If possible, painting the bike somewhere outside in the open air would be best. This way, you avoid inhaling any volatile organic compounds (VOC) released from the paint. However, if that is not possible, try picking a room where you can open a window.
After choosing the area, use a plastic drop cloth to cover the grass, concrete floor, or flooring in your room. Avoid using fabric clothes as they can soak the paint and let it leak onto the ground. Lay down the plastic and tape it to the floor. If you are working near a wall, then tape some plastic cloth to it as well.
To make the process easier, see if you can hang the bike frame from something by threading a wire through the head tube. Or, try mounting it to a table by inserting a cylindrical rod or anything shaped like it through the head tube and clamping it. It will enable you to walk around it and paint every side without having to move it.
Select the Paint You Want to Use
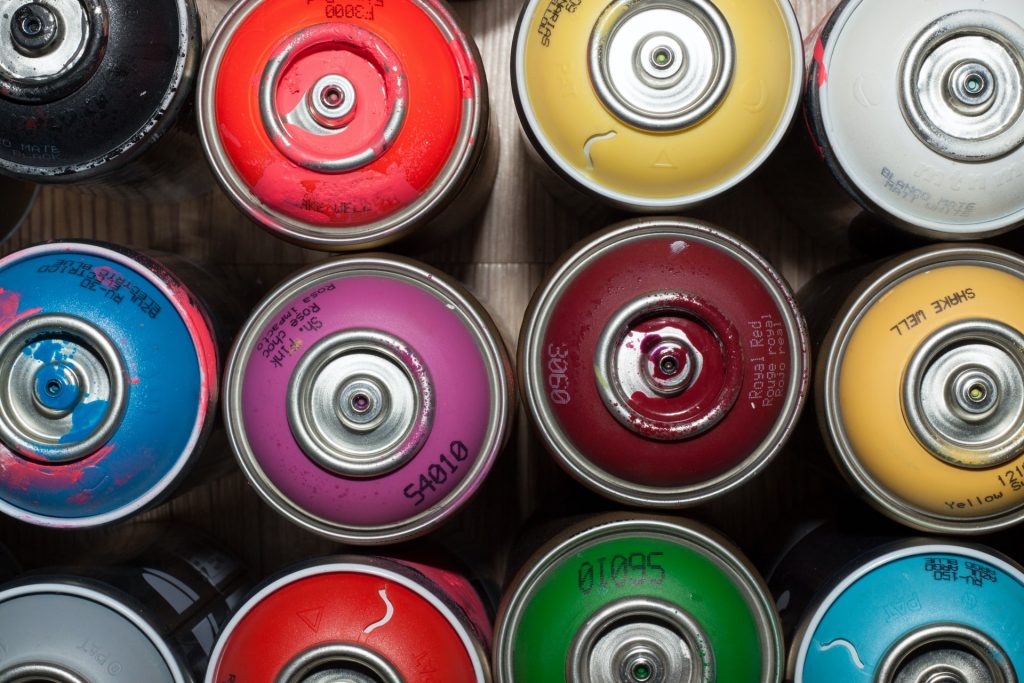
When selecting the spray paints for your bike, look for ones made specifically for going over metals. This procedure will ensure that the painted frame has a smooth finish and looks professionally painted in the end. Pick the bike paint also based on whether you want a glossy or matte finish.
Even if you are planning on using two or more colors, you mustn’t use different brands of spray paint. Each company uses its formulas to create the paint, which means that if we mix different brands, they can react badly with each other.
Disassemble the Bike
The next step is to disassemble your bike. Take everything apart, starting with the two wheels, then the cranks and bracket, the front and rear derailleurs, the chain and brakes, the handlebars, the seat, and the front forks. In the end, you should have only the frame left.
In anticipation of the process when you have to put everything back together once the paint job is done, we would advise you to place all the little pieces, screws, and bolts in labeled plastic bags or boxes. This way, you not only ensure you don’t lose them, but you also know which piece goes where when reassembling the bike.
Sand the Frame with a Sandpaper
Now that you have only the bike frame in front of you, you can clean it up and get rid of all the grease and dirt from previous use. Some good ol’ water and soap will do the job. Then, wipe down the frame, and it is ready for sanding.
The sanding process is essential because it enables the new coat of paint to stick to the bike frame. Using some sandpaper, you can rough up the surface of the old paint and create a proper base for the paint to hold on to. In the end, wipe down the frame once more with a cloth and let it dry.
Tape Out the Parts You Don’t Want to Get Messy
Before you start to paint the bike frame, you should also cover up any areas that you do not want paint on. For example, avoid painting the post for the brakes and any threads where you will screw the other parts later on. In case there are any bike parts that you could not remove when disassembling the bike, you can cover them up as well. Use masking tape to cover everything up and avoid any mess.
Apply Two Coats of the Paint
Finally, you can start to paint. We recommend doing two thin coats of paint, or more if necessary, to best cover up the old paint. Keep the spray can about one foot away from the bike frame as you are spraying in motion. If you try spraying small areas at a time, you can spray too much in one place and cause paint to drip.
After the initial coat, let the paint dry for about thirty minutes before you proceed again. Although two should be enough, if you can still see the previous color in any area, go on and add yet another coat throughout the whole frame. Once you are happy with the result, let the paint dry for a few hours or overnight.
And Another One to Keep the Bike Rust-Free
After the spray paint has completely dried, you can apply a clear coat to your bike to prevent rusting and keep it looking fresh. Just as with the color, you can spray more than one coat for better results. Make sure to let the frame dry in-between each session.
Let the Paint Dry
Once you have sprayed your final coat, let the bike frame dry for at least a full day. If the bike painting process took place outside, you may carefully transfer it inside, but try not to touch or move it anymore while it dries.
Reassemble the Bike
Now that everything is painted, dried, and looking good, you can take off the masking tape and start to reassemble the bike. Reattach all the parts you took off the frame earlier, and your new bike is ready to go.
Why spend your hard-earned money on something you can easily do yourself. So, get your DIY gloves on and bibbidi-bobbidi-boo that pumpkin-looking bike into a beautiful carriage.


