Interested in experiencing a new way of riding your bike? Dropper posts are here to make biking more fun! This special tool is used more and more by riders all around the world due to its many benefits. In this article, you can learn more about the dropper post, how to choose the right one for you, and ways to take care of it. Furthermore, we provide a six-step guide on how to install a dropper post on your bike. Enjoy the ride!
What Is a Dropper Post?
A dropper post, also referred to as a “dropper”, is a droppable seat post that allows you to adjust your saddle height without having to get off your bike. You can raise or lower your seat with only a push of a button. Dropper posts first started being used on mountain bikes, where riders had to stop their bike and manually adjust their seat height. Nowadays, you don’t have to stop moving when doing that.
While the first dropper posts featured a lever mounted to the seat post, today’s droppers usually have a remote lever on the handlebars. The droppers are connected to the lever by a cable. When pushing that lever, the dropper post can move up or down. When sitting on your bike, you push the lever, and with the help of your body weight, you will drop the post down. Meanwhile, if you are standing and you push the lever, the dropper post will go back to its initial position.
Nowadays, not only do mountain bikes use droppers, other bikes do too due to their numerous benefits. When riding with a dropper post on your bike, you benefit from extra safety. By adjusting your saddle height while you ride, you are able to move the seat out of the way when descending or approaching obstacles. When you are not riding, a dropper post can be useful at stoplights, crosswalks, or whenever you may need to stop. You can put your foot down and stay seated on your bike by simply dropping your seat.
A dropper post can also help increase your speed in addition to increased safety. When descending, a lower seat ensures more comfort and overall results in a faster descent. Lastly, a dropper post on your bike would help you prevent discomfort or pain in your back and knee area.
How to Find the Right Dropper Post for Your Bike
To find the right dropper post for your bike, you need to consider three main factors: sizing, cable routing, and actuation. Below you can find out more about each of them.
Sizing
First, you need to start by determining the size of your dropper post. The sizing includes measurements of the seat tube diameter, stack height, insertion length, and travel.
Seat tube diameter
To figure out what diameter you need your dropper to be, you must find out your seat tube’s inner diameter. Seatposts and dropper posts have different diameters, and you need to choose a dropper that will fit your frame. The most common seat post diameters are 27.2, 30.9, 31.6, and 34.9mm. To find out the diameter, you can do one of the following: look for the number printed on your current seat post, check your bike’s specs online, or take your seat post to your local bike shop to get it measured.
Stack height
Next, to choose the length of the dropper, you need to check the stack height for your bike. It determines how high your seat will be at its highest position. You can measure it starting from the top of the seat post collar to the rails of your saddle. Some standard sizes are 100, 125, and 160mm. Keep in mind that your stack height should be equal to or less than your maximum seat post height. Otherwise, it will be hard for you to reach the pedals.
Insertion length
For the dropper to fit your bike frame, you need to determine the overall length and insertion length. The overall length shows how long the post is when fully extended, while insertion length tells how far the dropper post’s frame extends.
When measuring the insertion length, it is crucial to consider the maximum insertion length and the minimum insertion length. The maximum insertion length shows how far you can insert the dropper post into your bike frame. Measure starting from the top of your seat collar to any obstruction that would stop you from inserting the post any further than that. The overall length of the post should be shorter than the maximum allowed insertion length.
Meanwhile, the minimum insertion length refers to how far into the frame the post should go so that you avoid damaging your seat post. It is usually marked with a line on the post, so you mustn’t raise your post above that line.
Travel
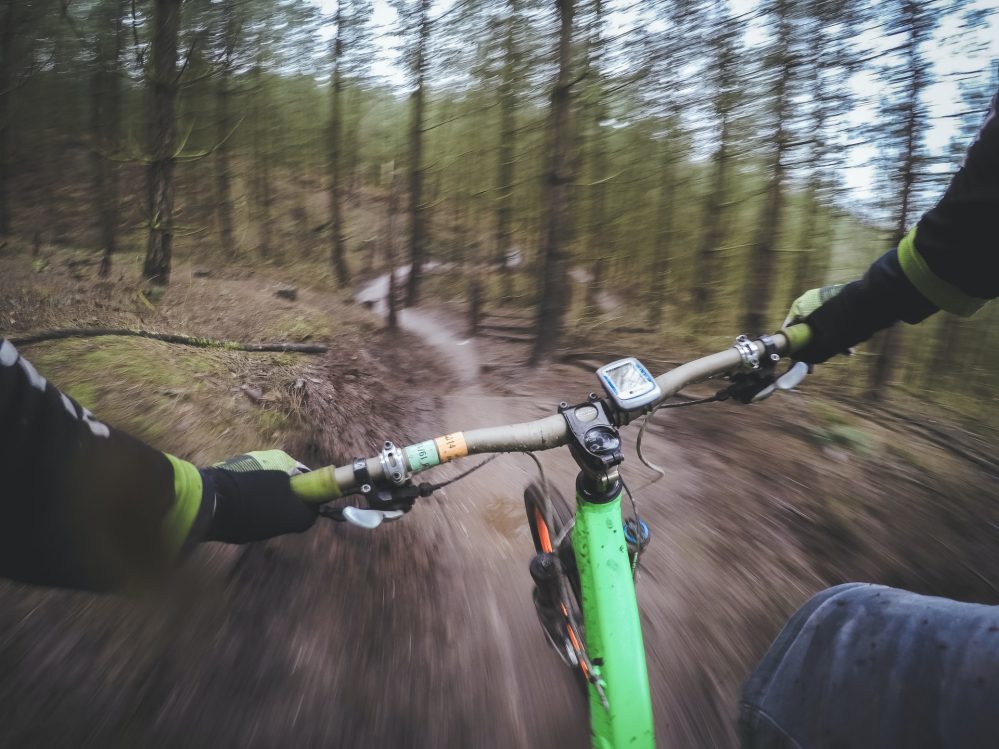
Lastly, you need to choose how much travel you want. Dropper post travel refers to how far the dropper post can extend. It can differ, but common measurements are 100, 125, 150, and 175mm. The more travel you have, the lower you can drop your seat post. Some riders prefer a larger travel, while others don’t. The choice is up to you and your riding style.
Cable routing (internal or external)
As we mentioned before, dropper posts use cables to connect to the lever on the handlebars. These cables can be set up via internal or external routing. The choice will depend on whether your bike is compatible with internal or external cable routing.
While you can’t set up an internal routing dropper post on a bike frame that does not feature internal cable routing, you can, however, choose to set up external routing if the bike uses either of the options. So, in this case, cable routing becomes a matter of preference. Internal routing, inside the bike’s frame, avoids clutter and protects the cables. However, external routing is easier to set up and maintain.
To determine what type of cable routing you need for your dropper post, check for a small hole anywhere on the frame of your bike. It usually means that the bike can be internally routed. Alternatively, check your bike manufacturer’s website to find information about the type of cable routing.
Actuation (mechanical, hydraulic, or electronic)
When it comes to the way the dropper post operates, you need to choose between three options: mechanical, hydraulic, and electronic. Mechanical dropper posts are used more often. They are simple and the cheapest option. Hydraulic droppers provide smoother performance but are not easy to set up. Electronic dropper posts offer a closed system and clean routing, but they are the most expensive.
How to Install a Dropper Post
After choosing the right dropper post for your bike, you have to install it. To show you how to install the dropper post, we present a simple six-step guide you can follow.
1. Prepare the tools
First of all, you need to start by preparing the tools. Find a well-lit space and lay out your tools. Installation of a dropper post requires Allen keys, assembly compound, cable cutters, lube oil, and grease.
2. Mount the lever
Proceed to mounting the lever that runs the post. To use your left thumb when activating the dropper through the lever, make sure you position the lever on the left side of the handlebars. Under-bar levers are usually mounted on the right side, while over-bar levers to the left.
3. Route the outer cable
After mounting the lever, you need to route the outer dropper post cable. To do that, start by using the cable mounting points and route the cable to the right side of the headtube and down to the downtube. Go under the bottom bracket, back to the rear part of the seat tube, and finally into the routing hole until the cable reaches the place where the bottom of your dropper will be. Now move back to the front of the bike. You can shorten the cable using cable cutters to achieve the length you need. Finally, install the cable ferrules using grease and move on to the next step.
4. Feed the inner cable
For this step, start by cleaning the cable with wet lube. After wiping it down, proceed to feed the inner cable. Check the manual to determine whether you need to feed it from the lever or the post. After you’re done feeding the inner cable, you have to fasten and secure it with a set screw.
5. Tension the cable
To ensure that you install your dropper correctly, you need to tension the cables. Press the lever to see how it’s operating. If it feels loose, you can loosen the set screw and pull some more inner cable to fasten it as needed. After everything feels right to you, use the barrel adjuster to tune the cable tension.
6. Position the seat
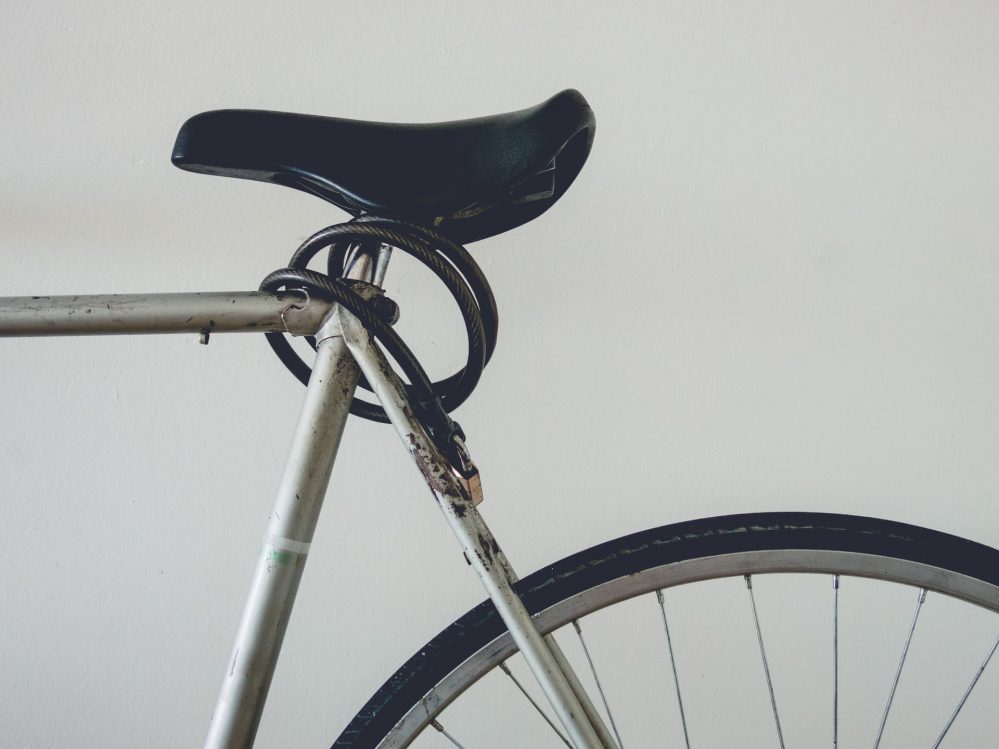
The last step to installing a dropper post is positioning your seat post. To do that, start by lowering your dropper post into position. You need to set it in such a way that the maximum dropper length ensures that your leg is slightly bent. In this way, you will pedal easier when climbing. Finish by tightening your seat clamp. As a final touch, check the cables and how the dropper is working to see if everything is in place.
Dropper Post Maintenance
Proper maintenance ensures a prolonged life for your dropper seat post. Cleaning, lubricating, inspecting, and servicing are all part of taking care of your dropper post. Since the dropper is usually exposed to mud, dust, and waste, we suggest that you gently wash off any dirt after every ride. Sometimes, proceed to wipe some grease on the seal. But be mindful to stay away from degreasers, penetrating oils, or any aggressive cleaners when cleaning your dropper seat post. Inspecting your dropper and monitoring its performance helps you detect corrosion caused by moisture and humidity. Remember to check cables, especially if they have internal routing, and replace whatever part you need to. In addition, service your dropper post regularly to keep it in fine shape. You can do it by yourself or have a local bike shop do it for you.
Conclusion
Installing a dropper post on your bike can make your life as a rider so much easier, comfortable, and safer. You can do that by following our guide. However, you need to ensure it fits your frame and suits you as a rider. In addition, you need to select between internal and external cable routing, as well as one of the three actuation types. Lastly, take the tips we provided to properly maintain and extend the life of your dropper seat post.
