A biker should know their bike and be aware of its problems and needs. Understanding your bike’s issues and solving them on time will grant your bike a longer life and give you more qualitative time while riding.
When it comes to the brake system, the pads have a crucial role that directly affects your safety. Knowing how to put on brake pads after they’ve worn out is a very useful skill to have, especially if you ride your bike frequently.
How to Know When Is Time to Replace Your Brake Pads
The lifespan of brake pads varies from vehicle to vehicle and driver to driver. If you usually drive in urban areas or heavy city traffic, for example, you’ll be using your brakes much more compared to someone who travels in rural areas or on highways. Some people also tend to use their brakes more frequently than other drivers, leading the brake pads to wear out faster. Brake pads and shoes are estimated to last between 30,000 and 35,000 miles in urban use. In light traffic scenarios, brakes can last 80,000 miles or more in less demanding interstate travel.
It’s simple to know when to replace brake pads on your bike if you pay attention and plan.
How to Replace Bike Brake Pads
Replacing brake pads may seem complicated at first, but it’s relatively simple after you grasp the process. It only takes ten to fifteen minutes to replace your bike brake pads, and you won’t need any specialized equipment.
This guide shows you how to replace brake pads and the tools you need.
Tools needed
The tools you will need for your bike brake pads replacement include vernier calipers for measuring rotor width of disc brakes, needle-nose pliers, flat head screwdriver, or hex wrench (usually three-millimeter), and a tire lever or flat-blade screwdriver for disc systems.
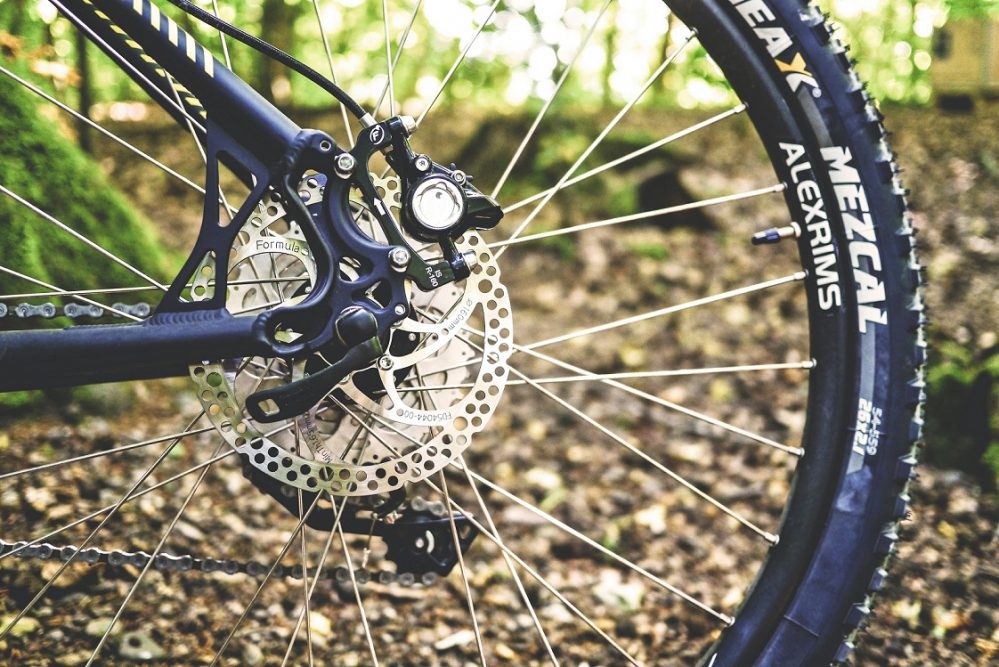
For disc brakes
Remove the wheel
When using a hydraulic disc brake lever, use a rotor or brake block between the pads. Remove the thru-axle from the hub by opening and sliding it, then lowering the wheel out of the dropouts. The pistons may pop out of their seals as a result of this. At the very least, this makes reseating the pistons difficult. At worst, it will need a significant brake service.
Inspect the system
It’s time to switch brake pads when only one millimeter of material is left. Scoring or grooves on the rim or disc rotor, which suggest something is scraping the brake track (either debris in the pad or a pad worn down to the metal shoe), are also telltale signs that you need new pads. Although rotors do not wear out as quickly as pads, they eventually need to be replaced. If the rotors are less than 1.5 millimeters thick at the brake track, or if they are visibly broken or warped, you should replace them.
Remove the pad retention screw or bolt
A horizontal screw or bolt holds many disc brake pads in place. Magnets are used in some systems instead of wires. The screw is threaded into the caliper or kept in place by a circlip or fixing pin. Take the pin or circlip, if it has one, using the pliers, then unthread the screw or slide the bolt and detach it.
Remove the used pads
To remove disc brake pads, look for a tab on the rear of each pad. Pads are frequently loosely held in a thin metal frame; avoid dropping it while removing the pads. The frame is absent from magnet-style pads. Grab the little tabs on the pads’ back with your fingers or pliers, pinch them together, and gently but firmly remove the pads out of the caliper and set them aside.
Clean and inspect the brake
Examine the interior of the caliper with the flashlight. Inside, you can find two (or sometimes four) flattish cylinders with a stubby pole in the center. These are the brake pistons responsible for moving the brake pads back and forth. Because disc brakes adjust themselves for pad wear, the pistons may need to be reseated. Press every piston back into the caliper body using a piston press. If the pistons are extremely dirty or sticky and refuse to reseat, you may need to bleed the system (bike shops can do this for you) and clean the pistons, but that’s a topic for another time.
Make sure to wipe out both brake tracks of the disc rotor with a clean rag and rubbing alcohol. Skin oils can contaminate the rotor’s brake track if you make contact with your bare hands. This is a perfect moment to double-check the tightness of the rotor bolts or the Centerlock attachment ring.
Replace the pads
Put on your gloves. Skin oils contaminate disc brake pads, resulting in noisy braking and reduced power. Remove the replacement brake pads and, if necessary, the spring from the package. Slip the pads and spring into the caliper; you’ll feel them seat, though no audible click will occur. Replace the horizontal retention screw or bolt, as well as the fixing pin, if appropriate.
When replacing pads, keep in mind that they are available in two materials: resin/organic and metallic. If you’re happy with the way your brakes work, stick with the same material as your old pads. Most bicycles come with resin/organic pads, which are made of a combination of materials like rubber, kevlar, and carbon. They’re typically quieter and have greater control, but they wear down faster, especially in wet weather, and they can lose power when braking hard for long periods. Metallic or sintered brake pads are quieter, have a less initial bite, and grind through rotors more quickly. They also hold power better under sustained braking and don’t wear down as quickly in mud. If your brakes fade on long descents or you observe excessive wear from cycling in damp conditions, use metallic brake pads.
Reinstall the wheel and bed in the rotors
Reseating the pistons does not always work entirely. The pads may be too tight around the rotor when you reinstall the wheel. Try squeezing the brake lever a few times to check if the pistons retract. Spin the wheel to see what happens. If the pads are still too near, you’ll hear them brushing against the rotor, and there won’t be a lot of lever throw before the brake engages. If this happens, remove the wheel and put a tire lever or flat-blade screwdriver between the pads. Gently press each pad back into the caliper body to reseat the pistons.
It would be beneficial for your bike to bed in the rotors to the new pads whenever you replace pads, especially if you switched from organic to metallic. This is a fancy word for ensuring that adequate pad material has been evenly delivered to the rotors so that braking is smooth, forceful, and noise-free. On your street, pedal up to 10 mph, then brake with one lever at a time, gradually increasing the force. Make sure you don’t come to a complete stop. Do this for the front and rear brakes five to ten times each. Then repeat the operation at a speed of 15 to 20 miles per hour. With each cycle, you should feel the initial braking power rise.
For rim brakes
Remove the wheel
When removing and reinstalling rear wheels, shift to the smallest cog. This makes it easier for the wheel to slip past the rear derailleur cage. Open the skewer with the quick-release mechanism. The wheel should be able to fall out. Unscrew the skewer nut against the lever just enough to get the wheel out of the dropouts if you’re working on your front wheel. A small lever or button may be required to open the brake caliper.
Inspect the system (repeat this process weekly to check for wear)
The top of most rim brake pads has a directional indicator that serves as a wear indicator. In addition, most brake pads will include vertical slotted lines that serve the same purpose. It’s time for new ones if you can’t read the indication or the slots on the brake face of the pad aren’t visible.
Remove the pad retention screw or bolt
A tiny set screw is frequently seen on the side of the brake shoe. Unthread it, but don’t remove it altogether (draw it out enough to wiggle the pad in the shoe). In older systems, a pin may need to be yanked out instead. If neither is present, the pad glides out. Note: These rim-brake instructions are only for systems with separate brake pads and shoes that have swappable pads. Some low-cost brakes come with one-piece pads that you must unscrew.
Remove the used pads
Gently press the pad out of the shoe once the set screw has been backed out enough to allow it to move. The pads are always removed from the back of the bike.
Clean and inspect the brake
Examine the braking trace on the rim of the wheel. Gouges and grooves in the pad indicate the presence of foreign substances. Swapping pads should solve the problem, but you can also clean the rim with rubbing alcohol and a clean rag. On carbon fiber wheels, look for damage such as split carbon fibers, large gouges, or other evidence of potential carbon structural damage. If you’re concerned, take the wheel to a shop for inspection. On metal rims, gently sand out the rubber and dirt deposits with fine-grit sandpaper or a particular brake cleaning block, then wipe it clean with a rag and alcohol. This will also help you break more effectively.
Replace the pads
Look for the brake direction indicator on the top of the pad (there are lefts and rights). Gently insert the pad inside the shoe. You may need to use more effort as it travels deeper in the shoe to seat it fully. To secure the pad in place, re-thread the set screw.
Reinstall the wheel and bed in the rotors
If your old brake pads were worn, they may drag or feel excessively tight now that you have new, full-thickness pads. To push your bike brake pads closer to the rim, remember to close the quick-release on the brake caliper and double-check that the brake shoe is positioned correctly. When you lift the brake lever, the pad should firmly engage the rim brake track without touching the tire or extending off the bottom of the brake track. The brake pad should also make consistent contact with the brake track from top to bottom. It’s okay (even preferred) if the front of the pad touches the rim slightly before the back. Toe-in is a technique that prevents shuddering and braking noise. If the pad is appropriately placed yet the system is dragging, check your barrel adjusters directly above the caliper. Recheck the brake lever throw after two complete counterclockwise rotations.
Bike Brake Pads Maintenance

Your bike brake pads must be clean and smooth for safe riding. You should replace any parts with notches or grooves caused by pad movement. Excessive pad movement might result in damage, noise, and vibration.
One of the most common causes of pulsations after brake pad cleaning is corrosion in these regions. To remove rust from the hub face, wipe the assembly with a polishing pad. Then, to get close to the studs, use an over the stud hub cleaning.
To remove metal particles from the surface of the rotor, wash it with soap, warm water, and a stiff brush. Brake noise is likely to occur if this final step is skipped. It may also hinder good rotor filming, preventing the replacement parts from achieving their projected mileage. It is also recommended to clean the rear calipers and the drum and parking brake systems. Before the bike hits the road, all of these components should be thoroughly cleaned, inspected, lubricated, and adjusted.
Conclusion
Knowing when and how to replace your bike brake pads by yourself will save you some time and money. Moreover, it will help you extend your bike’s life since you will have properly installed brake pads at all times. By using the tips provided above, the process of removing brake pads will become much easier!


