Staying safe and enjoying your bike ride is a deadly combination! Like any other part of your bike, properly maintaining your gear system translates into a more durable life for your vehicle and a safer time enjoying this activity.
Constantly inspecting your bike’s gear system will help prevent many issues that may hinder your riding or even cause any incidents.
Common Bike Gear Problems
This guide explains some of the most common bike issues that can interfere with the quality of your bike’s shifting. We provide a basic explanation of the derailleur, cable, limit screw, and chain adjustments to help you solve the problems related to your bike gear.
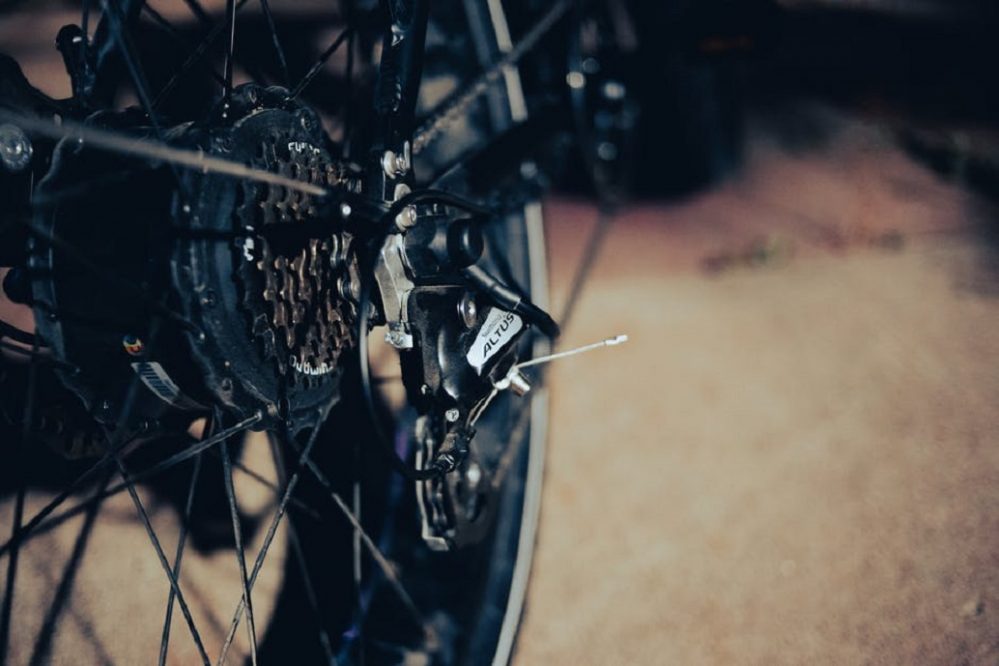
Derailleur problems
Shifting problems are always inconvenient, and they can also cause damage to your bike or result in an accident. Knowing how to properly adjust your derailleur could help you fix, or at least diagnose, your gear issue if you’re suffering from constant clicking while you ride, erratic shifting, or if you can’t shift into some cogs on your cassette.
Cable problems
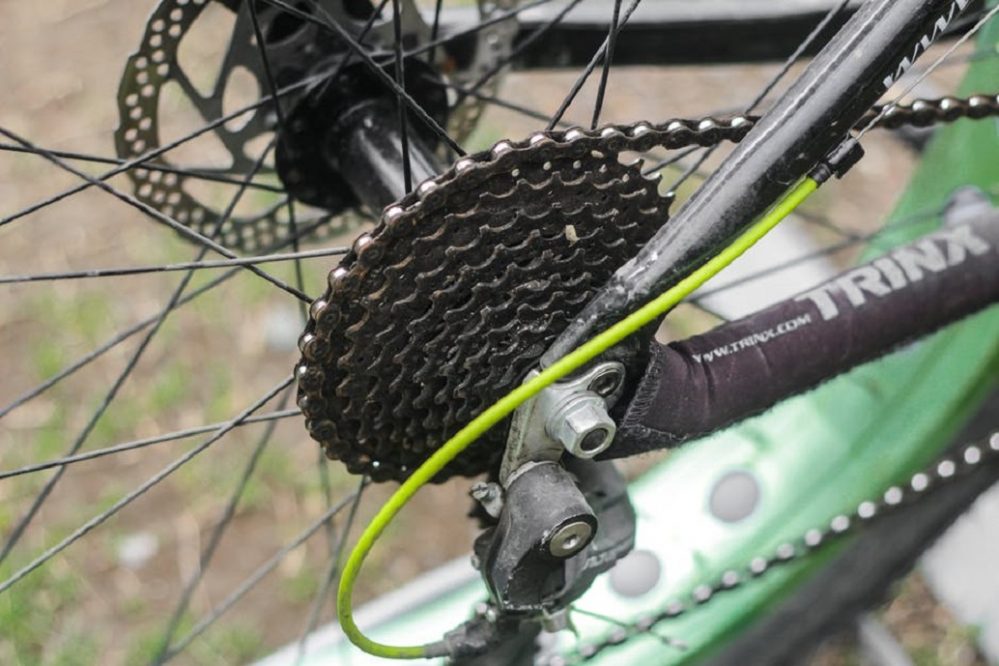
The cable infrastructure is a common source of difficulties that result in sluggish shifting. As the cable is pulled and released at the shifter, friction along the shift cable hinders the uniform movement of the derailleur.
To understand the cable problems, you need to examine the housing from the front of your bike, where it links to the shifter levers, to the back, right where it connects to the derailleur. If your housing has an excessive twist or pinch, the cable that moves your derailleur when you shift may be restricted. Therefore, you will need to replace the housing and cable if any damage is discovered.
The bending at the derailleur, where the cable is fastened with a bolt, is a common area for the cable to fray, and if your bike has internal cable routing, there may be problems inside the frame that you aren’t aware of. To thoroughly fix your issue, you may need to replace the cable and housing.
Limit screw misadjustments
The upper limit, lower limit, and B-limit are the three limit screws on most derailleurs. They regulate a derailleur’s range of motion. In addition, the upper limit screw determines the maximum distance the derailleur shifts in high gears. On the other hand, the lower limit screw determines how far the derailleur shifts in lower gears. The B-limit screw establishes the spacing between the upper jockey wheel and the cogs.
If you’re having trouble shifting into the lowest or largest cog in the cassette or even if the chain is falling off the cassette, you should check your limit screw settings.
Chain problems
As you cycle, chain wear or “stretching” happens naturally. Every ride wears down the rollers and pins that keep your chain together, a process that happens faster if you ride in poor weather.
The chain’s interior components, such as the rollers and rivets, begin to wear out, giving the appearance of stretching. Due to this wear, the chain may become misaligned with the gears and chainrings, leading to poor shifting and premature cog wear. Because this damage is irreversible, it’s a good idea to monitor your chain wear and replace it regularly, or you can end up needing to replace the entire drivetrain.
Always inspect your chain wear if you have chain skip, if your chain falls off suddenly, or if your shifting is harsh in general. Even if you’re not having any troubles, it’s a good idea to check chain wear once a month. Check for proper lubrication as well. When shifting, a dry chain feels sluggish and makes a lot of noise when pedaling.
Tools You Need for Bike Gear Adjustment
Typically, the tools that you need for adjusting bicycle gears are simple and can be found in everybody’s tool kit. All you may need for bike gear adjustment is screwdrivers with a Phillips and flathead.
How to Fix Your Bicycle Gears
When you face problems related to your bicycle’s gear, it is very common to fix them using four of the most successful ways, you don’t need to be a professional bicycle mechanic. It will require a bit of determination and some of your time. Find below four ways to fix your bicycle gears.
Fixing derailleur problems
Before attempting to adjust your derailleur, set its usable range correctly. First, loosen the pinch bolt and allow the derailleur to run on the smallest cog. Then, visually and audibly check how the chain runs on the smallest cog while pedaling forward. The chain should move smoothly, with no clicking or skipping. If it runs smoothly, there’s no problem with the upper limit.
When you hear or see skipping, look more closely at how the chain runs on the cog. If the chain isn’t directly coming off the upper jockey wheel and onto the small cog, the upper limit must be adjusted. You can change the position of your bike’s derailleur in relation to the smallest cog by threading the limit in or out. Once the upper limit has been selected, cycle forward and press down on the bottom knuckle of the derailleur until the chain is moved into the largest cog. If the chain is having trouble entering into the largest cog or jumping over it into the wheel spokes, you should adjust the lower limit screw the same way as the higher limit screw.
Fixing cable problems
While the limit screws should not have to be adjusted once correctly positioned, you may need to adjust your cable tension as you rack up the miles. When this happens, it is normal to have to tighten the cable to maintain smooth shifting. This phenomenon is sometimes referred to as “cable stretch’. But, in reality, the cable is not “stretching” but instead settling into the housing.
To fix this problem, you need to use the barrel adjuster. This device is typically located near the point where your cable exits the housing on the rear derailleur. Turning the barrel adjuster clockwise tightens it, reducing the amount of space among each end of the cable and, as a result, lowering the pressure on the cable. When you turn the barrel adjuster anticlockwise, you are screwing it out, creating more space between the ends of the cable, and increasing the tension on the cable.
Begin the process by shifting into the cassette’s smallest cog. Shift one cog larger while pedaling the bicycle by clicking the shifter lever. If the derailleur does not move the chain into the next cog, adjust the cable tension by one-quarter turn of cable and try again until the derailleur quickly shifts into the next cog. If you press the shifter lever once to go into a higher cog and the chain misses up two cogs in the cassette or starts rubbing on the next highest cog, loosen the cable tension by turning the adjuster of the barrel clockwise one-quarter turn at a time.
Keep shifting into larger rings. If the derailleur fails to shift the chain into the next largest ring, increase cable tension. Shift back into the smallest rings once you’ve reached the largest cog. Remove cable tension until you shift successfully. Continue this process until shifting is clean and free of noise.
Limit screw misadjustments
The low limit screw keeps the derailleur from creeping closer to the spokes. When positioned correctly, it will allow the chain to sit in the cassette’s largest gear while pedaling without skipping or pushing the chain past the cassette and into the spokes. To adjust the low limit, make sure it isn’t set too far out; ensure you will not shift into the spokes.
On the cassette, shift into the little ring. Push the derailleur’s body toward the large cog using your thumb. Then, you should align the top pulley with the cassette’s biggest cog. If the pulley slides past the largest cog and toward the spokes, tighten the “L” limit screw clockwise. Change to the cassette’s second-biggest cog. If you can’t shift into this gear, you most likely have a cable tension issue. Using your thumb, move the derailleur into the largest cog and keep it there while riding ahead to confirm the limit screw is set correctly. If the chain is leaping, loosen the “L” limit screw a quarter turn until the chain is no longer jumping.
The high limit screw enables the chain to enter the cassette’s smallest cog without dropping off the cassette and into the frame’s dropout. Shift into the cassette’s smallest cog to fix the high limit screw. If the derailleur will not move into the smallest cog, check the cable tension and, if required, relieve tension. After removing the cable tension, try shifting back into the smallest cog. Check to see if the derailleur’s top pulley is precisely beneath the smallest cog.
Turn the “H” screw counterclockwise if it is too far in toward the cassette, or turn the “H” screw clockwise if the pulley is too far out toward the frame dropout. When the chain is placed on the smallest cog, start to pedal forward and pay attention to the chain’s movement. If the chain is rubbing the next cog or creating noise, remove the “H” screw a quarter turn until the noise or rub stops. If the chain jumps, it may be attempting to move off the cassette, indicating that the high limit is too far out. At this point, you need to tighten the “H” screw a quarter turn until the chain stops moving.
Fixing chain problems
If the chain keeps falling off, you’ll need to tighten the chain or adjust the derailleurs. A chain that constantly keeps sliding off is either too loose, or the derailleurs are misaligned, causing the chain to jump away from the cogs when changing gears. To tighten a loose chain, you need to adjust the restriction screws that change the extremes of how far the derailleurs can move from left to right. These are sometimes labeled “H” (they control how far the derailleur goes away from the frame) and “L” (they control how far the derailleur goes towards the frame). Give the “L” screw a few turns clockwise and try again if your chain leaps off the rear cogs to the cog’s inside. Turn the “H” screw clockwise if it jumps to the outside. Adjust the screws until the chain runs smoothly and does not bounce off the cog when changing gears.
When the chain cannot change gears effectively, check that the chain and rear derailleur are in good working order. It’s possible that your chain is dusty or that your rear derailleur is misaligned if your chain doesn’t make clean gear changes. Jumping gears is far less likely with a clean, well-lubricated chain. To remove any filth, brush it with a degreaser, rinse it with water, then add lubrication sparingly. If your chain still skips after cleaning and lubricating it, you’ll need to adjust your derailleur to keep it from slipping off the cogs. Turn the cable barrel-adjuster counterclockwise if your chain has problems shifting towards the spokes. Turn it clockwise if shifting away from the spokes is an issue. Half-turn the adjustment while turning the pedals with your hand until smooth shifting.
Check for worn parts if the chain keeps skipping while riding. If the gear cogs are worn, the chain will skip. If your derailleurs are correctly fitted, check the cogs for rounded, shark-shaped, fractured, or bent teeth. The cogs should be professionally replaced whenever they show signs of wear or damage.
Wrapping Up
Ultimately, taking care of your bike’s gear system translates to secure rides and an overall more enjoyable outdoor activity. Using the tips and tricks provided in this guide, you can make your bike gears adjustment all by yourself.
If you’re more into bikes, you can check out employment options for bicycle mechanics.


