If we compare a bike with a car, we can see that it is affordable and not harmful to the environment. There are different types of bikes, and folding bikes seem to be the best solution if you live in a small apartment and don’t have enough space for your bicycle. Folding bikes make your life much easier as you can take them everywhere.
Have you considered building your own folding bike rather than purchasing one? If not, we can assist you with creating a DIY folding bike using one of the two methods in this guide, depending on what works best for you. Without further ado, let’s get started immediately!
Why Make Your Own Folding Bike
We know that both money and time are precious. But doesn’t it feel good to use time to create something that could save us money in the long run?
A folding bike may cost anywhere between $1,000 and $10,000, which does not seem very affordable. So building yourself one could potentially turn cheaper than buying a folding bike so long as you choose the materials within your budget.
In addition, when building your own folding bike, you can make one that adjusts best to your needs and taste.
Steps to DIY Folding Bike
In this section, we will elaborate on two methods for making your own folding bike that won’t cost you much money or a lot of time to complete. Let’s begin with the first method: building a folding bike using a hinge.
Using a hinge
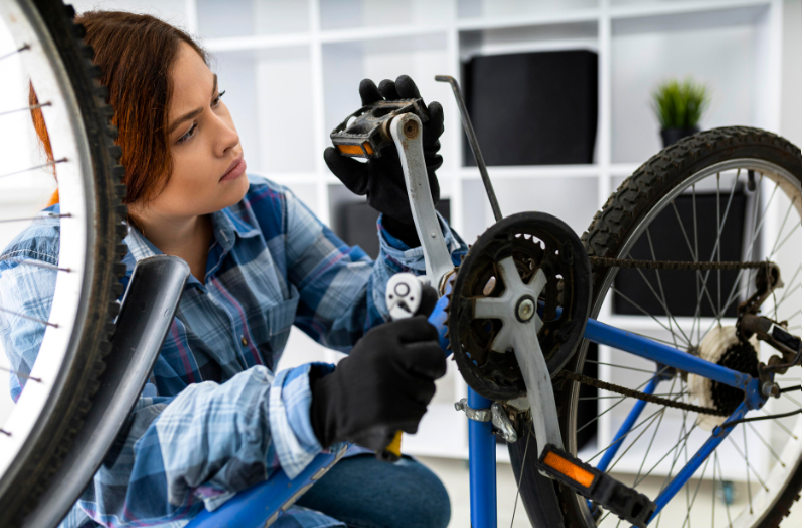
There are a few considerations when using this method: first, we need to be highly accurate, and, second, the bike shouldn’t be costly because you’ll be cutting it in two and, should you make a mistake, you won’t be able to use it again. Choose a bike that is neither too expensive nor brand new. An outdated bike will do the trick.
-
Cut the frame
The first thing you need to do is to remove the brake cable, which leads to the back wheel. Then you need to measure the bike from the center point of the front wheel to the center point of the back wheel.
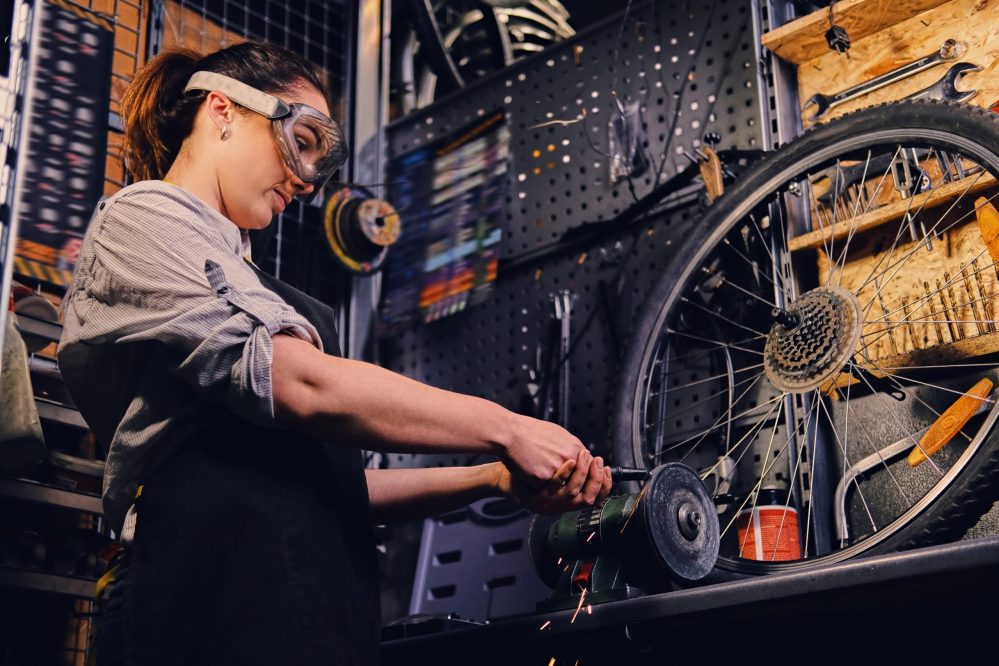
After that, a line should be drawn in the middle, and the bike should be cut into two pieces. You might need a grinding wheel to cut the bike into two straight, right-angled parts.
-
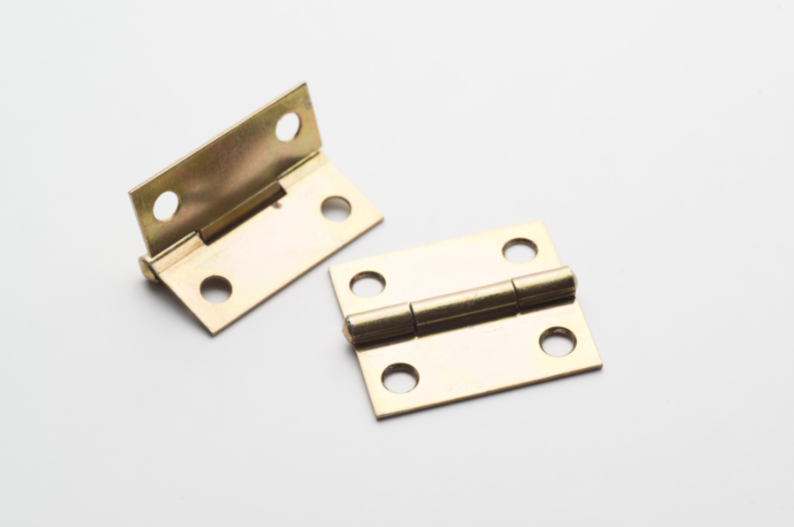
Prepare the hinge
After splitting the bike in half, you should check the hinge to see whether it can accommodate the tubes. If not, you may need to use a longer hinge because some bikes have two tubes rather than one. Another thing you should take into account is that it should be strong enough.
After that, you should drill the holes marked by the lines you drew on the tube to serve as the hinge’s mounting points. Drill two holes at once since they should be stacked one on top of the other. The holes can then be enlarged with a grinding saw to fit the hinge size.
-
Insert hinge
The next stage after prepping the holes in the tube is to install the hinge, which requires a welding station, a large pair of tongs, and a helper. Make sure the bike’s tubes are clean, flat, and straight before inserting the hinge. If not, you can prepare the tubes for welding by polishing or sanding them.
Second, take the bike’s back half and install the hinge in the proper location (tube) with your friend’s assistance. Additionally, place the hinge in a secure and comfortable area before welding the pipes together. Then, to make your life a bit easier, you should take the front half of the bike and attempt to remove the front wheel before inserting the hinge.
The most challenging part of closing the hinge is trying to find a stable position for the hinge while holding the front of the bicycle. The final step would be to quickly weld it, after which you could reattach the front wheel.
-
Finish it up!
Start with the components you took off the bike, like the back brake. The bike would then need to be painted to make it look brand new and attractive. It’s a process that will reward your hard work, patience, and perseverance with a simpler and more enjoyable existence.
Using couplings

If you are having trouble making a folding bike using a hinge, you can try using couplings. Follow the instructions below to learn how to do that.
-
Prepare the couplings
You will often need to utilize a 27mm scaffolding coupler depending on the model of bike you choose for the project. Try looking for them online if you can’t locate them in your neighborhood shop. You will notice that the coupler will spread the bike’s forces when you place it into the vehicle.
The supplies you’ll need for this method are listed below:
- Two internal scaffolding sets (27mm)
- One brief tube (25cm)
- A key, for the hex bolts (optional depending on the bike)
-
Cut the frame
The first step will be to remove every component from the bike. The frame must then be sanded, cleaned, and smoothed since you want the bike to be more than just functional.
After measuring the couplings, you will insert them as far as possible, up to the maximum insertion distance. Measure it first, say a prayer (lol), and then cut the bike in half. There’s no going back now, so let’s move to the next step.
-
Mount the couplings
Mounting the couplings will be the subsequent step if your frames have the same diameter. We split the parts in half to create four rings, each around 25mm to 30mm broad, because the tubes must first be strengthened before moving on to the phase of the coupling.
The down tube must then be glued with the rings you created from the top line. Make sure the two pieces of the frame are similar to one another as well as horizontal.
-
Secure
Now you must drill two holes through the bottom of each coupling and insert tiny bolts to prevent the frame from separating quickly. The bike should then be secured with a spanner, or the hole can be threaded using a tap.
-
Paint
We’ve reached the enjoyable phase; you’ll now paint the bike. The coupling doesn’t need to be painted because it is rust-proof, and doing so will probably cause damage to the bike. We advise searching for YouTube tutorials on how to paint the bike correctly. You can design an excellent, fashionable, and unique bike for yourself in this way.
-
Assemble
You can finally reassemble all the pieces as you have finished the job. All that is left is to try it out!
Conclusion
This article provides two DIY methods for building a foldable bike that won’t cost you a fortune. Even while it might seem challenging at first, once you are in it, you’ll no doubt end up with a DIY folding bike. Our most important piece of advice is to be patient and not rush through the steps.


