If you have been riding a bike for some time, be that a simple road bike or a mountain bike, you have probably used it through different terrains and weather conditions. If so, chances are you know about the importance of derailleurs. Well, the next thing you need to know is how to adjust the front derailleur, and for that reason, we’re here to help you.
What Is a Derailleur?
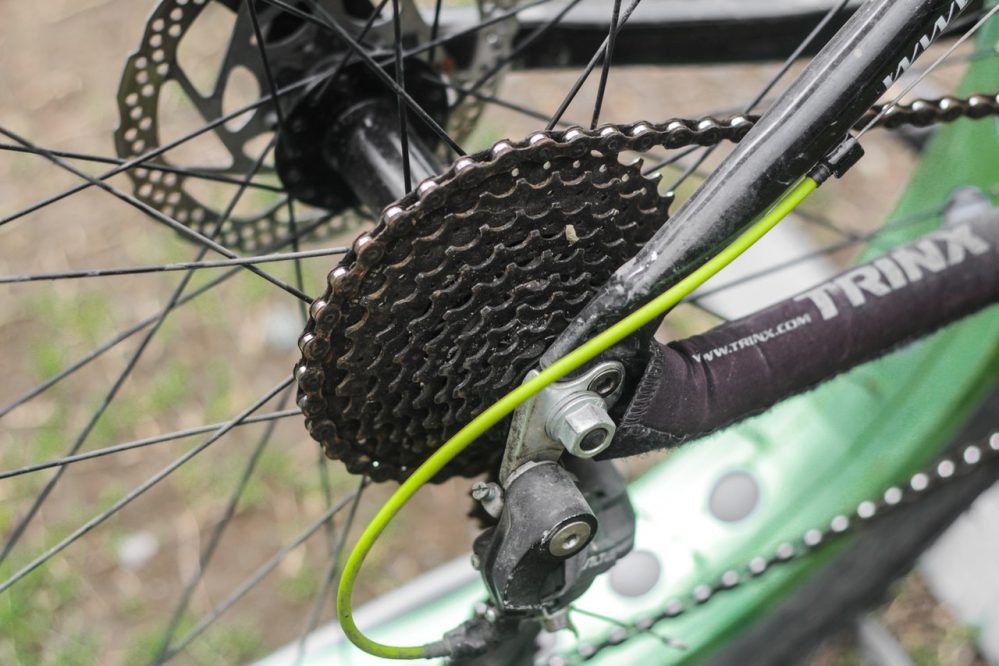
Gears and gearing systems exist to make the ride in different terrains more efficient for bikers. A derailleur is a gearing system in your mountain bike. The derailleur system consists of the chain, several different-sized chain wheels or sprockets, and the system needed to transfer the chain through the different chain wheels. In order to shift gears quickly, the derailleur needs to be appropriately adjusted.
How to Adjust the Front Derailleur
If you notice poor or hesitant shifting on your mountain bike gears, that means it’s time to take a look at your derailleur. More often than not, the cause of poor gear shifting is in the derailleur not being properly adjusted. The derailleur needs to be readjusted every once in a while if you ride regularly, but that doesn’t mean you have to take it to the shop every time. We have compiled a step-by-step guide to adjusting your front derailleur, starting with the necessary tools.
Tools needed
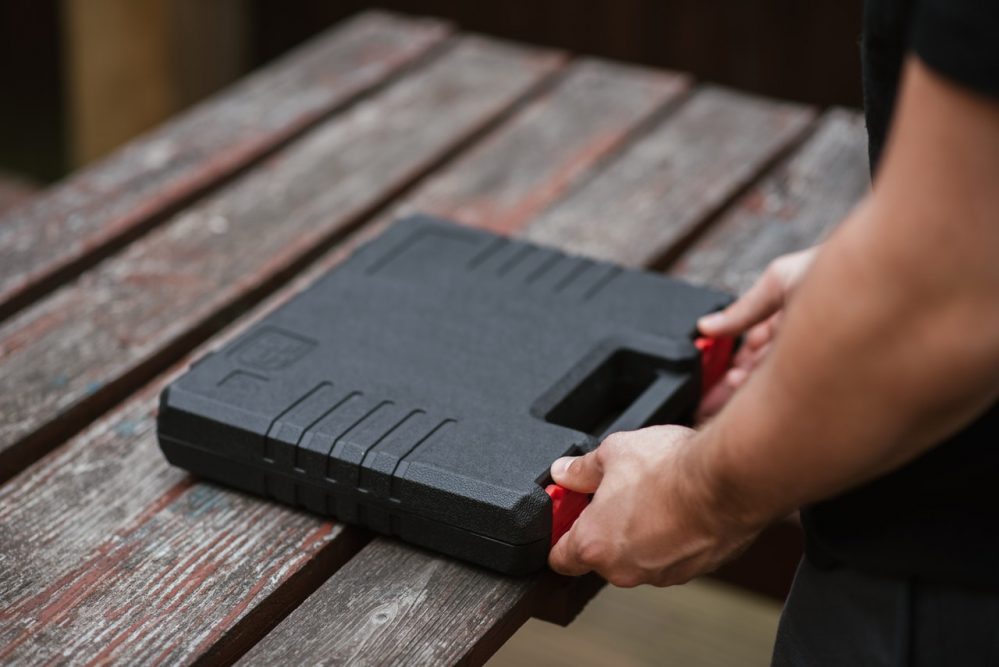
Though it might sound complicated, adjusting a front derailleur is a reasonably simple task; that is why you do not need fancy tools to get the job done. To properly adjust your front derailleur, you will need:
- A wrench to fasten the clamp
- A screwdriver for the H and L screws
Steps to adjust the front derailleur
Once you have your tools ready, you only need to follow six simple steps to adjust the front derailleur of your mountain bike. First:
1. Check the height
The first thing you need to look for is the derailleur’s height. You are looking for a 1-3 mm distance between the front derailleur and the chain wheel or the sprocket. A space bigger than 3 mm will create problems when you try to shift gears. On the other hand, a less than 1 mm space between the derailleur and the sprocket may result in friction between them when you shift gears. After readjusting the derailleur’s height, you need to make sure the derailleur cage aligns. If it doesn’t, a change in a lower gear before adjusting the height of your derailleur will usually solve the problem.
2. Check the rotational angle
After adjusting the height of the front derailleur, it’s time to check the angle of the derailleur. The derailleur must be placed parallel to the sprocket. If these two components aren’t parallel to each other, you need to readjust the derailleur. To do this:
- Transfer the chain to a smaller sprocket to alleviate the wire tension.
- Unfasten the bolts on the clamp and readjust the derailleur so that it’s parallel to the sprocket.
- Transfer the chain to a larger sprocket and check if the derailleur and sprocket are parallel to each other.
- Keep repeating the procedure until they are in a parallel position.
3. Set the limit screws
As their name suggests, limit screws set limits to a derailleur’s movement. There are two limit screws, usually labeled H (High-gear limit) and L (Low-gear limit) screws. The H screw ensures the cage doesn’t go anywhere past the largest sprocket, whereas the L screw does the same but with the smallest sprocket. Sometimes these screws aren’t labeled, so you need to test them to tell which is which. Here’s how you do it:
- Pick one of the screws for testing
- Try twisting it clockwise and anticlockwise
If the derailleur moves, the screw you were testing is an L-screw; if it doesn’t, it’s an H-screw. After identifying the limit screws, we can then adjust them.
4. Adjust the L-screw
To adjust the L-screw, transfer the chain to the biggest chain wheel in the back and the smallest one in the front. We adjust the L-screw to make sure the chain shifts to another chain wheel when we change gears and doesn’t fall off. With a screwdriver, we adjust the screw to bring the derailleur cage close enough to the chain so that they don’t touch.
5. Adjust the H-screw
To adjust the H-screw, you need to transfer the chain to the smallest chain wheel in the back and the biggest one in the front. With a screwdriver, adjust the H-screw so that the derailleur cage is close to the chain without touching it.
6. Adjust indexing
This step can be done to the bikes whose derailleur system has an index setting. You can determine the presence of the index setting by listening to the gear lever; if you hear three clicks, it’s an indexing lever. This step is done only after adjusting all the elements mentioned above. To set indexing:
- Set the chain to the middle sprocket in the front, and the smallest one in the back.
- Check the gap between the chain and the derailleur cage. You want a small space between them, so they don’t touch.
- If the space is too big, turn the barrel adjuster counterclockwise to increase cable tension.
- If, however, there is friction between the chain and the cage, turn the barrel clockwise.
- If you can’t access the barrel, you need to reset it. You do this by shifting the chain to the smallest sprocket and releasing the inner wire. Rotate the barrel completely clockwise, and then counterclockwise two turns. Tug the cable and then fasten the pinch bolt. You can now go through the previous steps on the indexing list
- Test the derailleur. Check for rubbing or slow shifting and make the proper adjustments with the H and L screws.
Conclusion
In conclusion, the process of adjusting your bike’s derailleur is quite simple and does not require a lot of time or special tools. Get a simple wrench and screwdriver and go through the steps mentioned above to save yourself a trip to the bike shop.


