This article’s main goal is to show you how to properly assemble your new bike. If you are here, it is probably because you have received a bike in a package and is not assembled. In order to put a bike together, you will need some tools, time, and patience! But fear not, in only ten steps, we can show you how to assemble a bike. Before beginning, please inspect the bike parts for any damage.
Tools Needed to Assemble a Bike
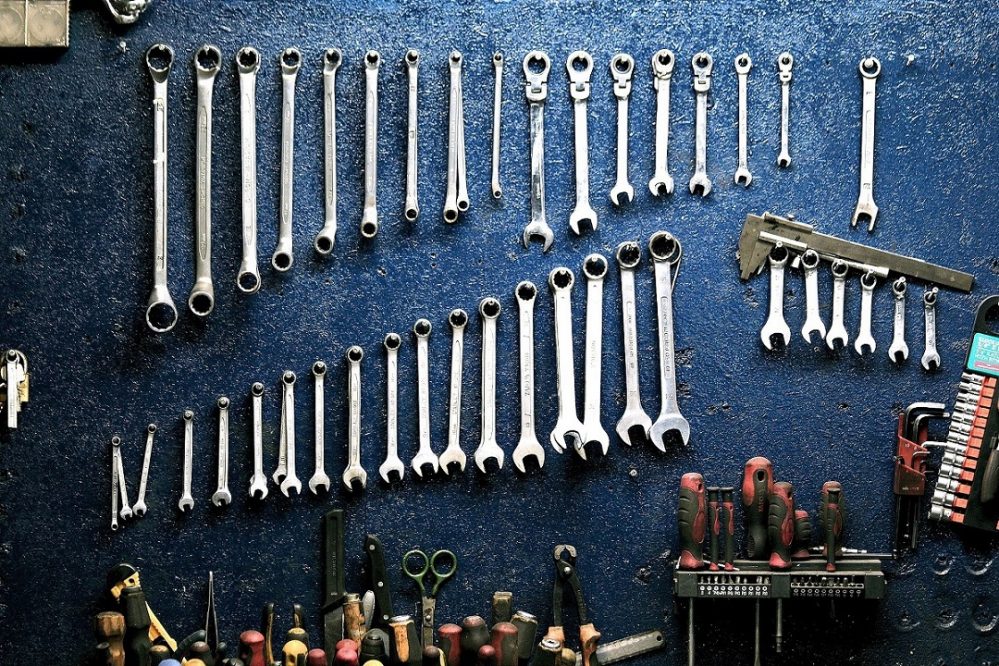
In an effort to assemble a bike, you are going to need tools that will make the assembling process much easier. The tools needed to assemble a bike include a four-millimeter (4mm), five-millimeter (5mm), and eight-millimeter (8mm) wrench and a pedal wrench. We also recommend a bike stand and a torque wrench when dealing with carbon frames or parts. You will also want some bike grease and assembly paste. In order for you to cut the zip ties and the box, we suggest some diagonal cutters or scissors.
How to Assemble a Bike in 10 Steps
1. Unbox your new bike
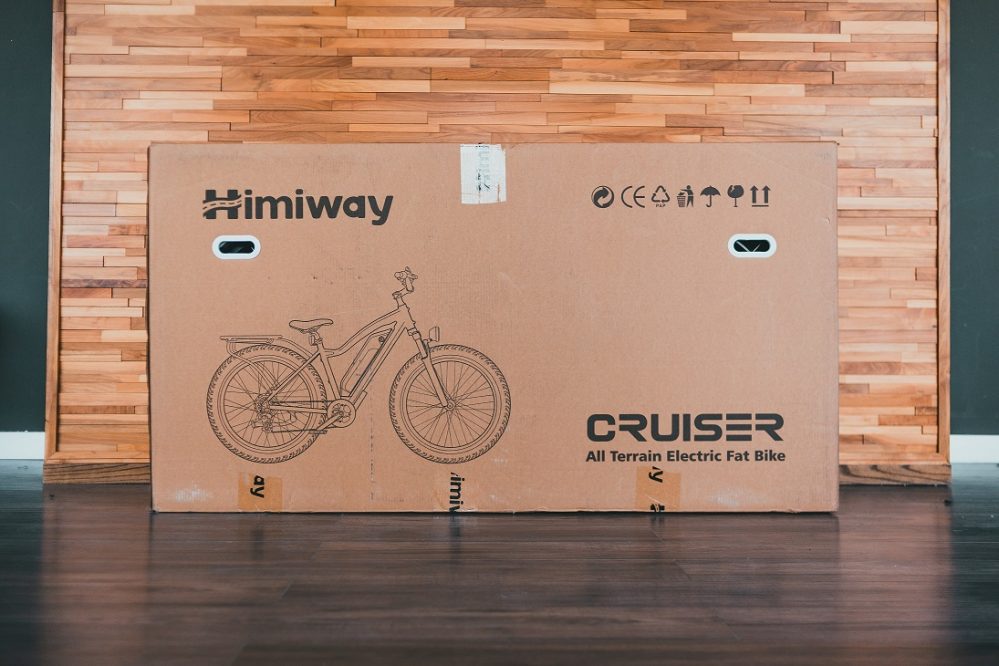
First, open the box with box cutters or scissors, being careful not to cut into the box as you may potentially damage tires, tubes, or other components inside the box.
In the box, you will find other small boxes that contain smaller bike parts or accessories you may have purchased with the new bike. Along with the small boxes, you will find a folder that will have the paperwork and a checklist to help you assemble the bike step by step. Next, pull the bike out of the box, put it on the ground, and remove all the packaging.
2. Insert the seatpost
After getting the bike out of the box, find the seatpost and insert it into the seat tube. If you have a Di2 bike, there may be a wire sticking out of your seat tube. Before inserting, you have to make sure to use assembly paste and attach the wire to the battery seatpost. While inserting it into the seat tube, make sure that you are not damaging the cable, so if you feel any resistance, pull the post out and reinsert it with care.
3. Install the handlebar
Remove any packaging from the handlebar. In order to install the handlebar, you will need to loosen the bolts holding the faceplate to the stem. This will require a four-millimeter (4mm) wrench. As you install the faceplate and put the bar into the stem, make sure not to damage any of the wires or cables. Get the faceplate installed with the bolts tightened down just enough to hold the handlebar in place.
4. Insert the front wheel
Next, insert your front wheel. Start by removing the axle, then remove the pad spacer, and finally the disc brake caliper if it has one. You have to be careful not to remove the wheel dust caps; if they fall out, just put them back in. Insert the wheel with the rotor positioned between the pads into the caliper; install the axle and then tighten the axle back down with the five-millimeter (5mm) wrench.
5. Fit the back wheel
When installing the back wheel, first place the chain onto the small socket, then you will be able to fit the wheel into it. You have to make sure that the chain is tight and secure; then, tighten the lever and ensure it is tucked between both of the chains stays. Next, reconnect the brakes and make sure they work.
6. Inflate the tires
Properly inflated tires ride best and last longer. To inflate a tire, attach the pump to the valve of the tire. Then, press the pump head on far enough. When done, remove the pump and close the valve.
7. Install pedals
Your new bike may have come with pedals. You have to remember that they are threaded for each side. Make sure they both tighten toward the front of the bike. Also, always use grease on the threads of the pedals.
8. Install accessories
Your bike may also have some accessories you may have purchased with the bike: like bottle cages, seat bags, etc. Install the bottle cage under the handlebar and just above the pedals where you can reach the bottle.
9. Set the saddle height
If you have sent fit measurements before your bike was boxed, your saddle height will be marked with a piece of electrical tape or marker, so when you insert the seatpost, go all the way down until that is flush with the top of the seat tube, and that will be your saddle height.
10. Final checks
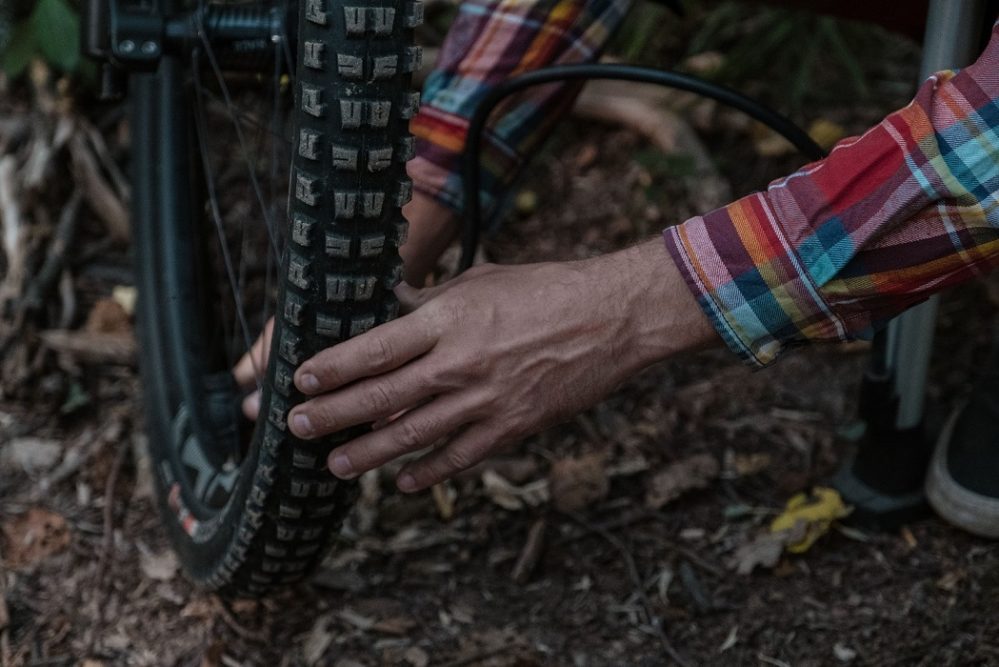
Before heading out on a bike ride, there are some things you should do to make sure your bike is safe. First, check your tire pressure. Press down on the top of the wheel, and observe the tire pressure. It is recommended that your tires have a certain pressure that is usually printed on the side. The tire pressure is different for every bike type.
Secondly, if your wheels are held with quick-release levers, check that the levers are closed with the proper tension. Then you are going to check the stem and headset. The stem is the piece that holds the handlebar. Stand over the bike with the front wheel between your legs. Hold the handlebar firmly and try to turn it without turning the wheel. If it stays in place, then you are good to go.
Check gears and brakes
Before using a new bike, it is important to check the gears and brakes to ensure they are working properly, check for any loose gears, and then tighten them up. Check the front and rear brakes. To make sure that they do not rub, give them a couple of squeezes and spin the wheel.
Conclusion
Assembling your bike does not have to be difficult; in fact, it can be a fun activity to carry out with friends or other members of your family. And what’s more, it brings some satisfaction to ride your bike knowing that you put it together yourself! We hope that this guide helped you through the process in 10 easy steps. However, remember that safety is of the utmost importance, so make sure you do not skip any of them and do each necessary check. Only then you can enjoy the ride!


