Changing bike pedals may seem like a simple job, yet it can be tricky, especially when you do it for the first time. However, the right tools and techniques will definitely make the procedure easier.
Why Should You Change Bike Pedals?
Changing bike pedals regularly is crucial. The main reasons for replacing pedals are performance, comfort, and safety. When the pedals stop performing like they used to, it means it’s time to remove and replace them. You might be wondering, what happens if I don’t? Well, unpleasant things, to say the least.
Whether you have damaged the pedals because you rode on harsh terrain, or they simply have worn out, it’s time to replace them. If you don’t, you might experience different problems such as accidental unclipping, poor retention, and knee pain. It will definitely feel much more uncomfortable riding your bike because of the rough, noisy pedals. Luckily, you can change that. You just need to put some time and effort into it.
Types of Bike Pedals
Bike pedals are mainly divided into clipless and flats (also known as platform). Which ones to go for? It all depends on the type of riding that you do and your bike.
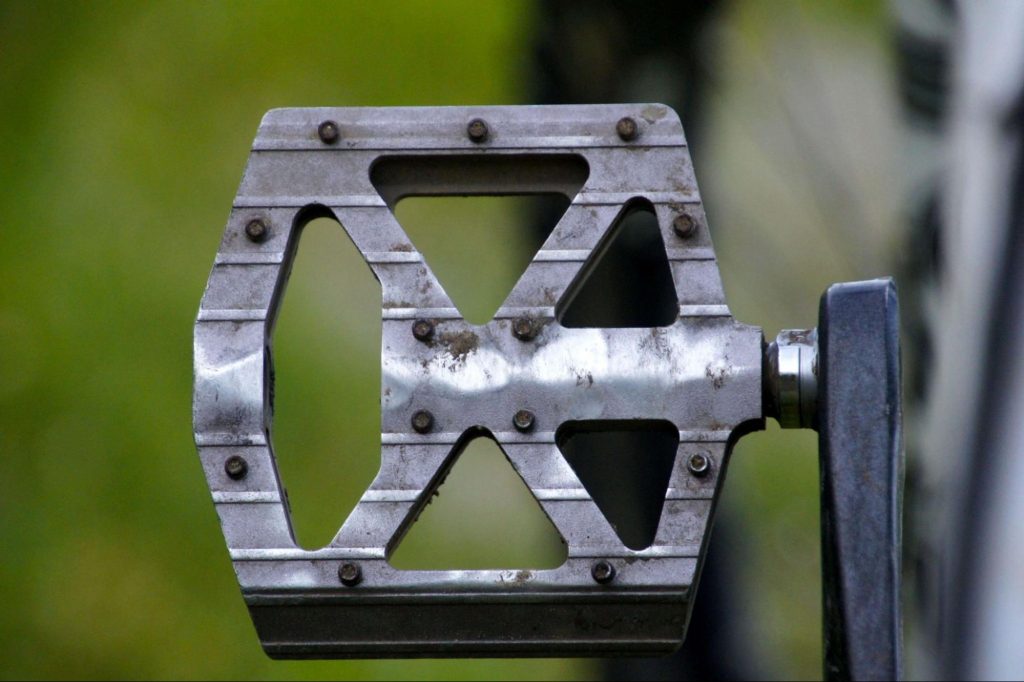
Flat pedals (Platform pedals)
If you are a beginner cyclist, flat pedals are your safe choice. They are great for balancing; you can easily put your foot down if you start to wobble or lose your balance. Flat pedals provide comfort during your ride and can easily be maneuvered even by young cyclists. They are great for commuting; just jump in the saddle in whatever shoes you’re wearing.
Flat pedals have great control too, which makes them perfect for mountain biking. However, their downsides are that your foot can slip off pedals more easily, and some riders find that they can’t generate maximum power with them.
Clipless pedals
You were probably aware of this, but let’s make it clear anyway; You actually have to clip clipless pedals in. What’s up with the name, then? Well, back in the 1970s, riders used toe clips and straps, which later got removed and were replaced by clipless pedals, thus the name. They offer excellent control; your feet are stable and don’t slip from the pedals. If you want more efficiency or power, definitely opt for clipless pedals.
Once you get the hang of it, clipless pedals are going to be one of the best upgrades for your bike. They seem perfect, right? Well, not quite, at least not for everybody. They are often more expensive, and inexperienced cyclists often find them harder to use. Another thing, you are going to need an extra pair of shoes if you’re planning to do other things besides riding.
Tools Needed to Remove Pedals
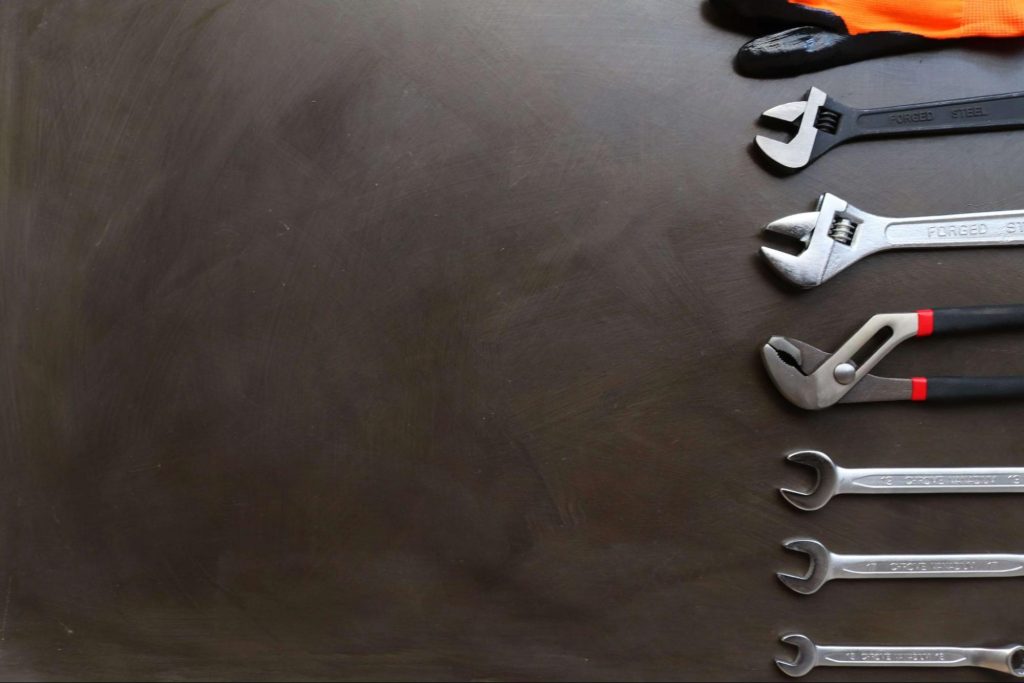
To successfully remove your bike pedals, you’re going to need the tools of the trade. The right tools will make the process of replacing your bike pedals much easier.
Pedal wrench
You can use a simple wrench, but having a pedal wrench will save you time and effort. So, use a pedal wrench to unscrew the bike pedals.
Hex key
If the pedals have a hex socket, they’re usually 6 or 8mm; you need to use a hex key to loosen or tighten the bike pedals.
How to Change Bike Pedals
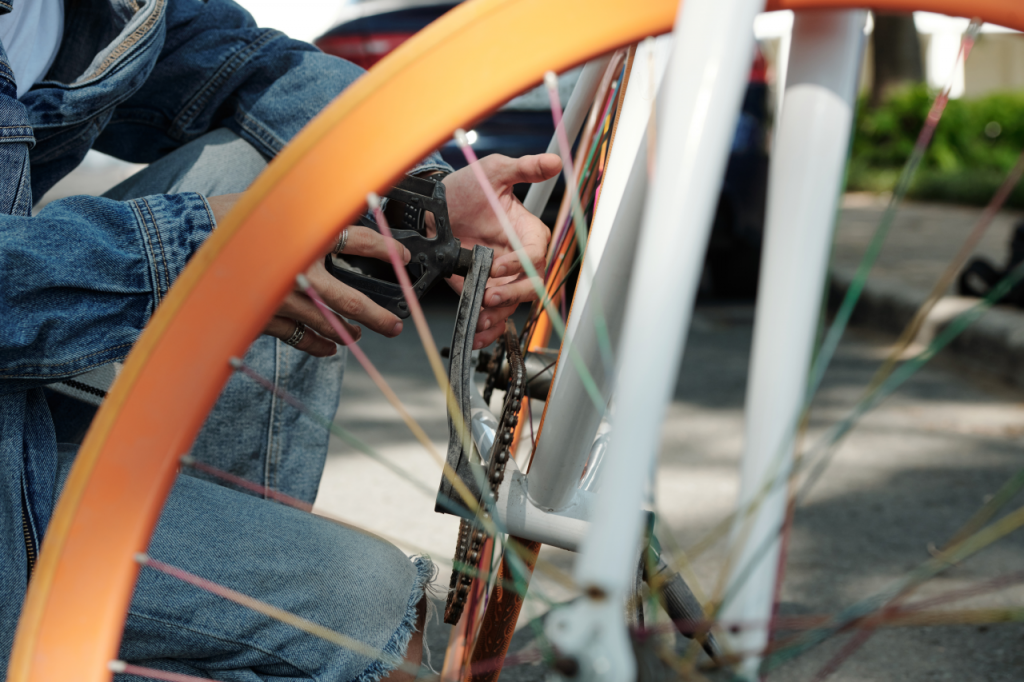
There are some steps that you should take when you’re removing bike pedals. The following ones will make the process simpler and save you time.
Set your bike on a flat surface
First, you should set your bike on a flat surface. It helps if it’s placed on a wall for support. It shouldn’t move while you’re working on it. If the pedals are too tight, it can actually help to put the bike on the ground.
Find out what kind of spanner you need
Look at your pedals if you don’t know what type of pedal spanner you should use. It mainly depends on the type of your bike and pedals. If you have flat pedals, you can use a 15mm spanner. For some pedals, you can use either an Allen key or a pedal spanner.
Put the spanner on the pedals
Before you put the spanner on the pedals, cover up the chainring so that you’re protected from sharp teeth. Then put the spanner on and feel it engage.
Rotate the spanner to loosen the pedal
One thing to keep in mind, both sides of the bike pedals are not threaded in the same direction. So, the drive side crank where the chainrings are (the right pedal) rotates anticlockwise, while the non-drive side (the left pedal) rotates clockwise. Rotate the spanner slowly until the pedal loosens; sometimes, this might need a bit of force.
Take the pedal off
When the bike pedals are loosened enough, remove them entirely from the crank.
Repeat the process on the other pedal
You already did it once, this time around, it should be easier. Just remember the direction of the thread, and repeat the procedure on the other side.
Apply grease to bike threads
Thread preparation is an important step before installing the pedals. Heavily grease the threads of the bike pedals using grease or anti-seize compound. Some of the benefits of applying grease on the threads are smoother pedal installation, protection from corrosion and oxidation, and prevention from excessive friction.
Insert the new pedal thread on the pedal hole
Take the pedal and install it on the pedal hole. You should turn it with your fingers until it engages.
Put the wrench on the pedal
Install the wrench on the pedal and move the pedal backward until it stops into the crank.
Rotate the wrench to tighten the pedal
Don’t drop the wrench just yet. You’re going to use it to tighten the pedal. Tight pedals are essential for your safety when riding your bike. Push down clockwise or anticlockwise (depending on the side) using the wrench, and pull up on the crank until it’s tight enough.
Repeat the process on the other pedal
You’re almost there. Repeat the process on the other side, and again, make sure the pedals are tight.
Double-check the pedals
Double-check the pedals to make sure they are correctly installed and secure. If they don’t feel right, ask someone with more experience to check them too. Otherwise, you’re good to go!


