It shouldn’t come as a surprise that washing your mountain bicycle properly and regularly is an essential part of your bike maintenance routine. There are numerous advantages to it. Here are a few: it will prolong the lifespan of your bike’s components, your ride will be more efficient and smoother, and of course, your beloved bike will look so much better.
So, how often do you need to clean your mountain bike? A good rule of thumb is to wash your bicycle after each muddy ride or every other week if you ride it regularly in dry weather. But, we warn you, the cleaning process can get dirty and messy, so don’t wear your good clothes when doing this. Additionally, we recommend wearing glasses and gloves to protect your eyes and hands.
So, let’s get to it! Here is the best way to get your bike sparkly clean with only a few essential supplies.
Find a Good Spot to Clean Your Bike
Firstly, it is important to prepare your bike wash area. Look for a place with good drainage. It would be best if you use a solid bike stand so that your bike is not on the ground, which prevents dirt from splashing back onto your bike. Also, make sure that your washing spot has enough space and light, and it is out of the rain or wind.
Assemble the Equipment You’ll Need
Assemble the bike stand first. After that, you are going to need a bucket, two brushes (one soft and one firm), a hose, and some cleaning supplies. You do not need any fancy products; a simple washing-up liquid will do just fine. But, do not use any car products because they are too strong and they contain oils.
Clean the Drivetrain
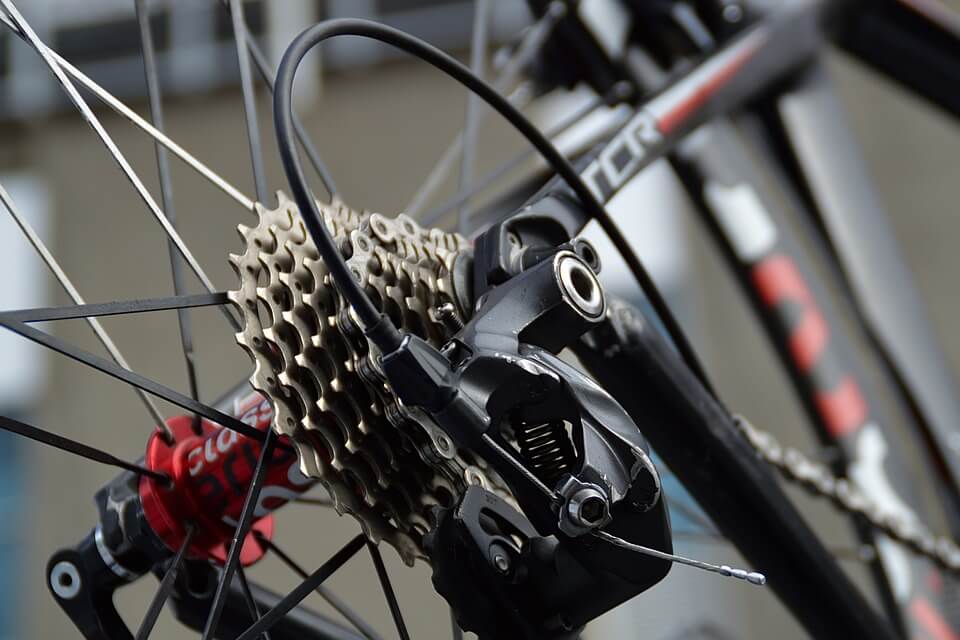
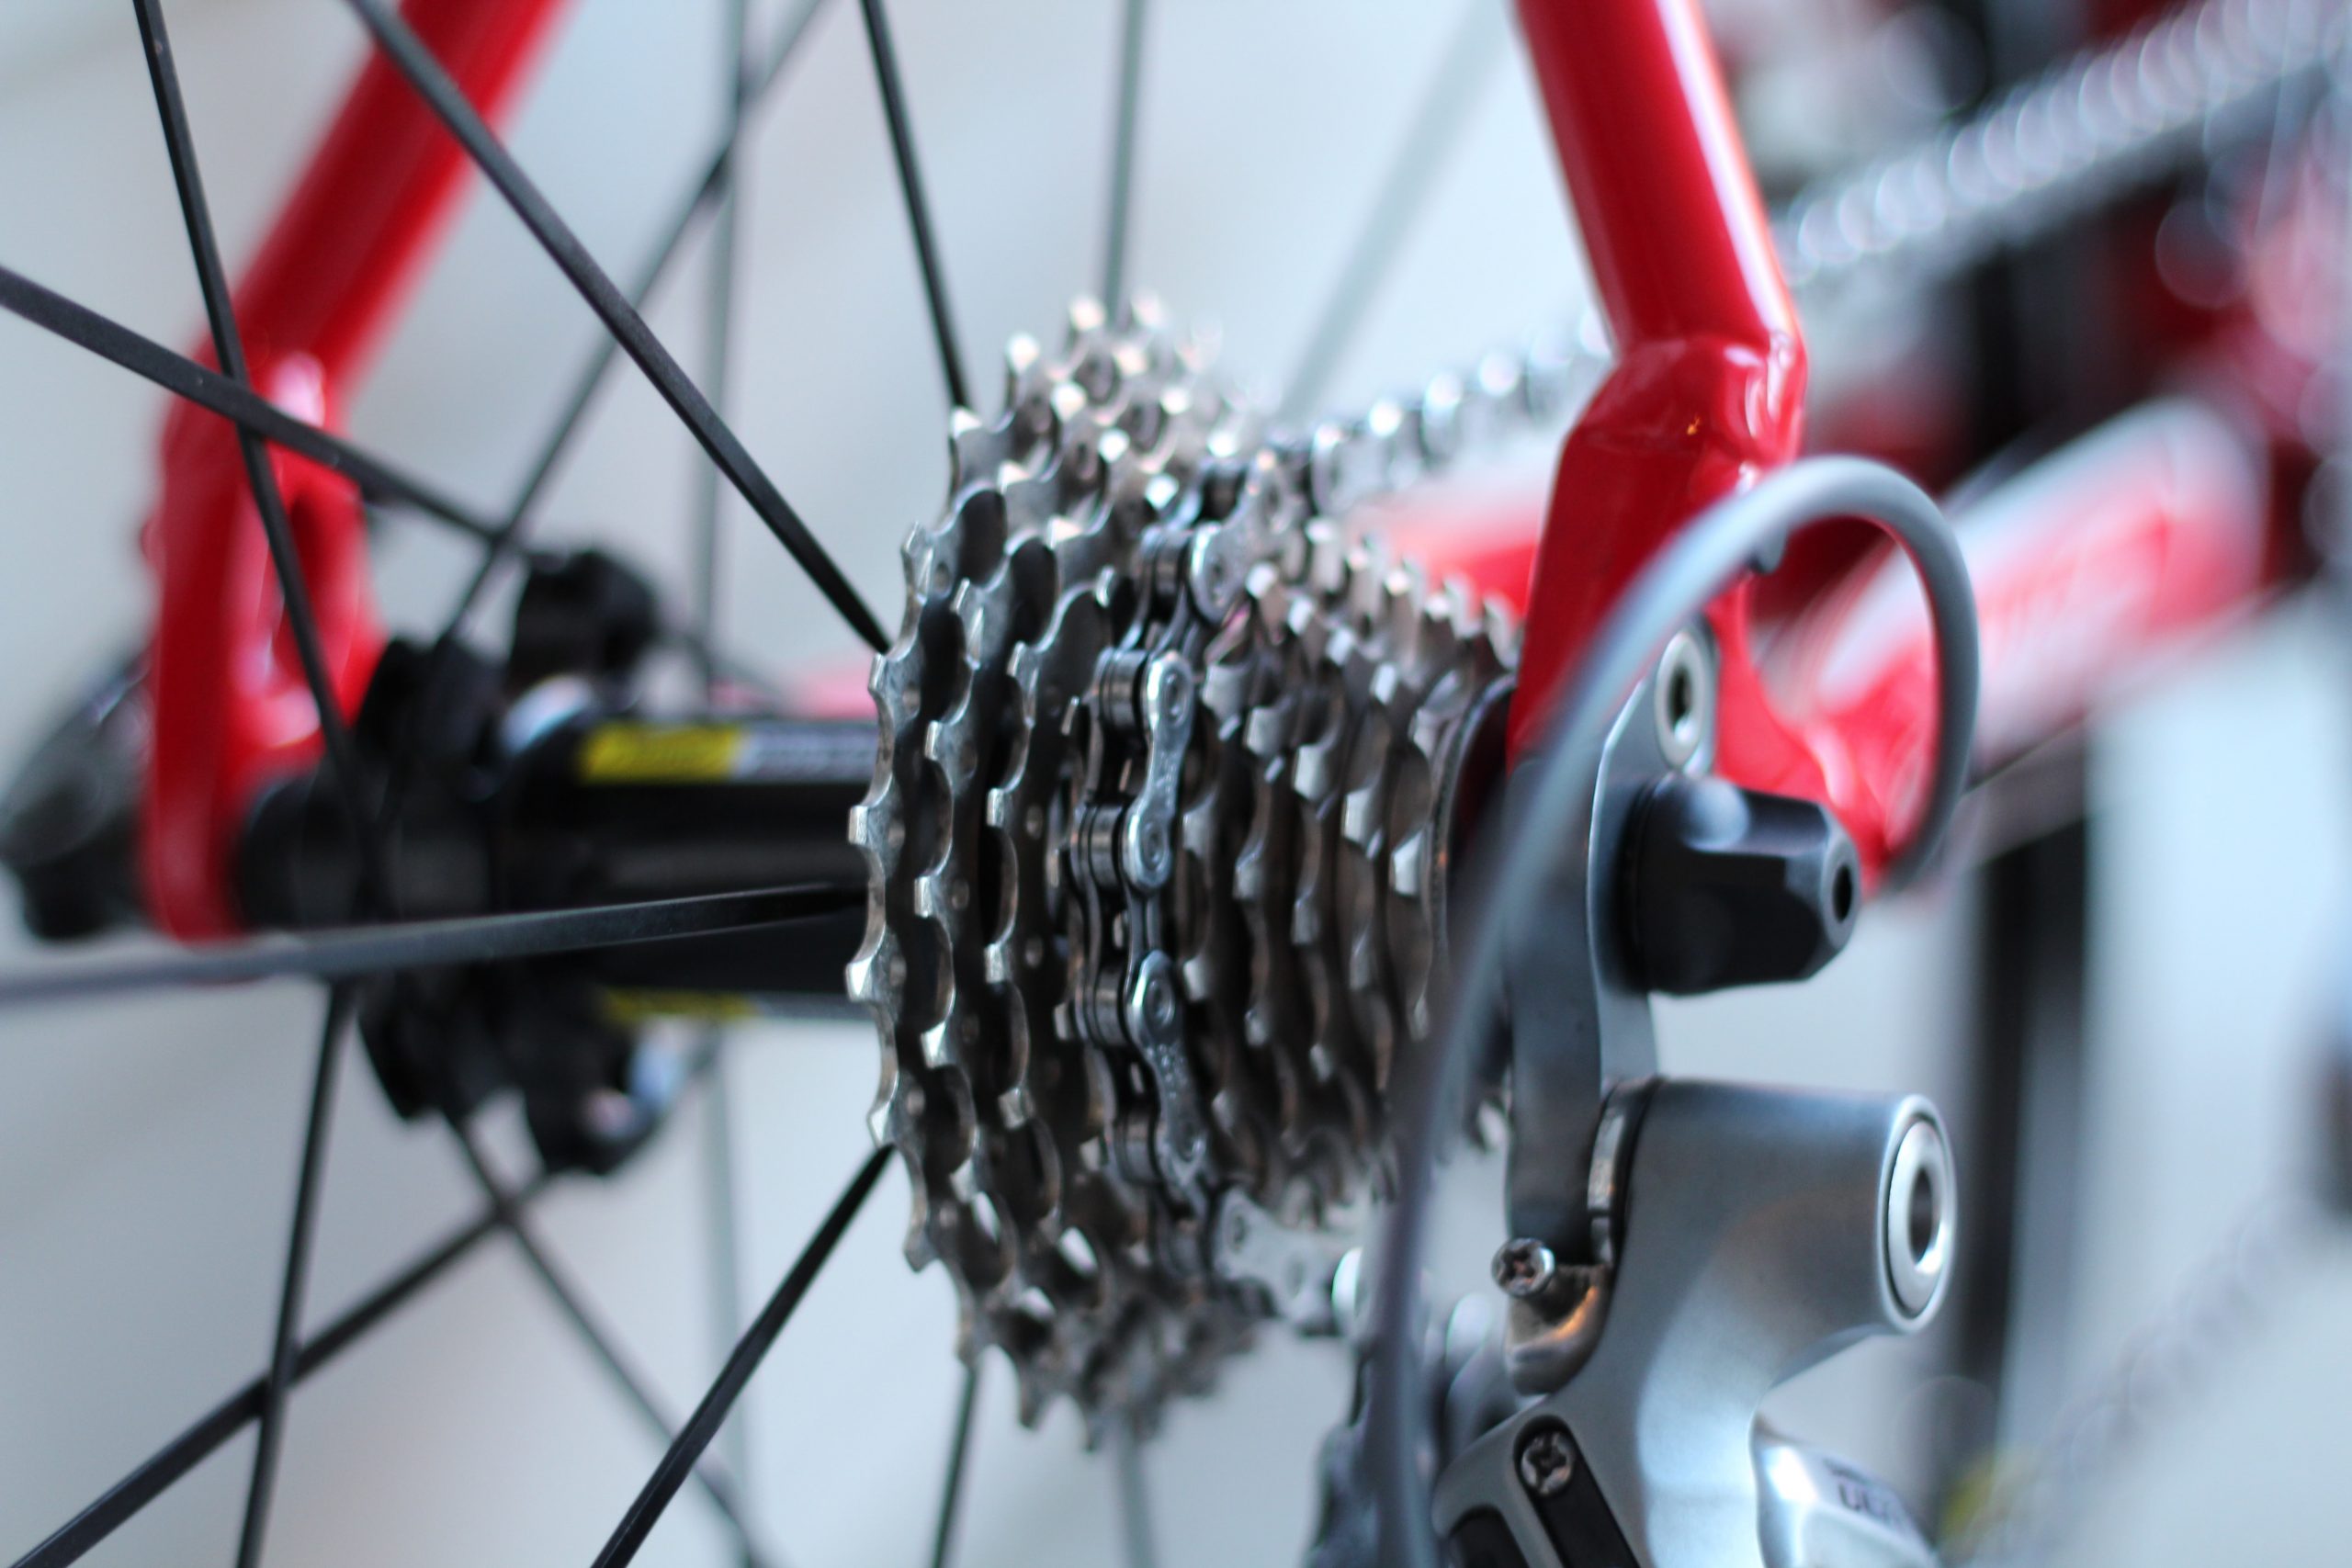
The bike’s drivetrain is made of all the parts that you use to push your bike along. These components are the pedals, cranks, chain, cassette, and derailleur. You need to clean these parts regularly if you want your bike to run smoothly. But, we warn you, the cleaning process can get dirty and messy, so don’t wear your good clothes when doing this. Additionally, we recommend wearing glasses and gloves to protect your eyes and hands. So, here’s our step-by-step guide on how you can wash your bike’s drivetrain:
- Clean the cassette and other components: The chain needs to be on the end of the cassette for this. First, take a brush and apply plenty of detergent to it. Start scrubbing the cogs, and don’t forget to shift the chain to the other side to clean all the cogs. Wash other components such as pedals and derailleurs as well.
- Clean the chainring: This is a pretty easy step but an essential one. You need to wash the chainring often because it collects dirt and debris, which causes a grime build-up. It would be best to drop the chain off for this, but be careful not to lose or mix up any small parts.
But, if you don’t want to remove the chainring, you can also clean it without taking it apart. Again, apply a generous amount of cleaning agent to the brush and start scrubbing the chainring. Make sure to clean the inside of the chainring as well. And wash away until all the dirt disperses.
- Rinse the drivetrain: This step is not optional. You need to give your drivetrain a quick rinse so that it works smoothly. Use the soft brush, hot soap, and water to rinse the dirt and grime off the drivetrain. Then use a hosepipe to flush it all away. But, do not keep the water pressure high because that can damage the drivetrain components, and as a result, shorten your bike’s lifespan.
Wipe the Bike’s Discs
Wipe the bike discs or rim brake surface down. But be careful; muck can find its way onto your rotors, and that could cause problems with the rim brakes. So, spray some degreaser into a clean cloth or paper towel, and wipe around the rotors.
Rinse the Bike
Now you can use the hose at low pressure to remove the dirt and grime that has built up. You can also rinse the bike with a bucket and sponge—spray soap or detergent along the main tubes and other dirty areas.
Brush the Bike Off
Use a soft brush and apply detergent to it. Now carefully clean the moving parts and the narrow spaces of the bike to get rid of the remaining dirt and mud. An old cloth or a rag is also useful for cleaning the undersides and threading behind tight areas like the front derailleur and crankset.
Rinse and Inspect the Condition of Your Bike
Rinse off the bike with fresh water. Make sure to rinse all the detergent or soap off your bike, and then check if any dirt has remained or grime has remained.
Next, inspect the condition of your bike. Check the frame, drivetrain components, and wheels. Rotate the pedals to allow water to run through the links on the chain.
Dry the Bike and Lube It

If you used a bike stand, remove your bike from it, and place it in a dry area, preferably in a sunny spot. Use a dry rag or a paper towel to remove the excess water if you have the time. After your bike is completely dry, lube the chain. Let it sit for a few minutes, and then wipe off the excess lube so that it doesn’t collect dirt and mud when you ride it again. Remember to apply lube to the inside of the chain too. Doing that will increase your bike’s lifespan considerably and save you a lot of money.
And finally, you should store your bike in a dry place, away from the rain, snow, or wind. They can deteriorate your bike very fast.
Get Your MTB Dirty Again and Repeat the Process
Bikes are made for riding. So, ride it on dirty singletrack trails, and get it all muddy and dirty again. And, of course, do not forget to repeat the cleaning process after your adventure.
A clean bike will work more smoothly, last longer, and look better. Cleaning your bike is a pretty simple process and will only take some minutes of your time, but it will probably add years to the life of your bike.
