Bike riding is a pleasurable and enjoyable pastime. It is also a means of transportation for many people. Since bike riding is a widespread activity, it is profitable for bike riders to fully functionalize their bikes.
When commuting by bike, you’ll need a way to transport essentials, from a small tool kit to full-on camping gear. A daypack or messenger backpack is acceptable for short rides, but racks, baskets, and bags that fit on your bike are some of the best equipment-carrying options.
In this guide, we will show some of the uses for rear bike racks, so that you can make the most of them.
What Is a Rear Bike Rack?
A rear bike rack is an add-on that can be very helpful for your biking trips. It is an excellent addition to any rider’s needs. Rear bike racks are located on the back of your bike and have rails for securing panniers, bags, baskets, and other objects. They also allow for the use of bungee straps and netting for attaching items.
A back rack for a bike is a sturdy framework that holds your bicycle’s gear. You can strap items directly to the rack when riding during good weather without a cover. However, in case of bad weather or to keep your loose objects together, you can easily connect bags such as panniers and rack trunks to your bike’s rear rack.
Rear racks are generally estimated to carry loads weighing between 20 and 50 pounds, adequate for most applications. Some heavy-duty travelling models can carry up to 80 pounds. These racks usually have three supports on each side compared to others with only two.
Many bikes feature braze-on mounts that rear racks are meant to attach to. If your bike lacks braze-on mounts, you can still install a rack using metal C clips that come standard with most rack mounting gear. These clips are designed to wrap around your bike’s frame tubes and accommodate the lower mounting bolt.
How to Mount a Rear Bike Rack
All the materials that you will need for the installation process are included with your rack. In addition to those items, you’ll need Allen keys, a screwdriver, and a 6mm wrench to assist you to tighten everything up.
Begin the installing process by securing the two sliding arms to the rack’s bottom. They don’t have to be wholly tightened since you still want them to come in and out to properly align everything when you attach the rack to the bike. Just give them enough twisting to keep them from rattling off.
After that, you should attach the rack to the rear dropout eyelets. The size bolt you’ll need to use here will vary depending on your bike, but fortunately, most bike frames use the same size bolts for water bottle braze-on, saddle stay mounts, and eyelets, which allows you to easily attach the rack using one of your unutilized water mounts.
Tighten both sides of the eyelet bolts until they’re just about to seize. You want the rack to be loose enough to adjust and level but not so loose that it flops around while you work on the rest.
Now you need to level the rack. Make sure to rotate the rack at the eyelets until it’s level with the ground. Then, to secure the rack in place, tighten the eyelet bolts.
At this point, you’ll need to modify the adjustable arms to reach the seat-stay mounts, so make sure to slide them in and out of the rack until the length looks right. Twist the adjustable arms until the hole at the end lines up with the saddle stay bolts. If your bike doesn’t have any, use the provided p-clamps and bolts to add your mounting points. Wrap one around each seat stay, then line the adjustable arms with the p-clamps’ hole.
Tighten the arms onto the bolts or p-clamps to secure the rack now that they’re in place. After that, go around and tighten everything one last time to make sure it’s connected and you’re ready to hit the road.
How to Use a Rear Bike Rack

You may utilize your rear bike rack for various purposes once it is correctly placed on your bike. These racks have revolutionized how bike commuters travel, making the task of carrying items easier. However, knowing how to utilize them securely is critical, especially if you don’t want your belongings to be destroyed or your ride to become unstable.
Most rear bike racks are built to support both heavier side and top loads. They typically fit most bike frames and are ideal for panniers, backpacks, and other sorts of baggage. Your rack may be made more versatile by adding the correct attachments. As long as you use it appropriately, it can readily transfer loads of up to 80 pounds.
Panniers
On-bike commutes, urban rides, and long-distance trips — panniers are ideal for carrying daily items, additional clothing, and camping gear.
If your ride is longer than 15 minutes, a pannier may be the most convenient and comfortable method to transport your belongings. They have enough space for commuting, grocery shopping, and even touring.
They provide ample storage, weather protection, and the flexibility to swiftly disconnect from a bike rack so you may carry your belongings with you. They use a simple system of spring-loaded hooks, clips, or bungee cords to connect to racks. They are created specifically for front or rear racks and can be used single or in pairs. When used in pairs, they increase your load capacity. They are ideal if you have a lot of items to transport or groceries to purchase. A pannier is practical, and it’s also a secure method to transport even sensitive or fragile items, such as your laptop.
On the other hand, small objects tend to get lost in big panniers, so use stuffing sacks to stay organized. Additionally, ensure that your heel does not come into touch with the bag during your regular pedaling rotation. An unsafe riding scenario can be caused by huge panniers (or those incorrectly installed too far forward).
Baskets and crates
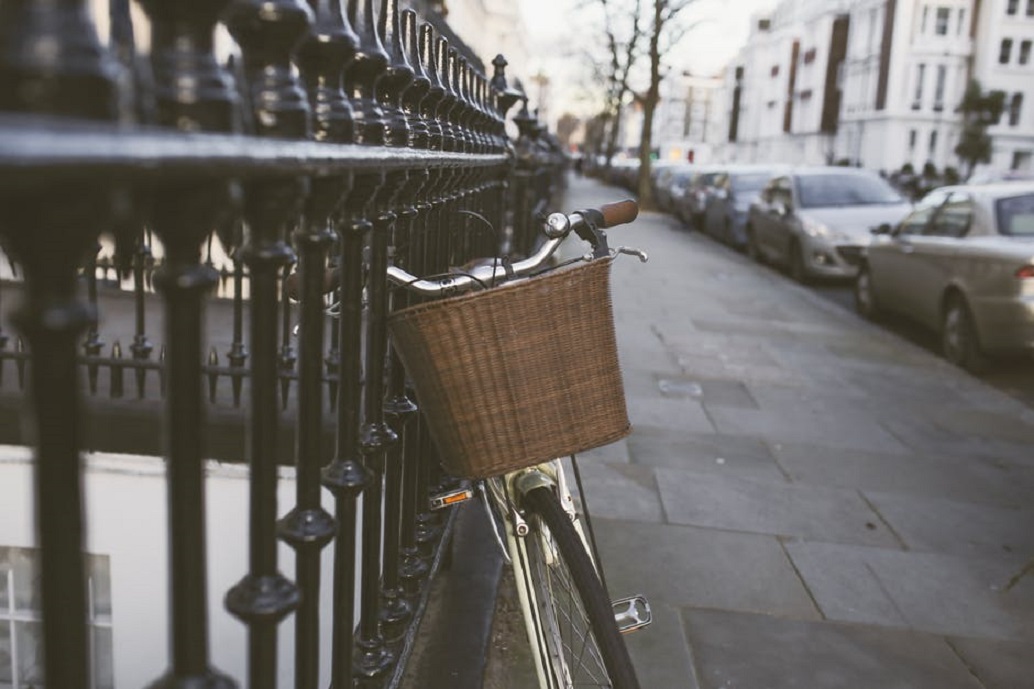
On fair-weather rides, baskets and crates (wooden or plastic) are ideal for transporting a variety of objects, including grocery bags. In most cases, rear baskets are positioned on either side of the rear wheel. Because they don’t have a cover, they can carry tall loads. Front baskets are often smaller than their rear-mounted counterparts, and they are either suspended from the handlebars or secured to the front fork with metal stays.
You can install a basket or a crate in your existing rear rack in under one minute. All you need to have to attach a basket or crate is a Philips head screwdriver. Start by taking the screw and placing it through the pre-drilled holes in your basket or crate. Then take the metal bracket, slide it underneath your crate or basket, and line it up with the screw. Finally, use your bolts and hand-tighten them onto the screw. Use the Philips head screwdriver to tighten down. Fill it with your belongings, and you are good to go.
Saddle packs
Small items such as a multi-tool, spare tube, tire levers, a patch kit, or an energy bar are best carried in saddle packs.
This bag, also known as a seat bag, saddle bag, or under-seat bag, fits beneath your bicycle seat and is typically attached to the rails of the saddle itself. Larger models can accommodate a few extra items. Keep this accessory on your bike to ensure you never leave the house without the necessities.
Dog carrier
When you want to get your dog on your next ride, the best option is a rear bike rack designed to transport pets. This type of rack is intended to attach to your seat post securely and has a solid base for attaching a basket or bag in which your pet travels. It is recommended that only pets weighing up to 20 pounds be transported for their own safety.
Child seat
You can safely ride your bike with your children if you have the proper accessories. The majority of child bike carriers are designed to be mounted directly to your bike. To ensure your toddler’s safety while riding with you, look for safety features such as a quick-release harness, leg restraints, and crossbars. Never transport a child weighing more than 40 pounds, and always make sure the carrier is securely fastened.
Conclusion
A rear bike rack is one of the most helpful bicycle accessories to have. And, if properly installed, you can have peace of mind when transporting a load. Whether you’re commuting or riding for fun, your cargo will remain secure on your bike.
Make sure you understand how to use a rear bike rack so that you and your baggage are protected whenever you’re out biking on the road. Rear bike racks can make your daily bike commute much easier. And, when you want to take your child or dog along for the ride, just attach the appropriate carrier and enjoy your ride.
