There is a mode of transportation that is great for the environment and your health and is relatively low-maintenance. Sounds perfect, right?! It does until we tell you what it is and you come up with several excuses not to implement it. If the constant change in weather is the reason you don’t bike to work, it is time to dust your bike off and go green because we have a solution for you: bike fenders!
What Are Bike Fenders?
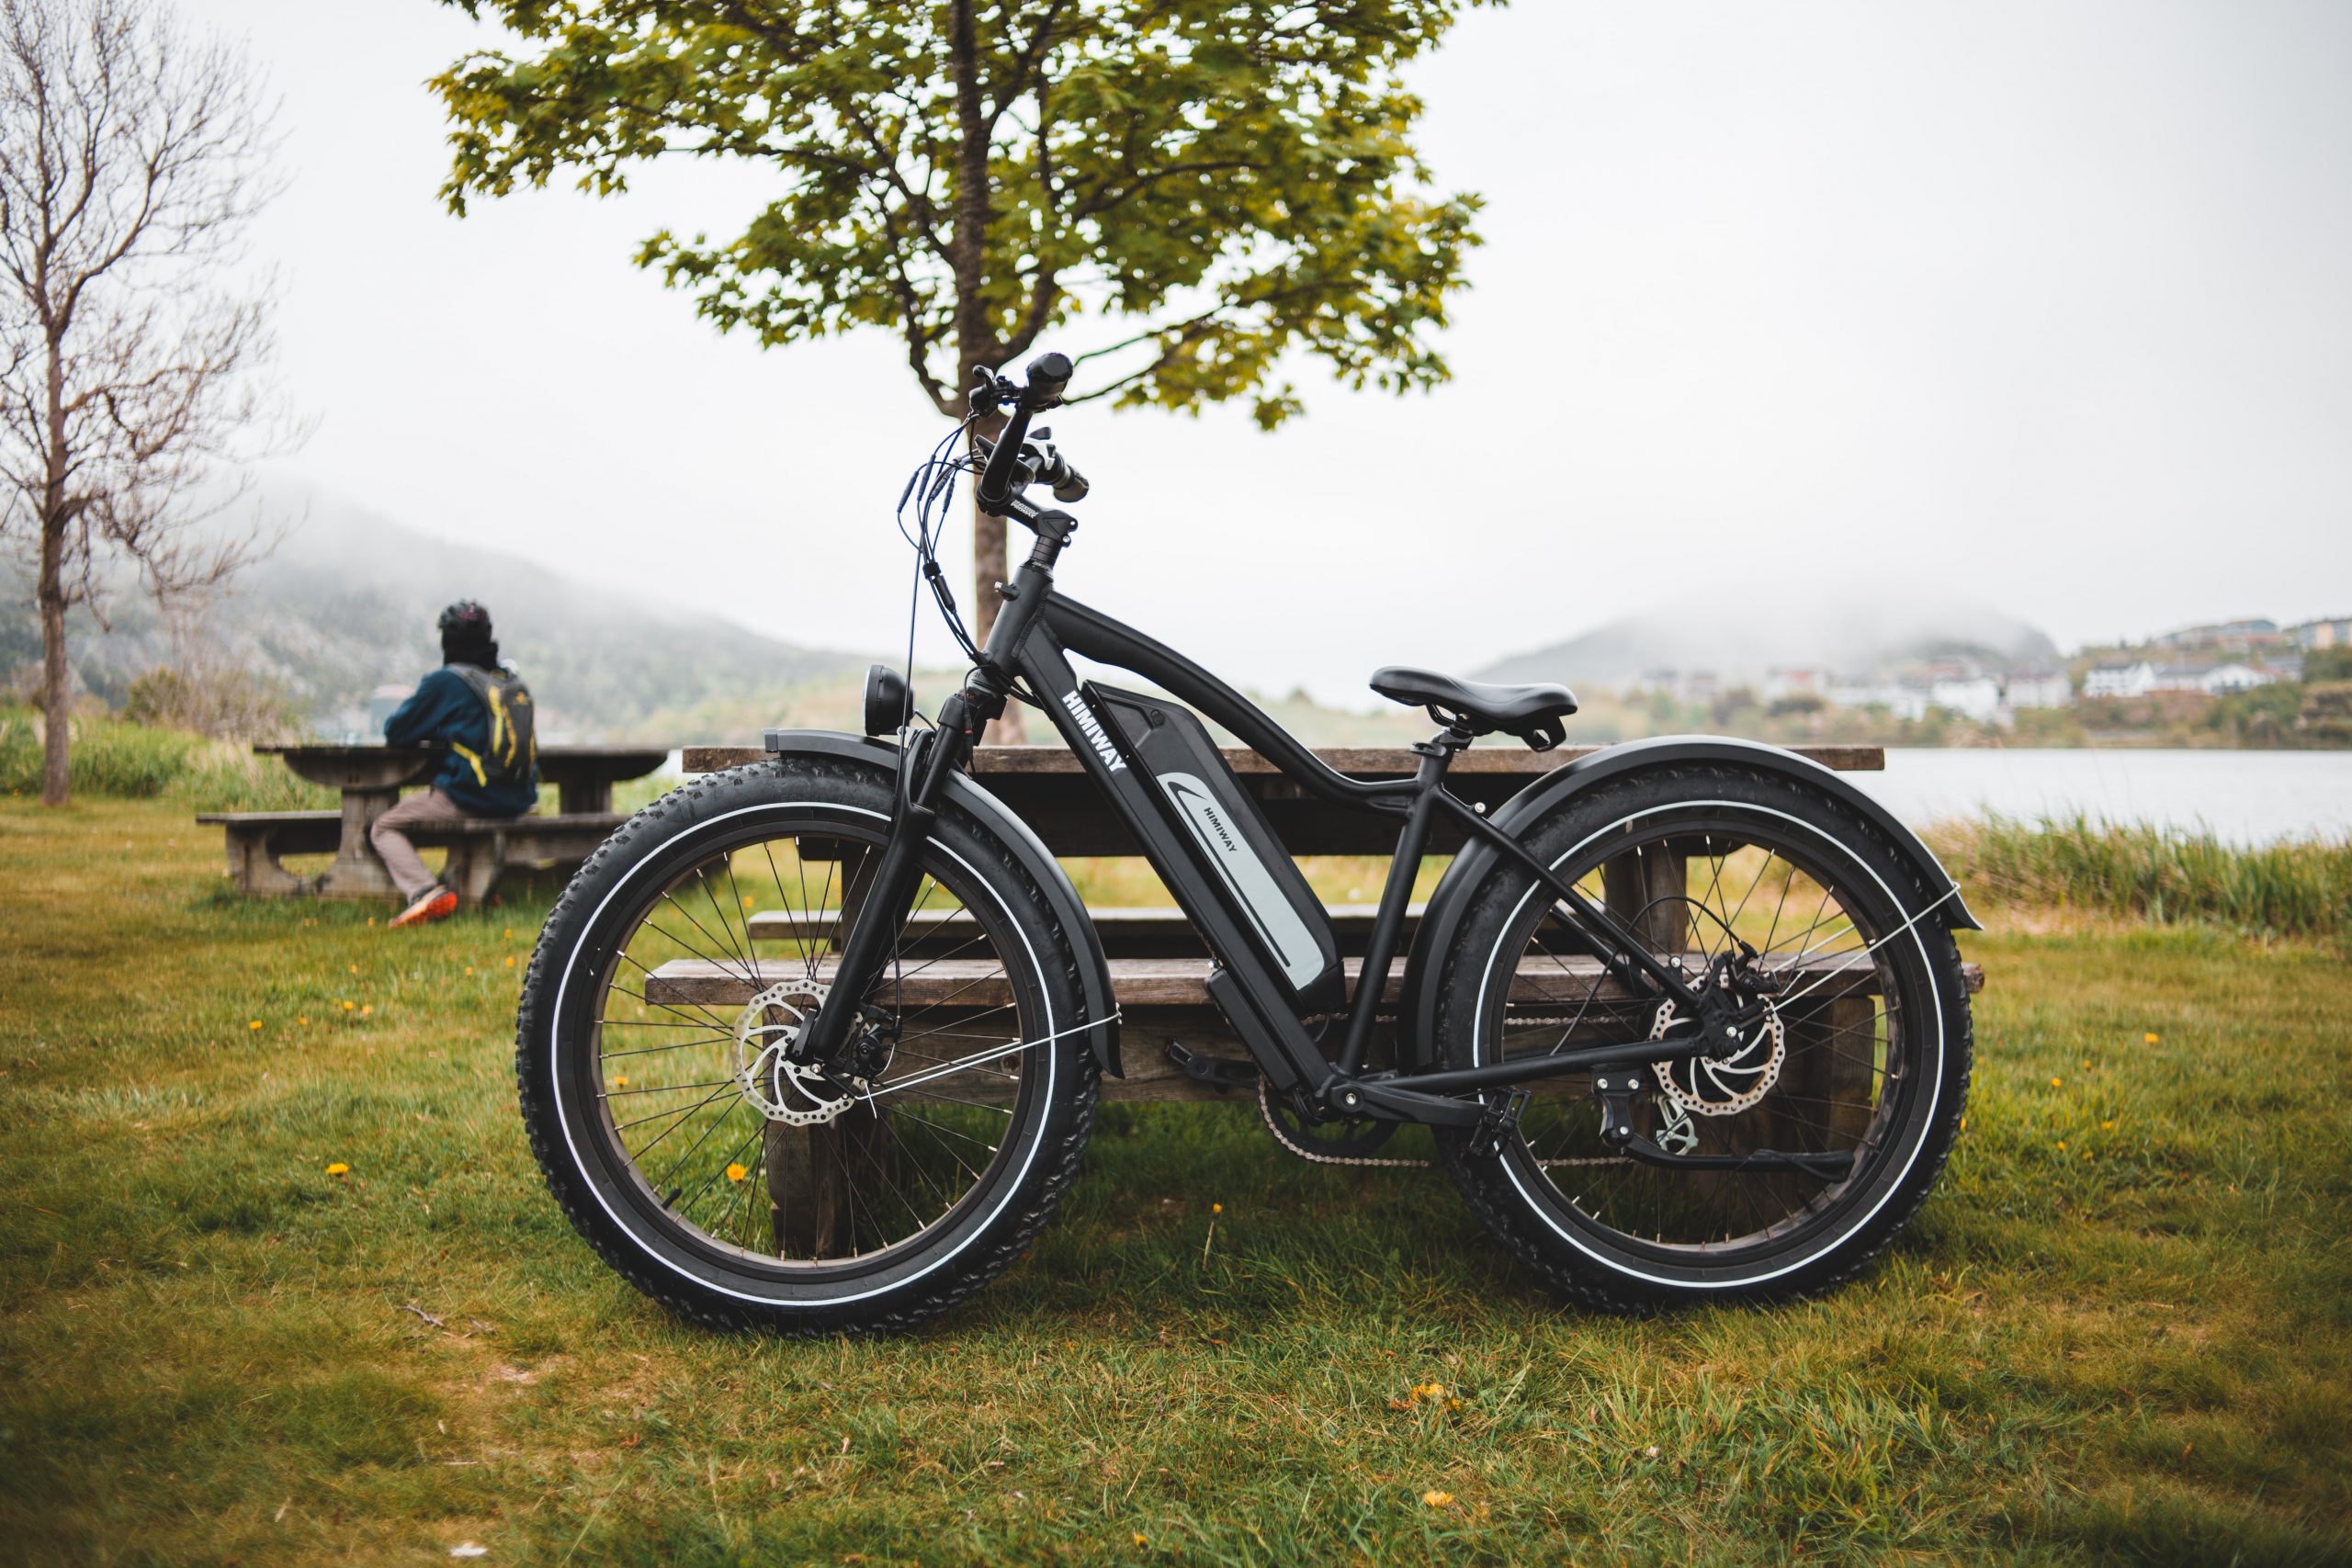
An add-on accessory for your bike, bike fenders are simple covers for your bike tires. They are usually made of either metal or polycarbonate plastic and can be used on a variety of bikes.
Why Should You Use Fenders?

Though they might seem like an overly simple invention to serve a purpose, bike fenders, otherwise known as mudguards, are pretty helpful. These covers are a must for those who like to ride their bikes particularly in suboptimal weather conditions. Firstly, bike fenders are used to protect you (and others!) from the water, mud, and other liquids that happen to be on the trail you are riding. In addition, bike fenders keep your bike cleaner — meaning less maintenance in the long run and a longer ‘lifespan’ for your bike components. This is especially good news for those that store their bikes indoors. Last but not least, a bike fender installed on your rear bike tire ensures that other bikers behind you won’t get splashed either.
Types of Bike Fenders
Because they are an add-on accessory for your bike, it is important to know that not all bike fenders will fit all kinds of bikes. Before you decide on any fenders, you first need to make sure that your bike is fit for a set of fenders. What you want is proper distance between the frame, caliper brake, and wheel to install a set of fenders. Based on the attachment method, bike fenders are generally one of two types: bolt-on or clip-on.
Bolt-on
Bolt-on bike fenders are attached to the bike via bolts. Some types of bikes are typically manufactured with holes or eyelets intended for attaching bike fenders. The number one advantage of bolt-on bike fenders is the security provided by the bolts. This setup is perfect if the condition of the terrain you ride your bike on is subpar. These fenders are typically longer, thus providing you with more coverage for your legs and feet against the water and mud. They are also great for keeping grit away from the components of your bike that may be harmed by it. The prime disadvantage of bolt-on fenders is that they cannot be attached to a bike that isn’t manufactured for these types of fenders. Though it might take you some time, correctly installing bolt-on fenders on your bike requires simple tools and no expert skills.
Clip-on
If the manufacturing of your bike doesn’t allow for bolt-on bike fenders either because of the smaller clearance frame or lack of eyelets, worry not because clip-on fenders exist! Because they are installed by being clipped on, they typically weigh less than bolt-on ones, which means the extra weight won’t affect your biking performance. Unlike the bolt-on fenders, clip-on bike fenders require no tools for installation. They are fixed on the front fork, rear seatway, seatpost, or downtube with zip-ties or mounts made of rubber, plastic, or velcro. Clip-on bike fenders are perfect if you have multiple bikes and want only one pair of fenders or if you wish to remove them every time the weather gets better.
Installing Bike Fenders
If you are set on getting fenders for your bike, there are a few things you need to know. Proper bike fender installation is crucial to ensure your safety when biking and prevent rattling sounds, rubbing, and even breaking of the fenders. Like installing any other equipment, it is best to follow the instructions provided by the manufacturer of the bike fenders when installing them.
Requirements for installation
To install fenders on your bike, you first need to check whether your bike allows for bolt-on fenders or if you need to opt for the clip-on ones. Because bikes differ in design, size, and frame, bolt-on bike fenders don’t fit all kinds of bikes. Before choosing a set of fenders, you need to take some measurements of your bike, specifically the tire radius and width, and frame clearance. You can check the tire radius and width on the side of the tires. Regarding the tire’s width, the fenders you choose must be at least 8mm wider than the tire to prevent friction. As for the frame clearance, it should be anywhere between 20-30 centimeters.
Tools needed

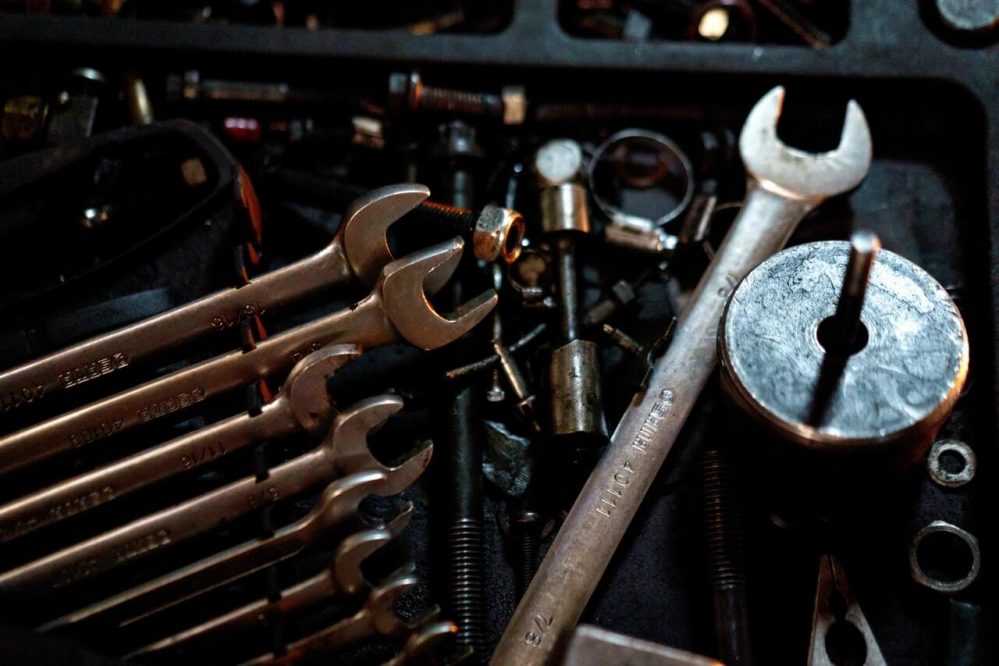
As we mentioned before, you will need simple tools to install the bolt-on bike fenders. Typically, bike fenders come with an attaching kit when you purchase them. This kit will contain nuts and bolts for attaching the fenders to your bike. Aside from them, you will need a wrench or spanner for tightening the nuts and bolts.
Mounting instructions
The process of installing the bike fenders may differ slightly depending on the design and frame of your bike. The fenders will typically attach three points (front fenders) or four points (rear fenders) to the bike. To install a front fender, you need to:
- Turn the bike upside down to make it easier to install the fenders
- Remove the wheel (optional)
- Slide the fender in place until the metal tab lines perfectly with the hole on the fork crown; add the wheel if it was removed
- Attach the fender to the fork crown using the bolts and nuts in the kit while adjusting how close you want your fender to your tire.
- Fasten the support rods to the eyelet
- Tighten the nuts on the support rods while ensuring a uniform distance between the tire and the fender all the way around
- Lastly, spin the wheel to ensure the tire isn’t rubbing anywhere against the fender. If it is, make adjustments accordingly by loosening or tightening the nuts of the fender
Conclusion
To sum up, bike fenders are a simple yet purposeful accessory for your bike. Bike fenders make it possible to bike in virtually any kind of weather and not get splashed while also offering much-needed protection for your bike against mud and grit.


